

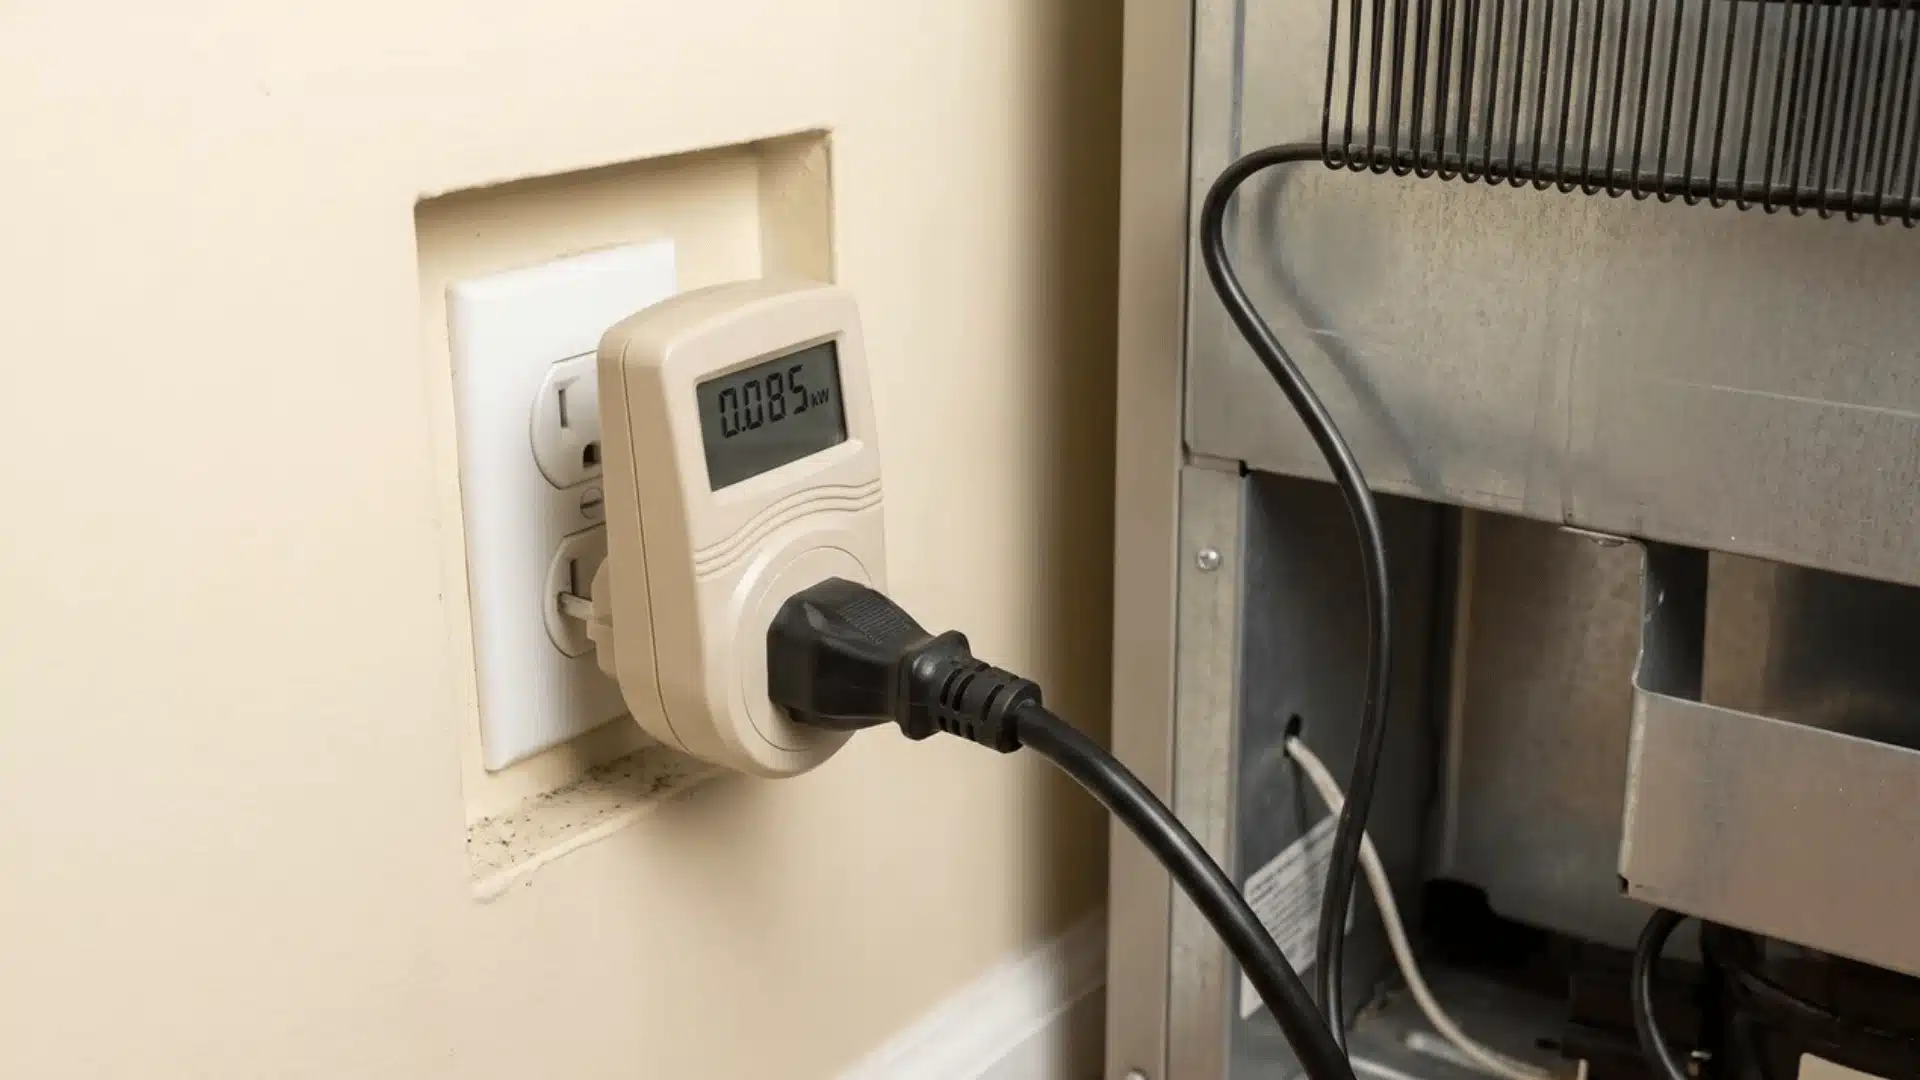
Running out of hot water is frustrating, but replacing a storage tank is not always as simple as mounting a smaller unit.
You may need a larger gas line, added electrical capacity, new venting, drainage, or plumbing changes before the system can work safely. I know those requirements can make the project feel confusing.
Proper tankless water heater installation starts with checking household demand, utility capacity, location, and local codes before buying equipment.
You will learn what tools and materials are needed, how each installation step works, what mistakes to avoid, how much the project may cost, and when hiring a licensed professional is the safer choice.
Tankless Water Heater Installation Requirements
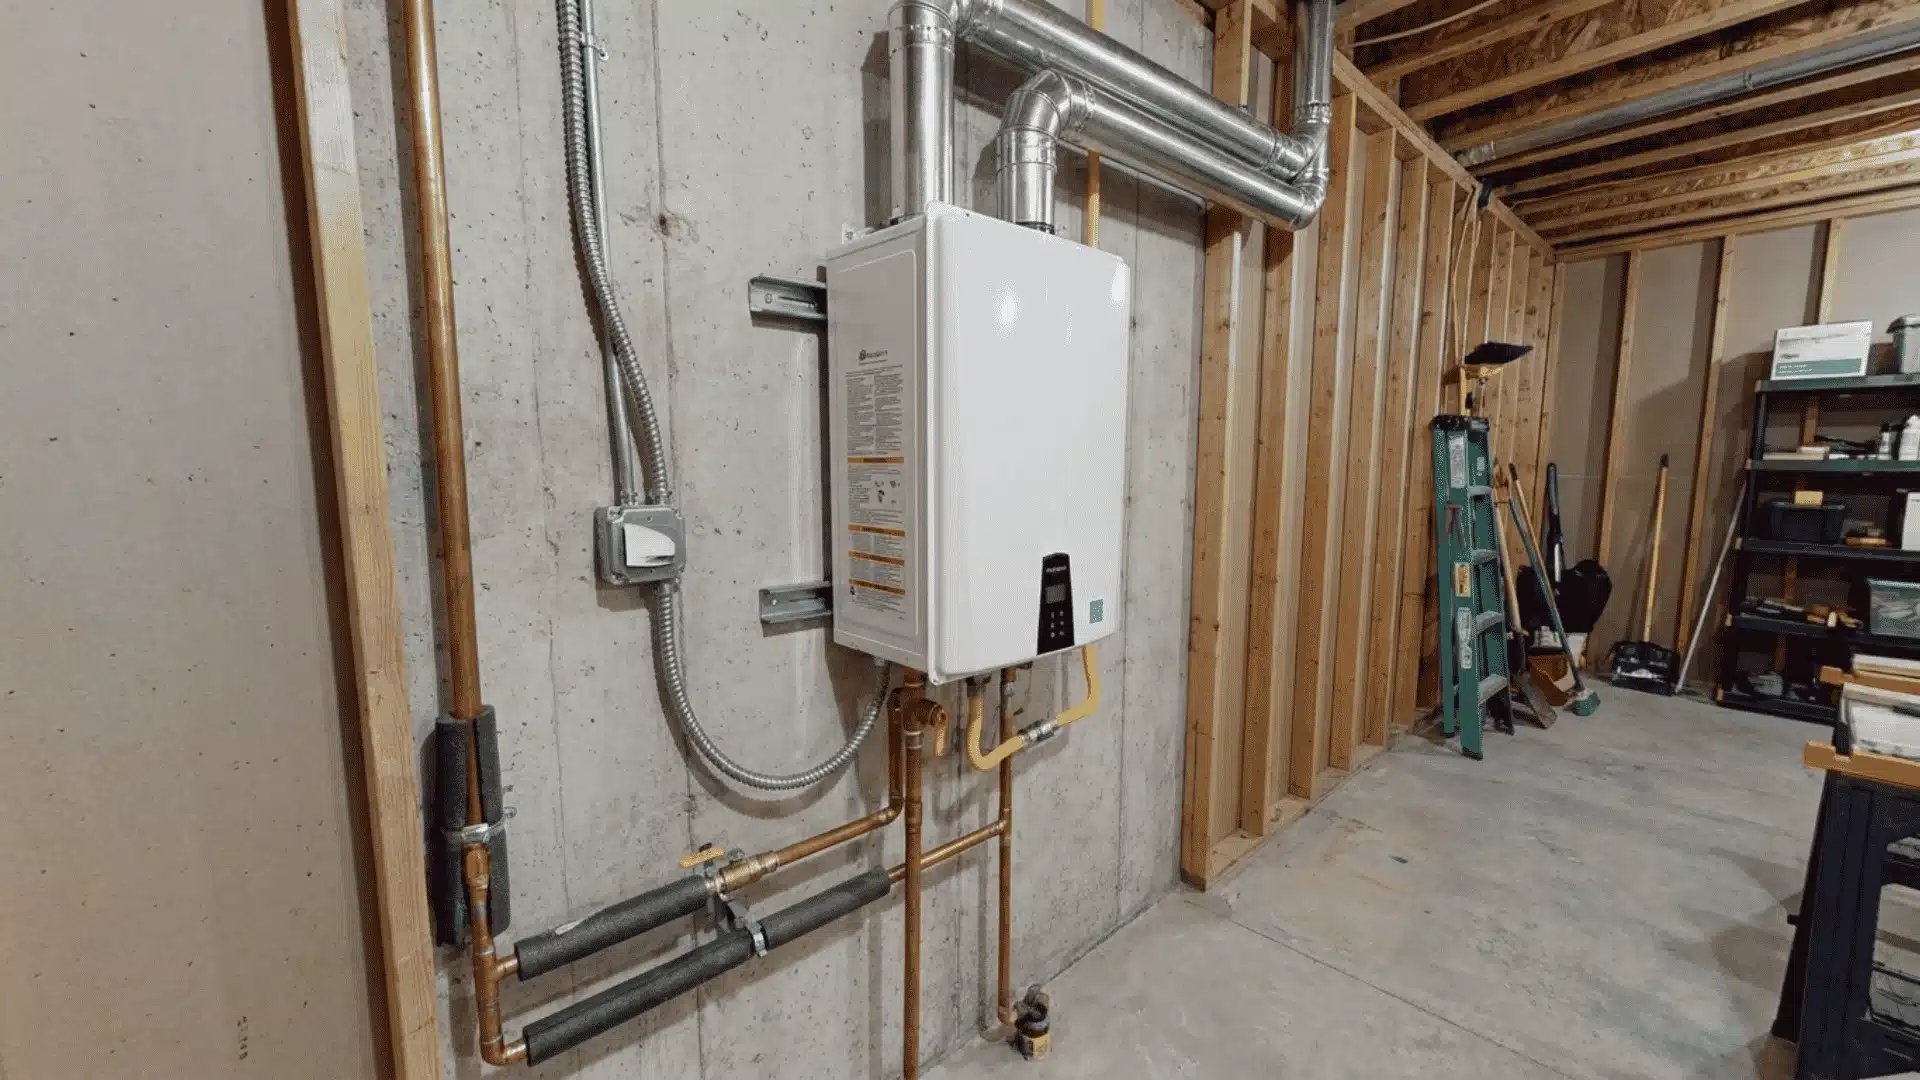
A tankless water heater needs the right utility connections, mounting location, and safety components. Requirements differ between gas and electric models, but most installations include:
- A properly sized cold-water inlet and hot-water outlet
- Full-port isolation valves with flushing connections
- A secure wall or mounting board
- Adequate gas supply or electrical panel capacity
- Manufacturer-approved venting for indoor gas models
- A condensate drain for condensing units
- Required pressure-relief and shut-off components
- Access for maintenance and repairs
- Local permits and inspections
The manufacturer’s installation manual should guide every decision. Pipe size, wiring, vent length, clearances, and drainage rules can vary significantly between models.
Can You Install a Tankless Water Heater Yourself?
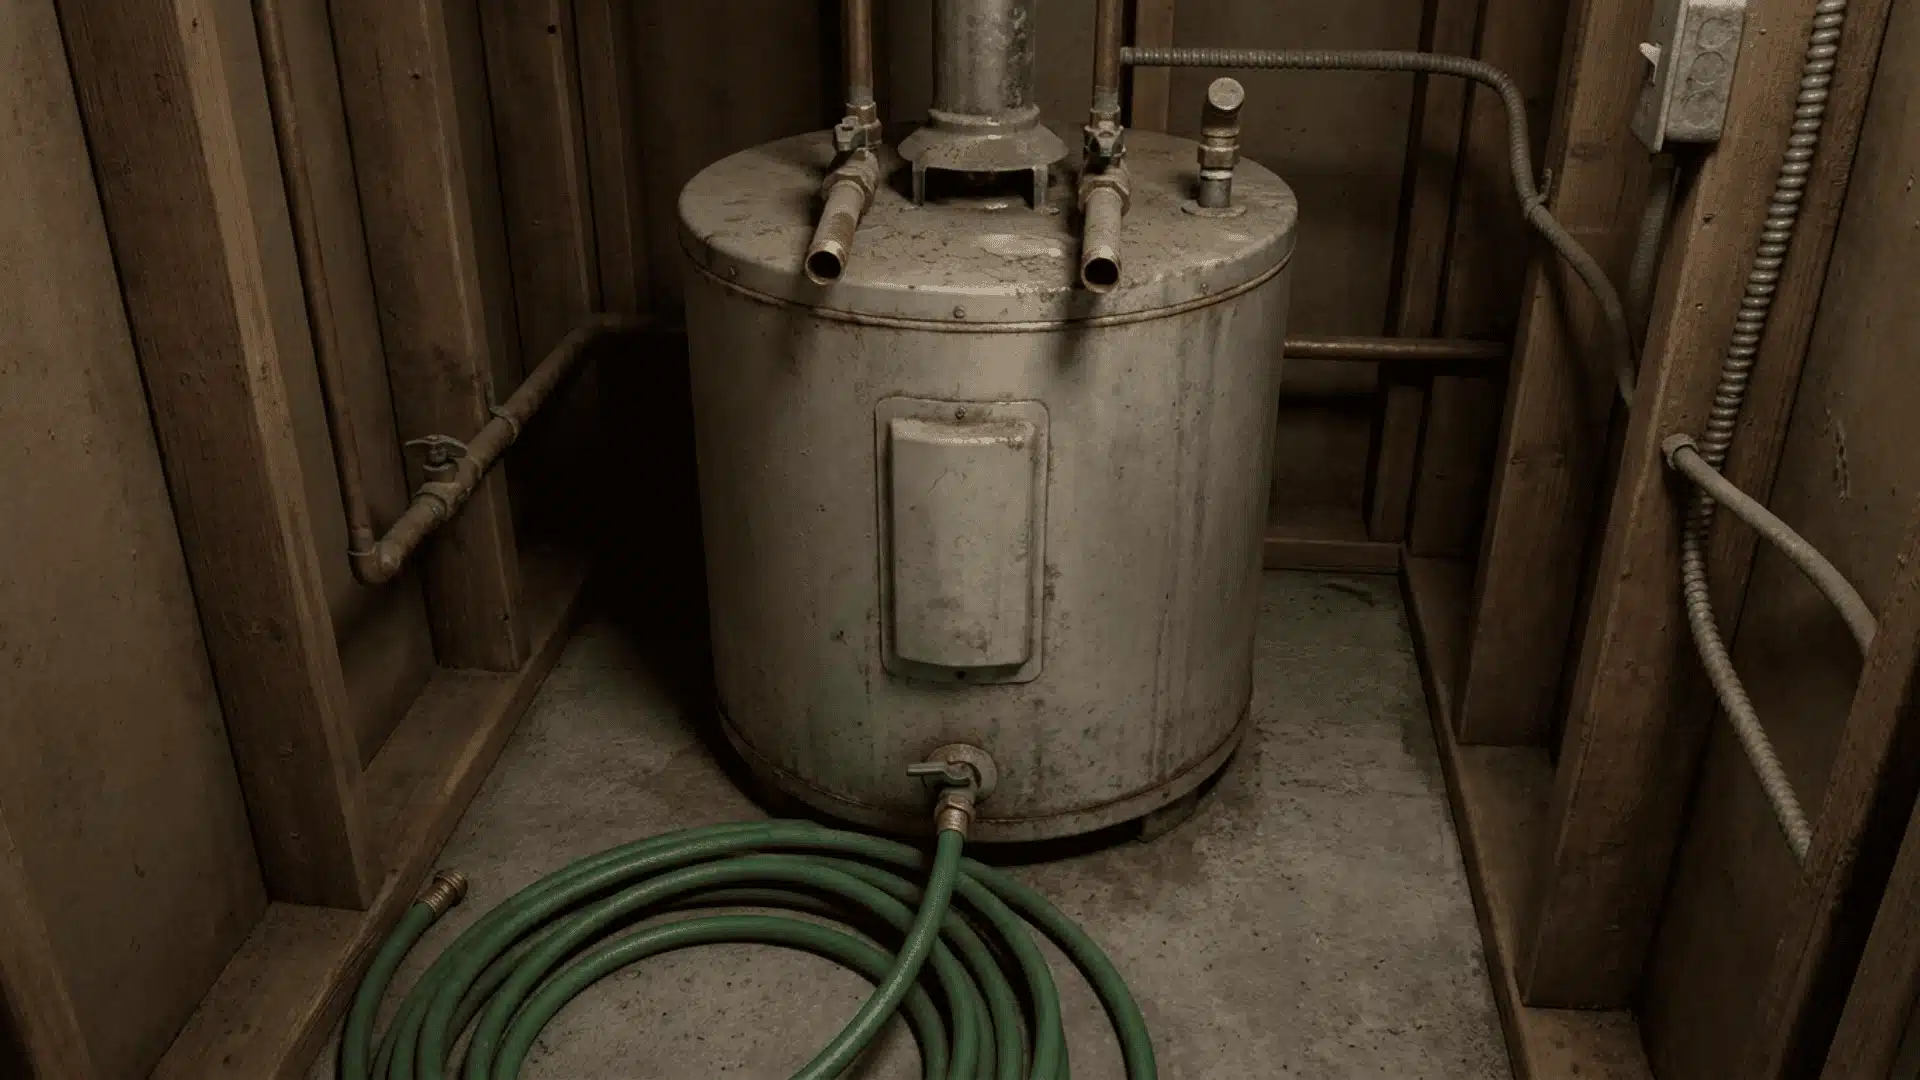
Installing a small point-of-use electric heater may be manageable for someone with suitable plumbing and electrical experience. A whole-house system is much more complicated.
Gas units require correct fuel pressure, combustion air, exhaust venting, and leak testing. High-capacity electric heaters may need several dedicated 240-volt circuits and heavy-gauge wiring. Mistakes can cause gas leaks, carbon monoxide exposure, electrical fires, water damage, or equipment failure.
DIY installation can also create permit, inspection, insurance, and warranty problems. For most whole-house systems, hiring licensed plumbing, gas, and electrical professionals is the safer option.
Plan the Installation Before Buying
Plan before choosing a tankless water heater because the unit must match your hot-water demand and existing utilities.
The tankless water heater vs tank decision can also change installation costs. Replacing a storage tank is usually simpler, while converting to tankless may require gas-line upgrades, new wiring, venting, drainage, or plumbing changes.
Estimate simultaneous fixture use and the required temperature rise. Then check gas supply, electrical capacity, water pressure, venting, clearances, drainage, and service access.
A contractor assessment can confirm the correct size, identify hidden expenses, and prevent you from buying an unsuitable unit.
How to Install a Tankless Water Heater
Installation methods vary, so the unit’s manual and local code requirements must take priority over general instructions.
Tools and Materials Needed
| Tool or material | Type | Purpose during installation |
|---|---|---|
| Battery-powered pump | Tool | Drains water from the existing storage heater before its gas, water, and vent connections are disconnected. |
| One-inch gas pipe | Material | Runs from the gas meter to the tankless heater and supplies the higher fuel demand of the burner. |
| Gas shutoff valve | Safety component | Isolates the gas supply so the heater can be tested, serviced, or disconnected safely. |
| Concentric vent pipe | Venting material | Combines the fresh-air intake and exhaust within one assembly, requiring only one opening through the exterior wall. |
| Three-quarter-inch copper pipe | Plumbing material | Connects the tankless unit to the home’s cold-water supply and existing hot-water distribution system. |
| Expansion tank | Plumbing component | Provides space for water to expand as it is heated and helps control pressure within the plumbing system. |
| Condensate drain line | Drainage material | Carries moisture produced by the condensing heater to the nearby floor drain. |
| Electrical supply | Utility connection | Powers the heater’s fan, burner controls, temperature panel, and other operating components. |
| Temperature control panel | Control component | Allows the household to increase or decrease the tankless water heater’s outlet temperature. |
Step 1: Inspect the System and Select the Unit
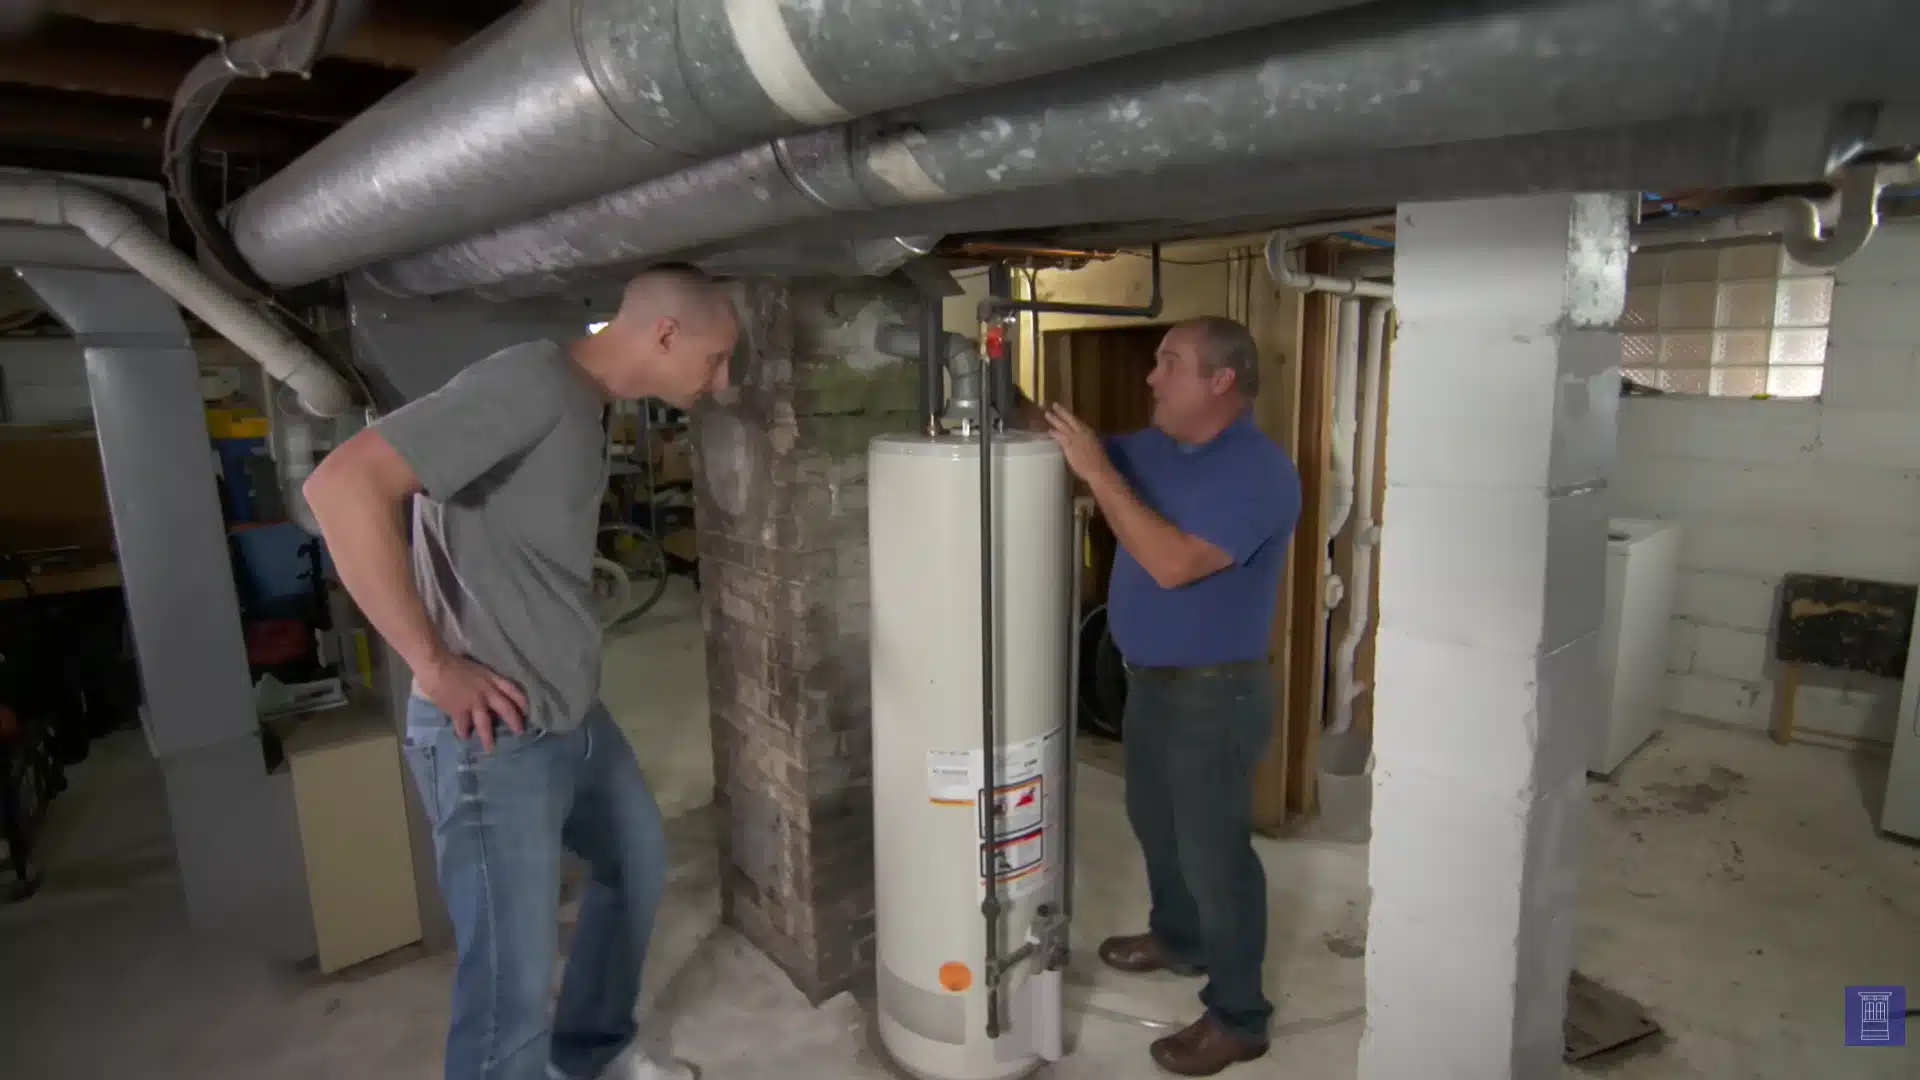
Inspect the existing water heater, chimney connection, available wall space, and household hot-water demand before choosing a replacement. Confirm that the new unit can meet peak use, fit the location, and vent safely outdoors.
A condensing tankless model may provide continuous hot water, reduce floor-space use, and eliminate dependence on an aging chimney or inefficient storage tank during daily operation.
Step 2: Drain and Remove the Old Heater
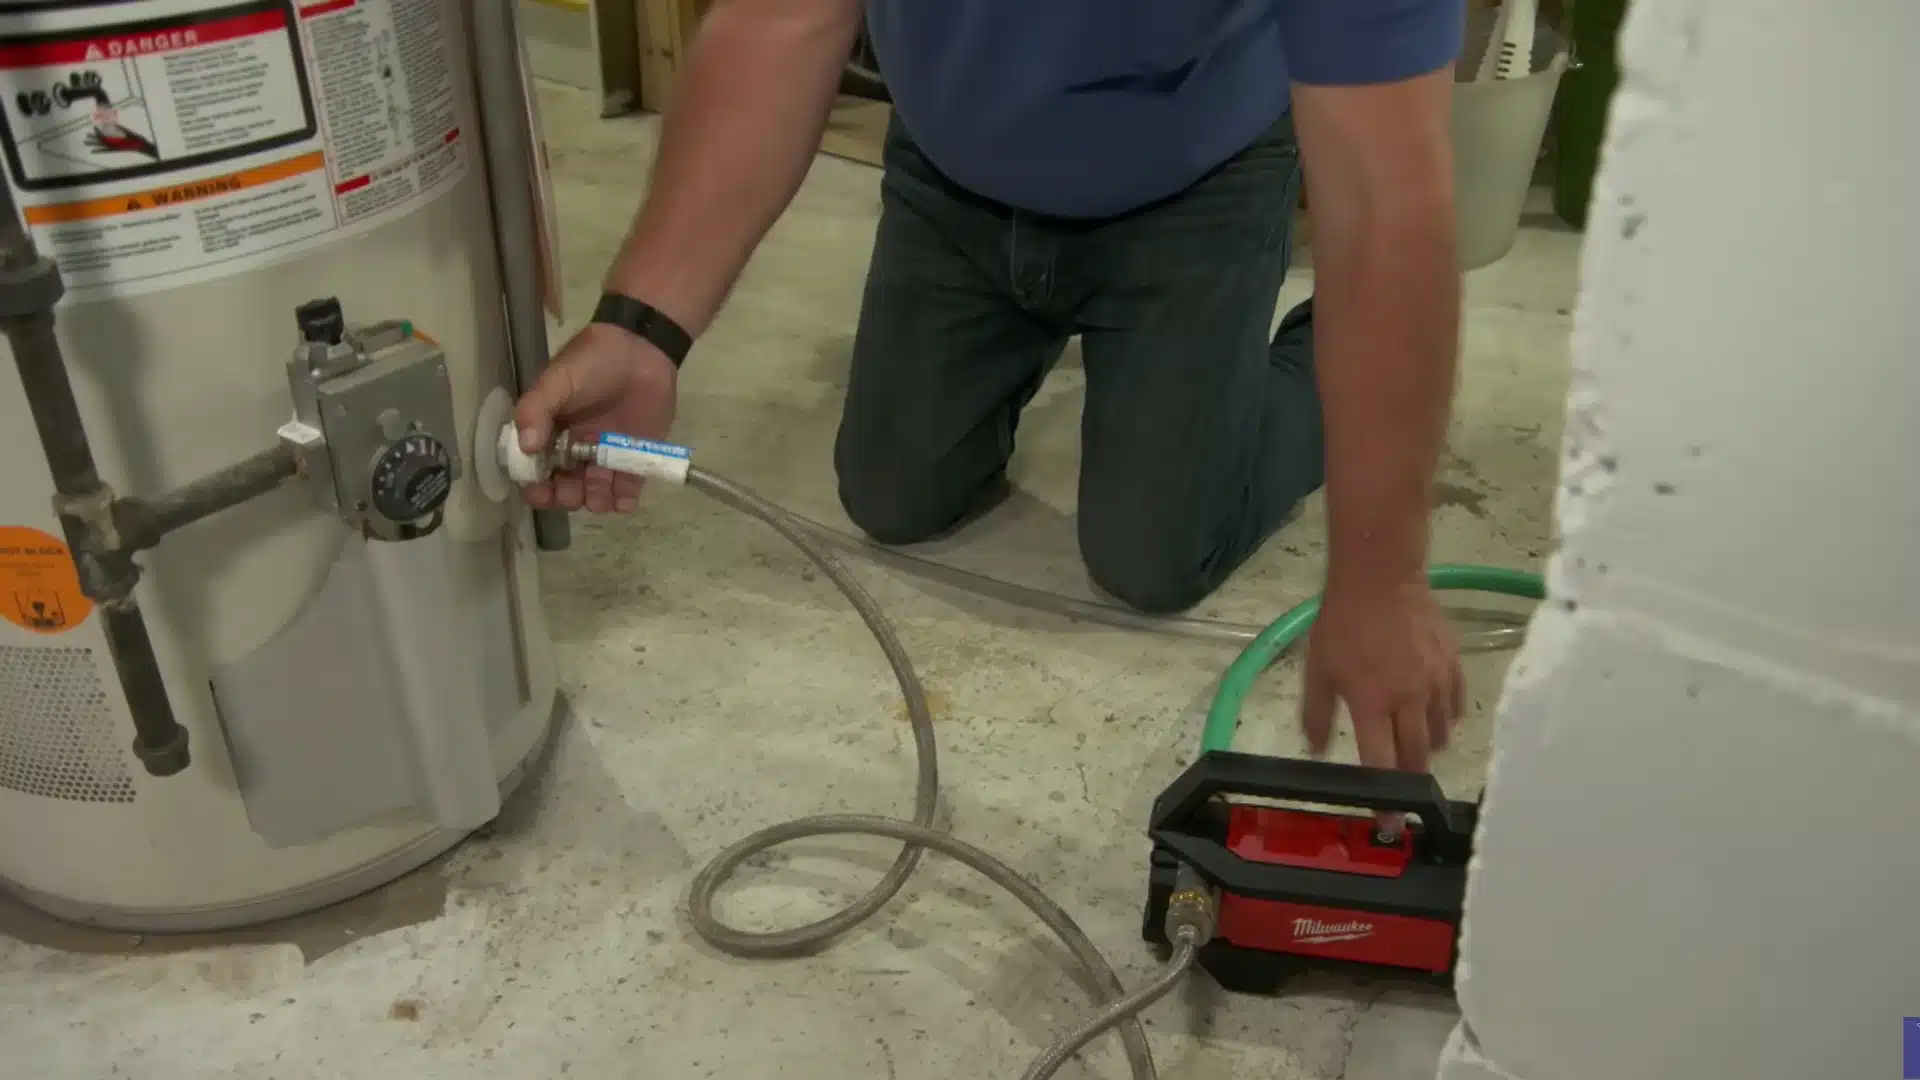
Shut off the water, gas, and electrical supply before beginning removal. Use a battery-powered pump or drain hose to empty the storage tank completely. Disconnect the gas line, hot and cold water pipes, wiring, and flue.
Remove the old heater carefully, clear the area, and seal the unused chimney opening when direct venting will replace it during the final conversion.
Step 3: Mount the Unit and Upgrade Gas Supply
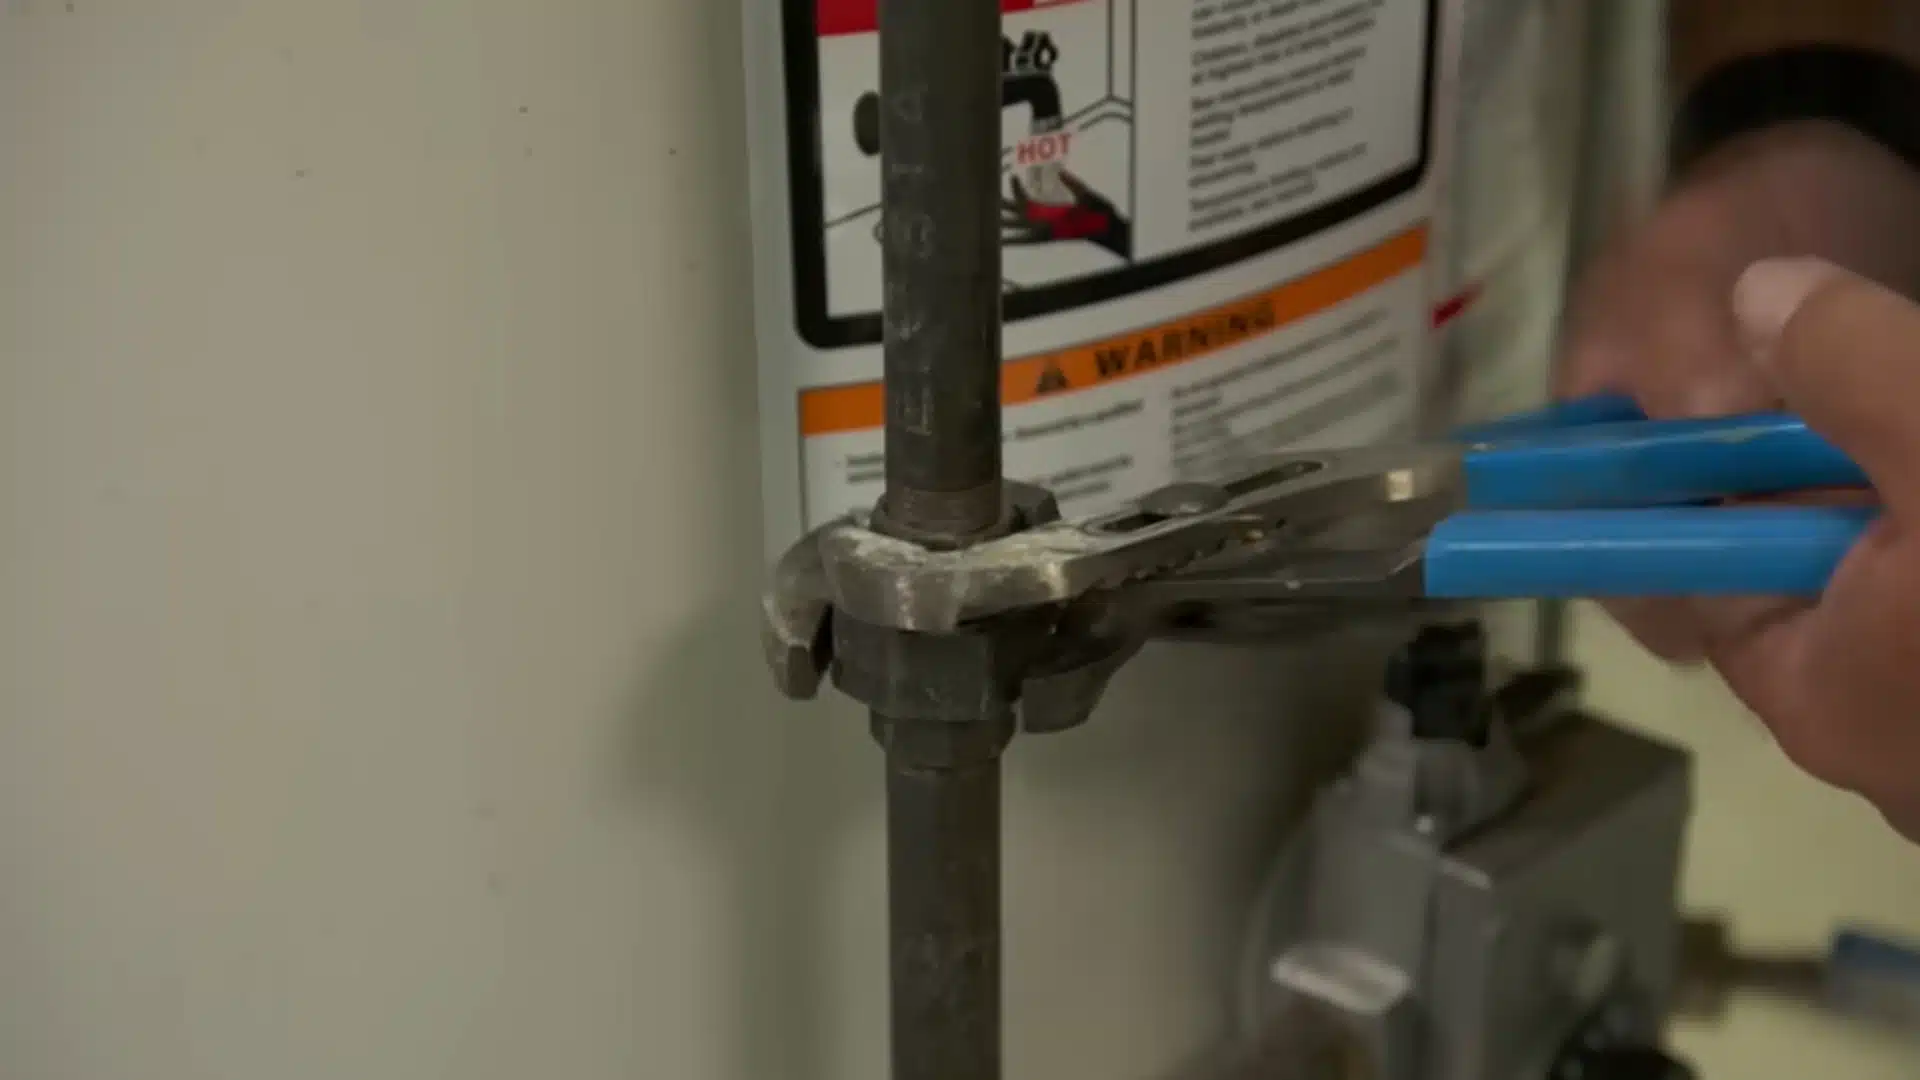
Mount the tankless heater securely on a solid wall or approved backing surface. Run a correctly sized gas line from the meter when the existing supply cannot support the burner’s demand.
Install an accessible shutoff valve, then test and purge the line. Connect electrical power for the fan, controls, ignition system, and temperature display before startup and normal daily operation.
Step 4: Install the Intake and Exhaust Vent
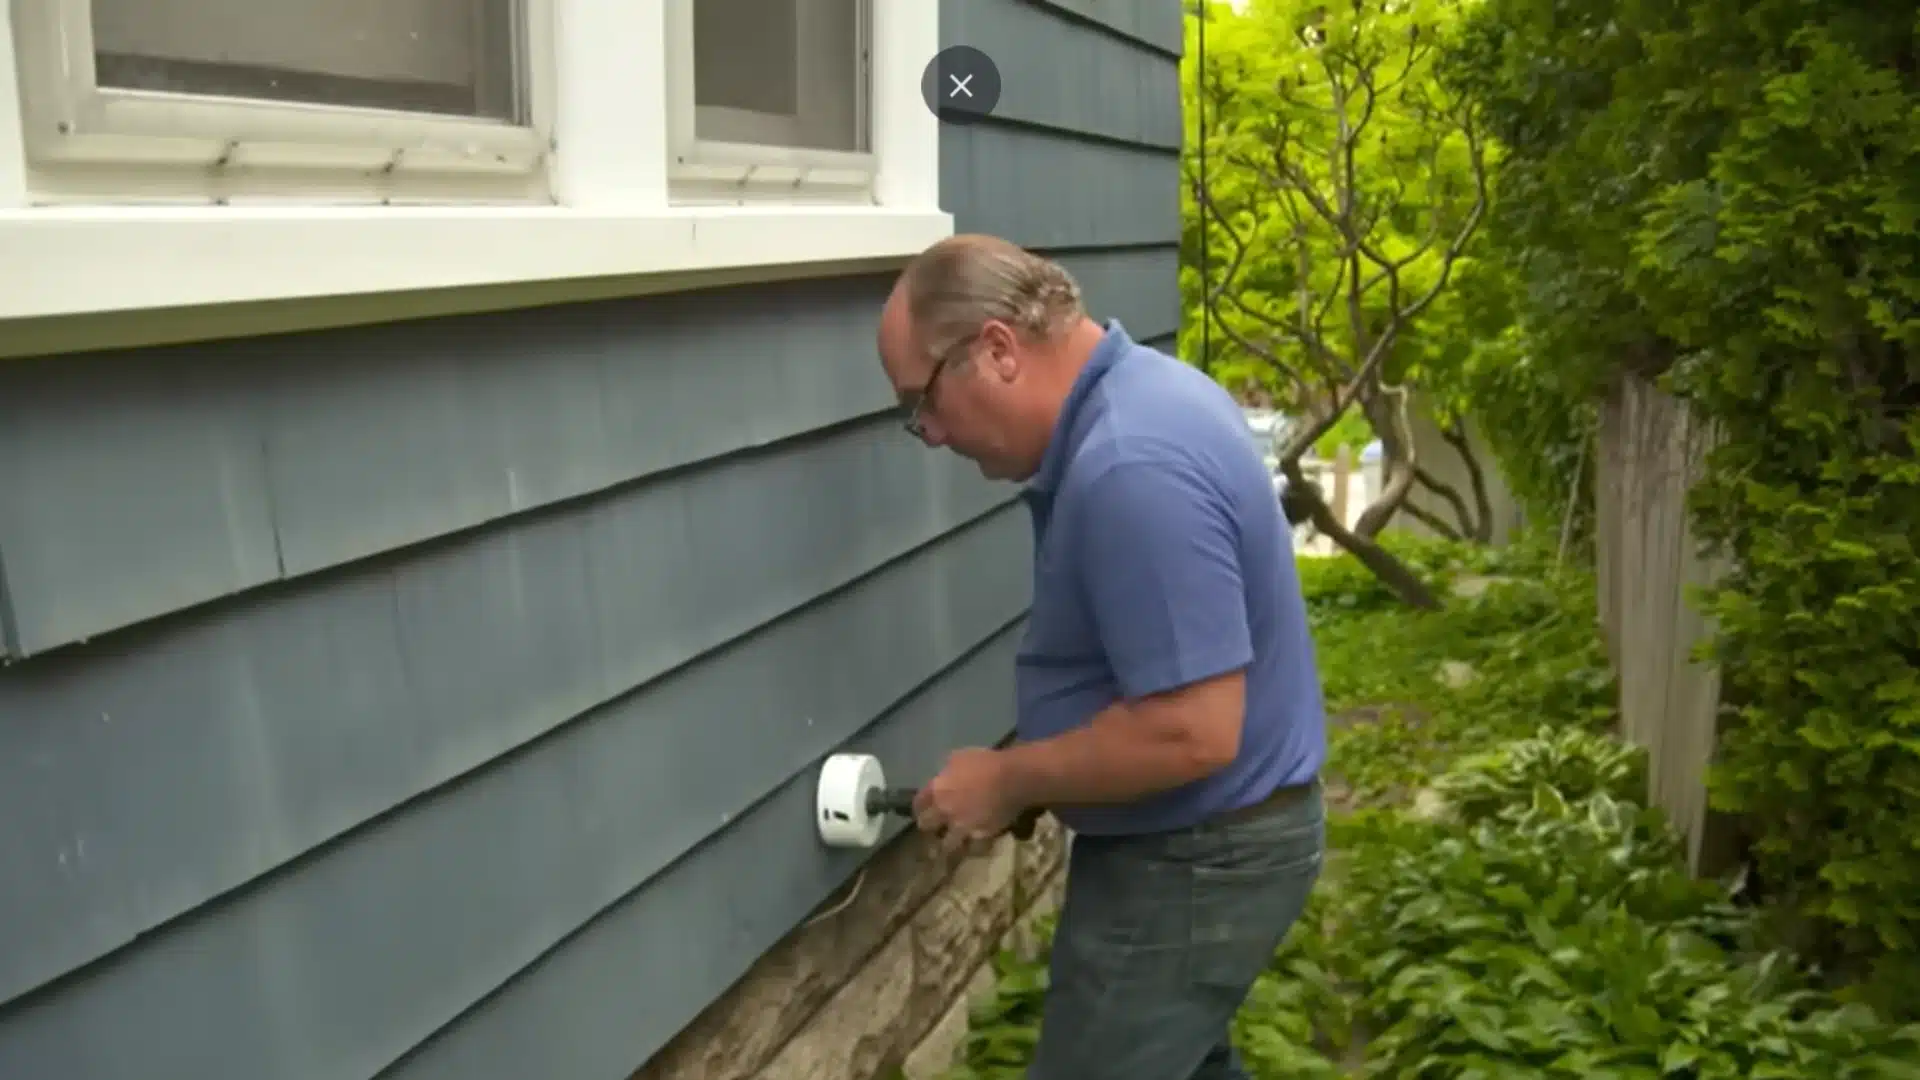
Install the fresh-air intake and exhaust pipes using a concentric vent assembly when approved for the selected model. This setup brings combustion air into the heater and sends exhaust gases outdoors through one wall opening.
Follow manufacturer requirements for pipe length, slope, support, and clearances. Confirm both vent paths are sealed and connected to the correct ports before final startup.
Step 5: Connect Water and Pressure Components
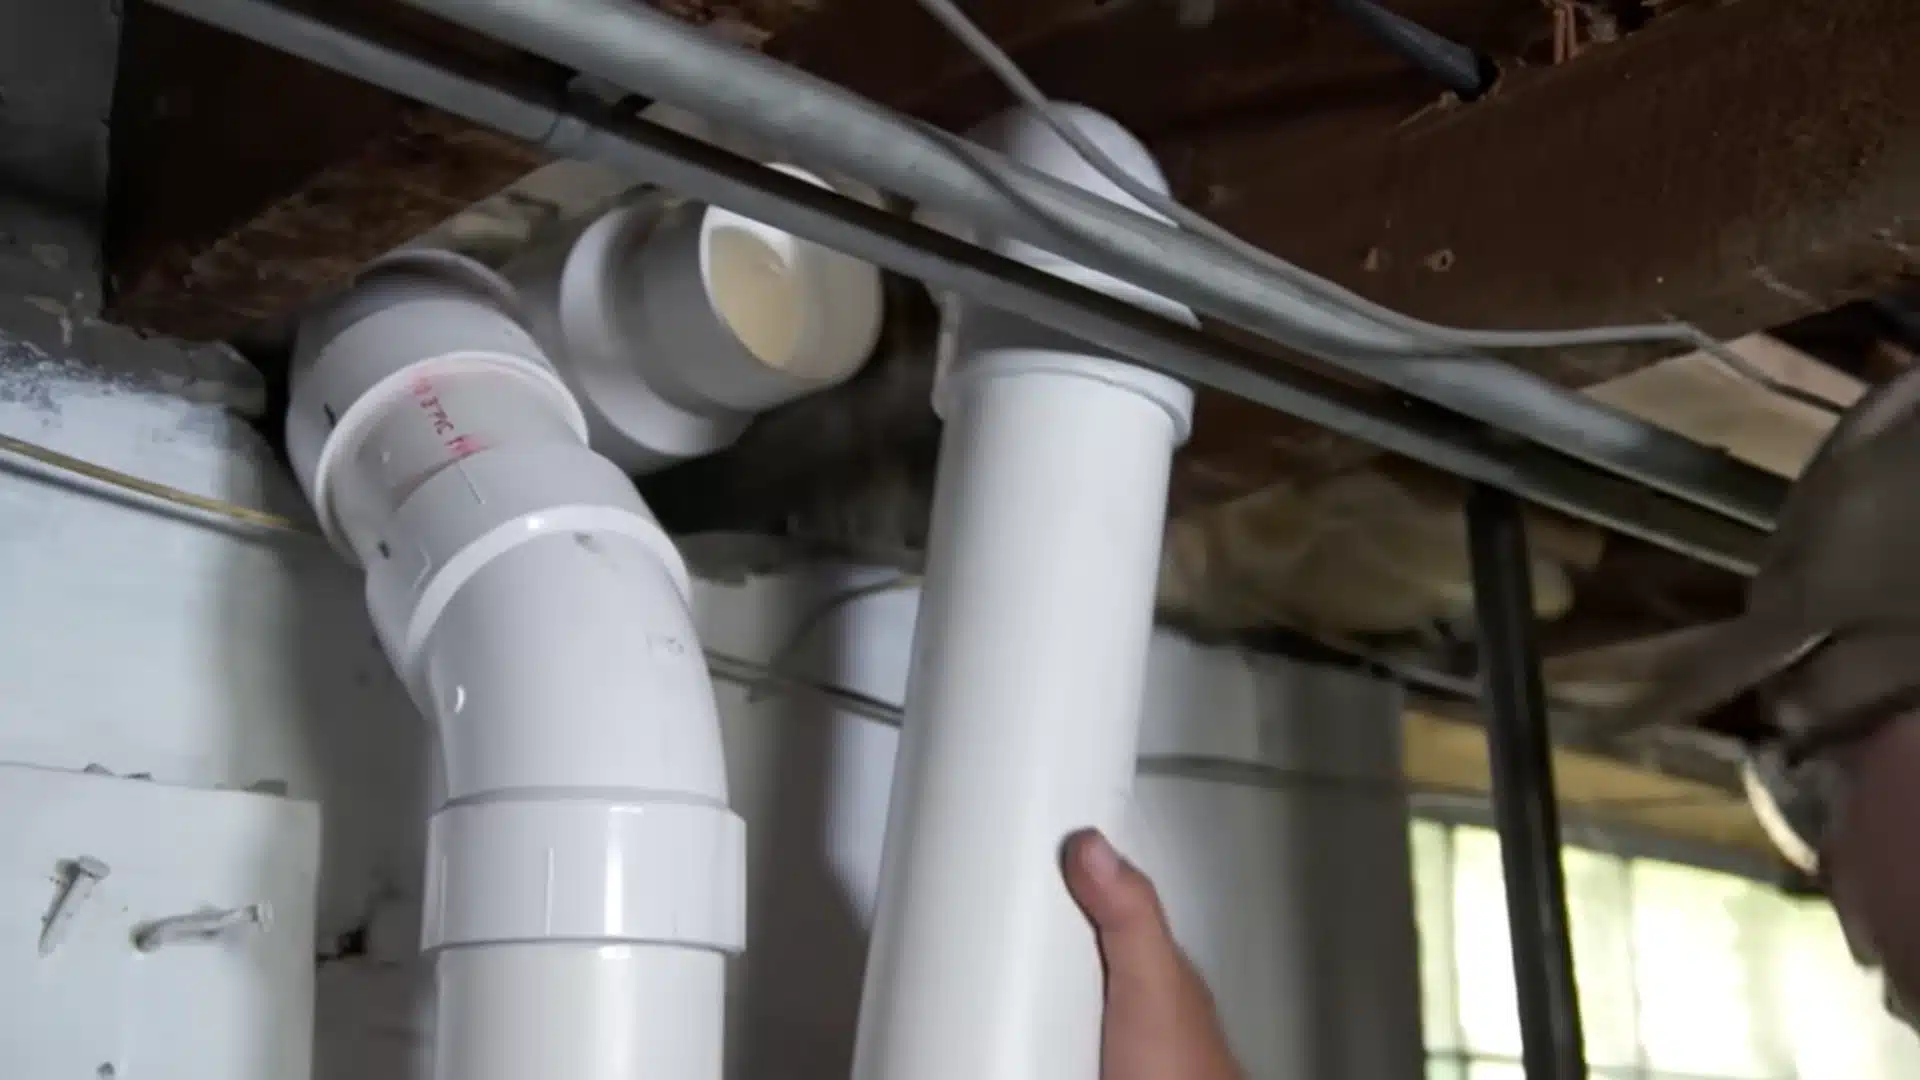
Connect three-quarter-inch copper pipes to the cold-water inlet and hot-water outlet, then tie the hot line into the home’s plumbing system. Add an expansion tank on the cold side to absorb pressure changes as water heats.
Install a temperature and pressure relief valve nearby, and keep every valve, joint, and service connection accessible for inspection and maintenance during future servicing.
Step 6: Route Condensate and Set Controls
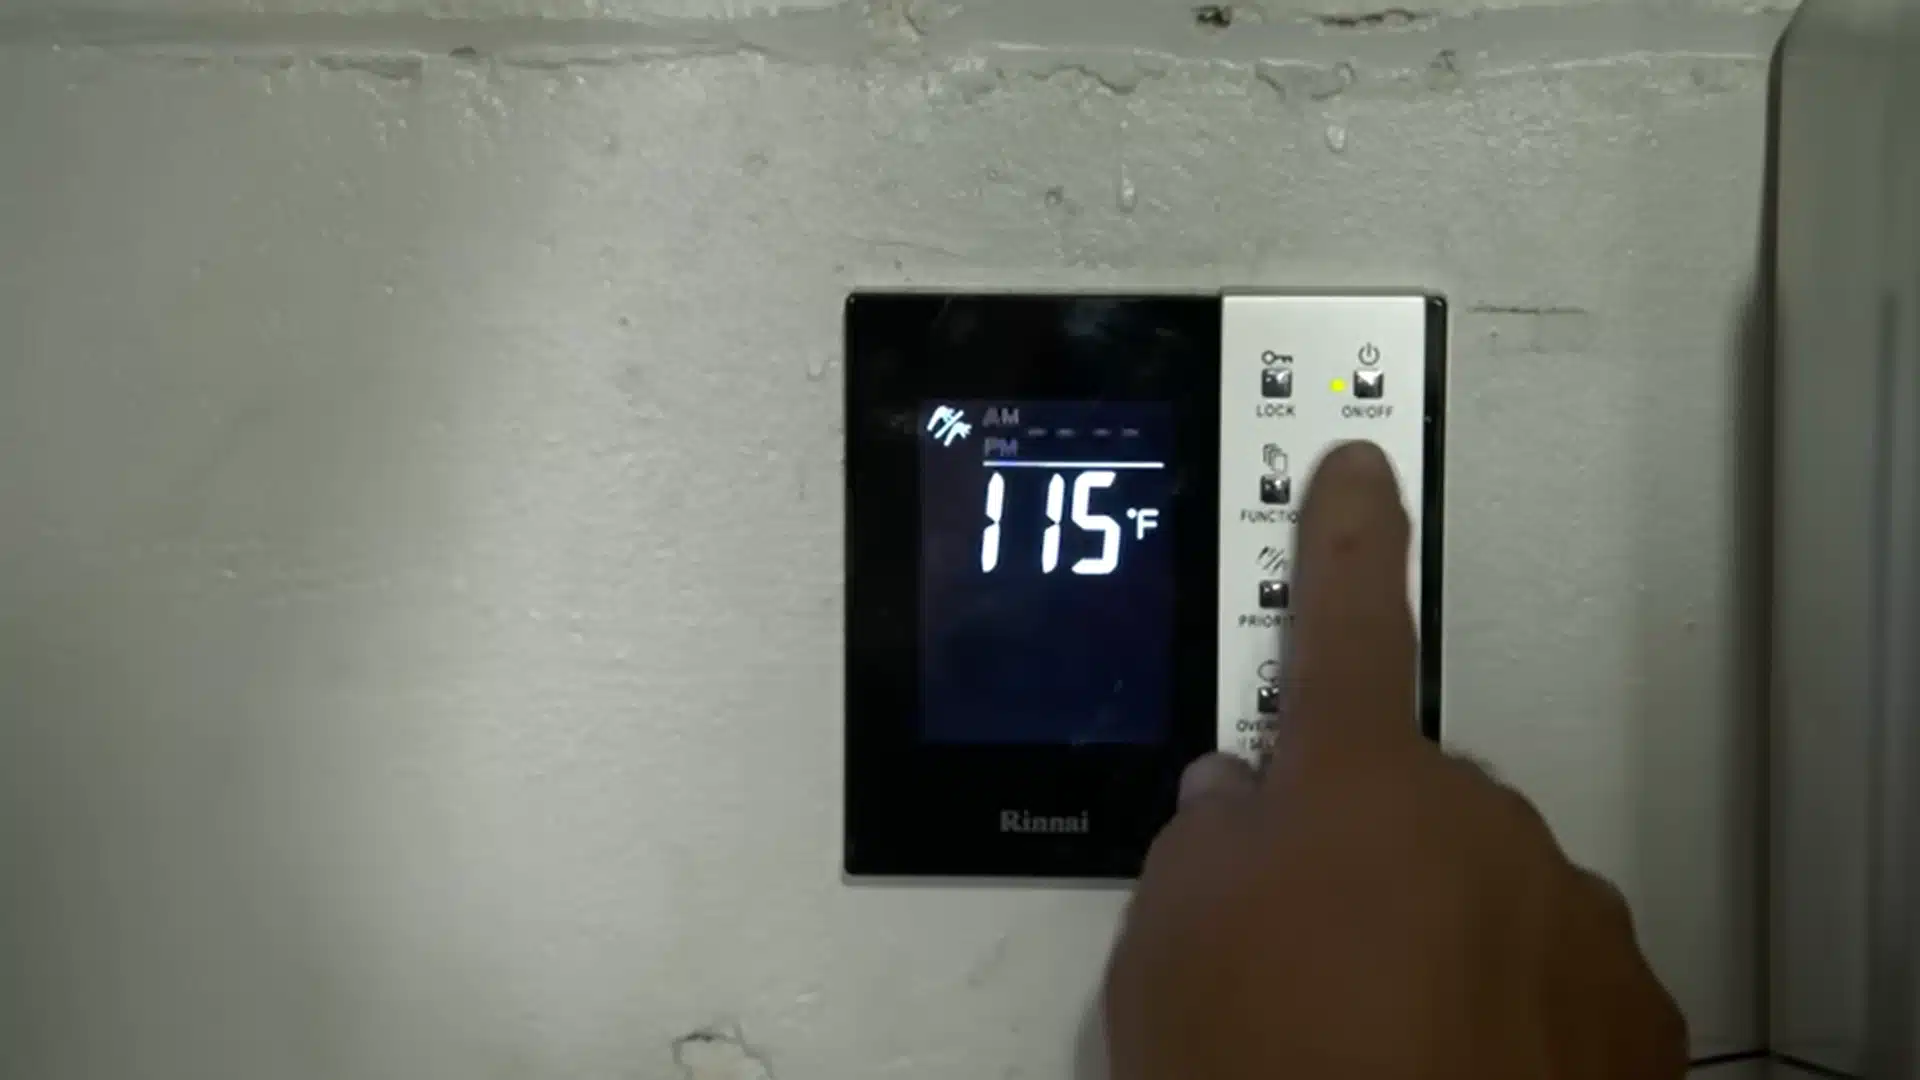
Route the condensate outlet to a suitable drain with a continuous downward slope. Protect the line from freezing, blockage, and accidental damage.
Once gas, water, vent, and drainage connections are complete, restore power and use the control panel to select a safe outlet temperature. Check the manufacturer’s recommended setting before supplying hot water to household fixtures throughout normal daily use.
Step 7: Add the Hot-Water Recirculation System
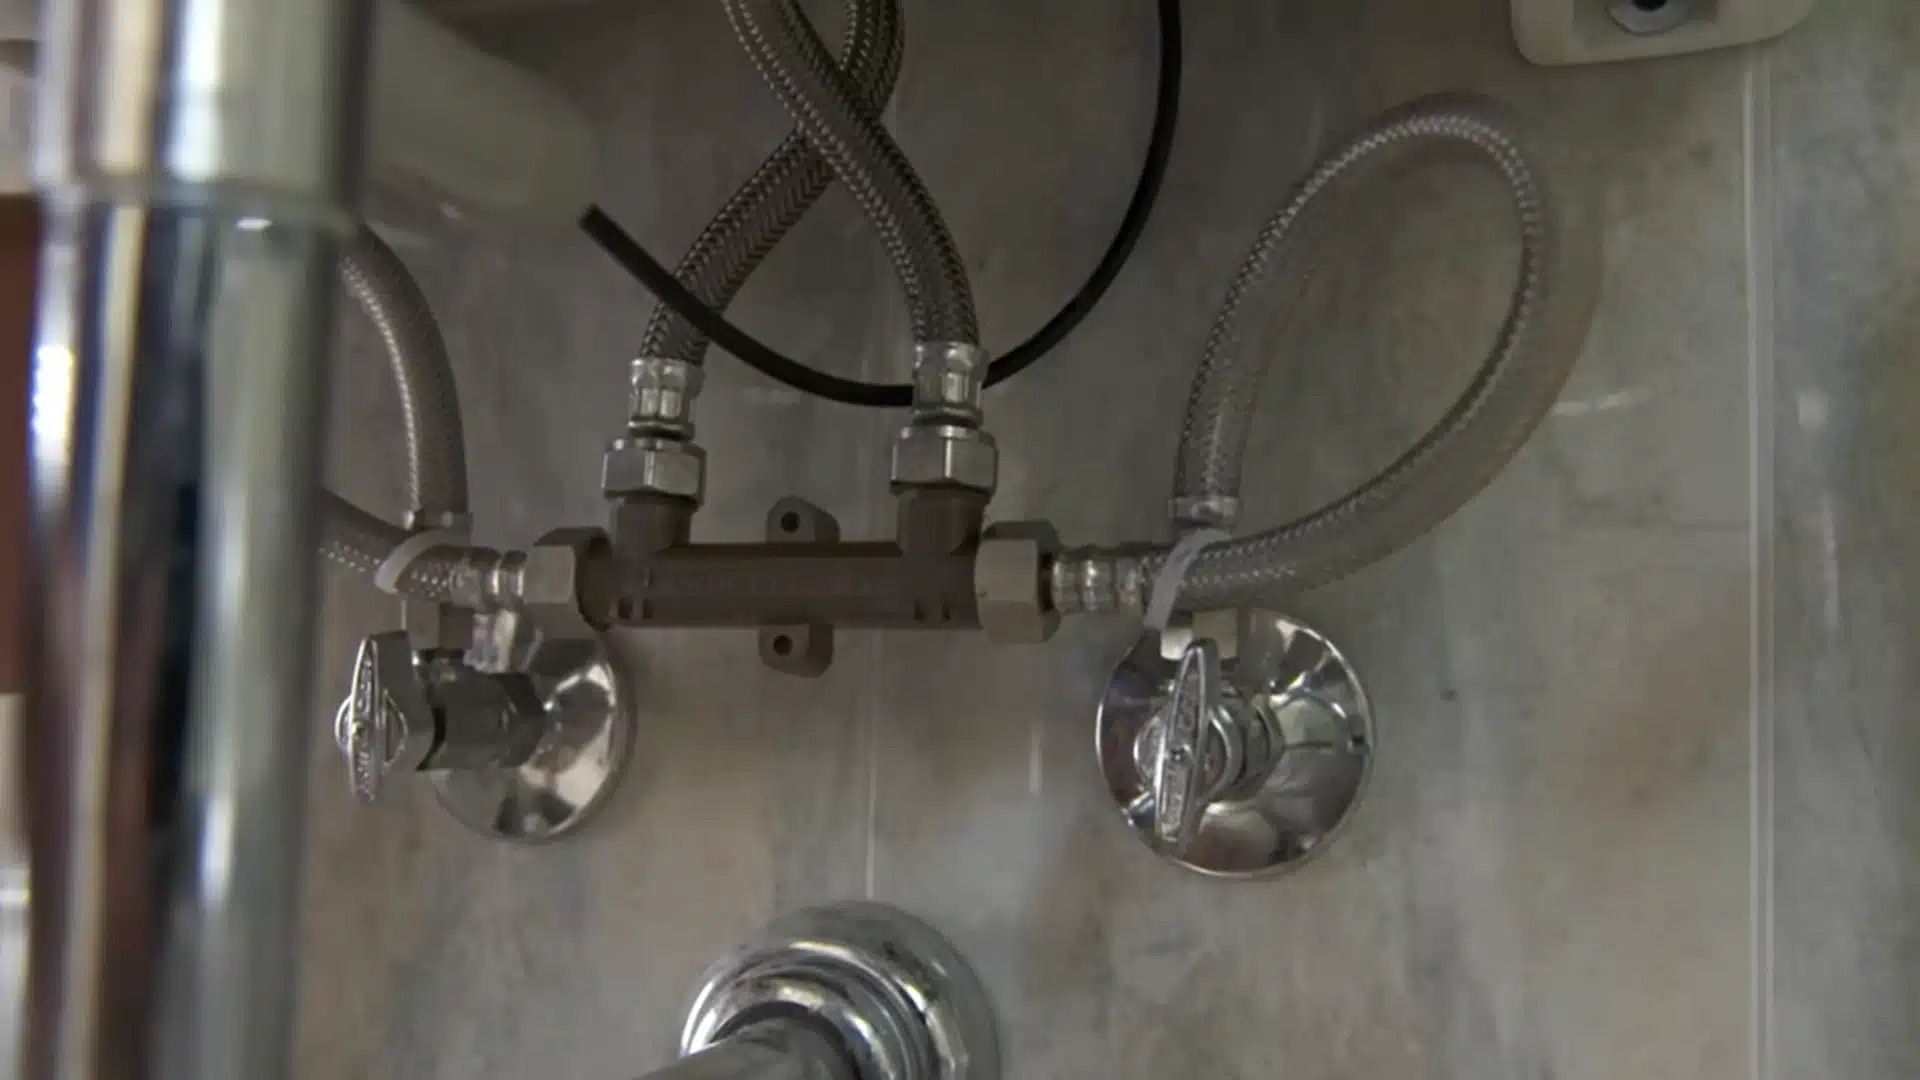
Add a recirculation pump and crossover valve when distant fixtures take too long to receive hot water.
The valve opens as water in the hot line cools, allowing the pump to move it through the cold-water side instead of wasting it down the drain. Use a timer or smart control to limit operation to expected periods of use each day.
Step 8: Test the Complete Installation
Test and purge the gas line, then inspect all water connections for leaks. Confirm that the intake, exhaust, condensate drain, safety valve, and control panel work correctly.
Open a distant faucet to activate the burner and check temperature stability and delivery time. Verify the recirculation system if installed, then turn off the faucet to prevent unnecessary water waste after testing.
Watch the video below to see each installation step, connection, safety component, and final system test demonstrated in a home.
Gas Tankless Water Heater Installation
Gas models are often chosen for higher whole-house flow rates, but their installation involves combustion and exhaust requirements.
The installer must verify:
- Total BTU demand of the heater and other appliances
- Gas-pipe length and diameter
- Available inlet pressure
- Meter and regulator capacity
- Combustion-air requirements
- Vent material and termination location
- Carbon monoxide alarm placement
A storage water heater may use a smaller gas connection because it heats water gradually. A tankless model burns fuel at a much higher rate while operating, which is why an existing line cannot automatically be reused.
Indoor vs Outdoor Installation
| Factor | Indoor unit | Outdoor unit |
|---|---|---|
| Exhaust handling | Requires approved indoor venting | Exhausts directly outside |
| Freeze exposure | Usually lower | Requires freeze protection |
| Weather exposure | Protected by the building | Must be rated for outdoor use |
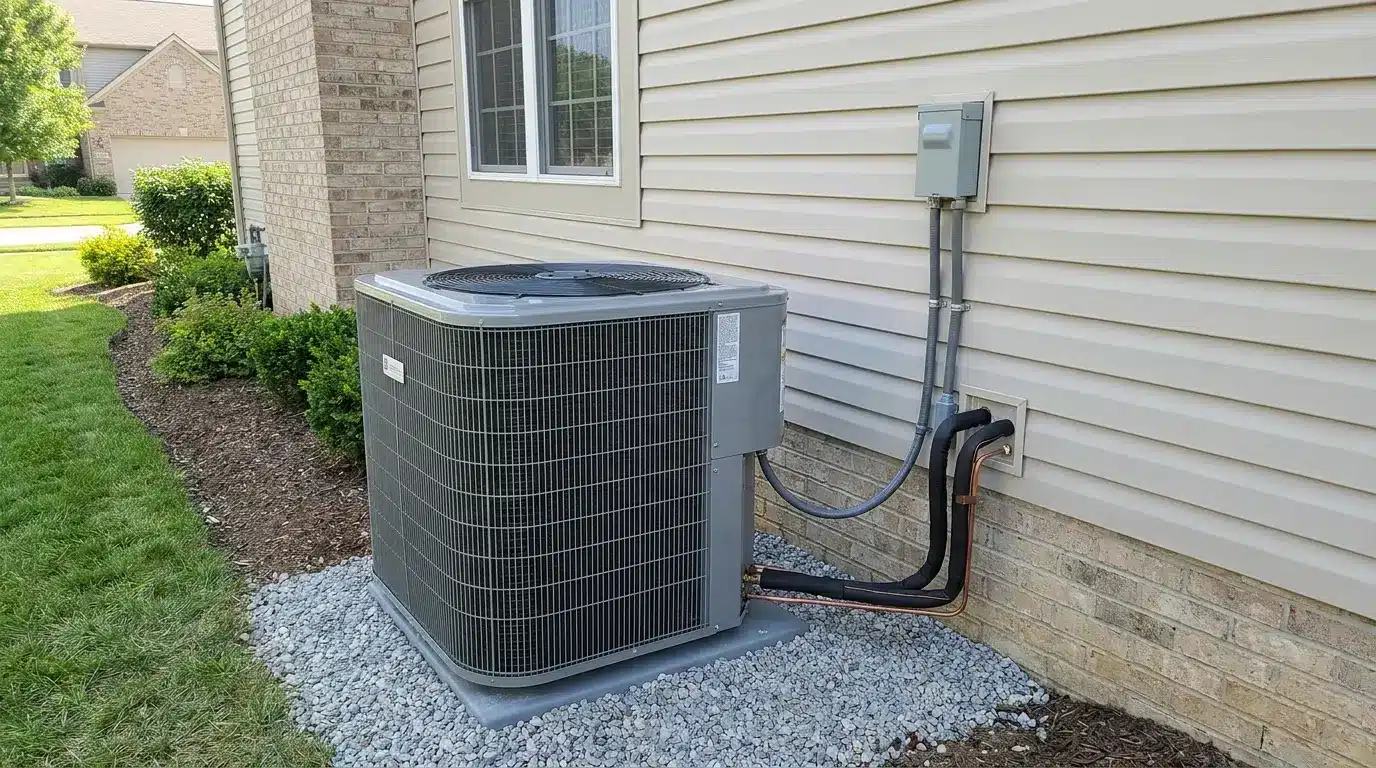
| Installation location | Utility room, garage, or basement | Exterior wall |
| Maintenance access | Often easier in poor weather | May be less convenient |
| Climate suitability | Works in most climates | Better suited to mild conditions |
Outdoor installation can reduce venting work, but it should not be used where temperatures or weather conditions exceed the unit’s design limits.
Tankless Water Heater Installation Cost
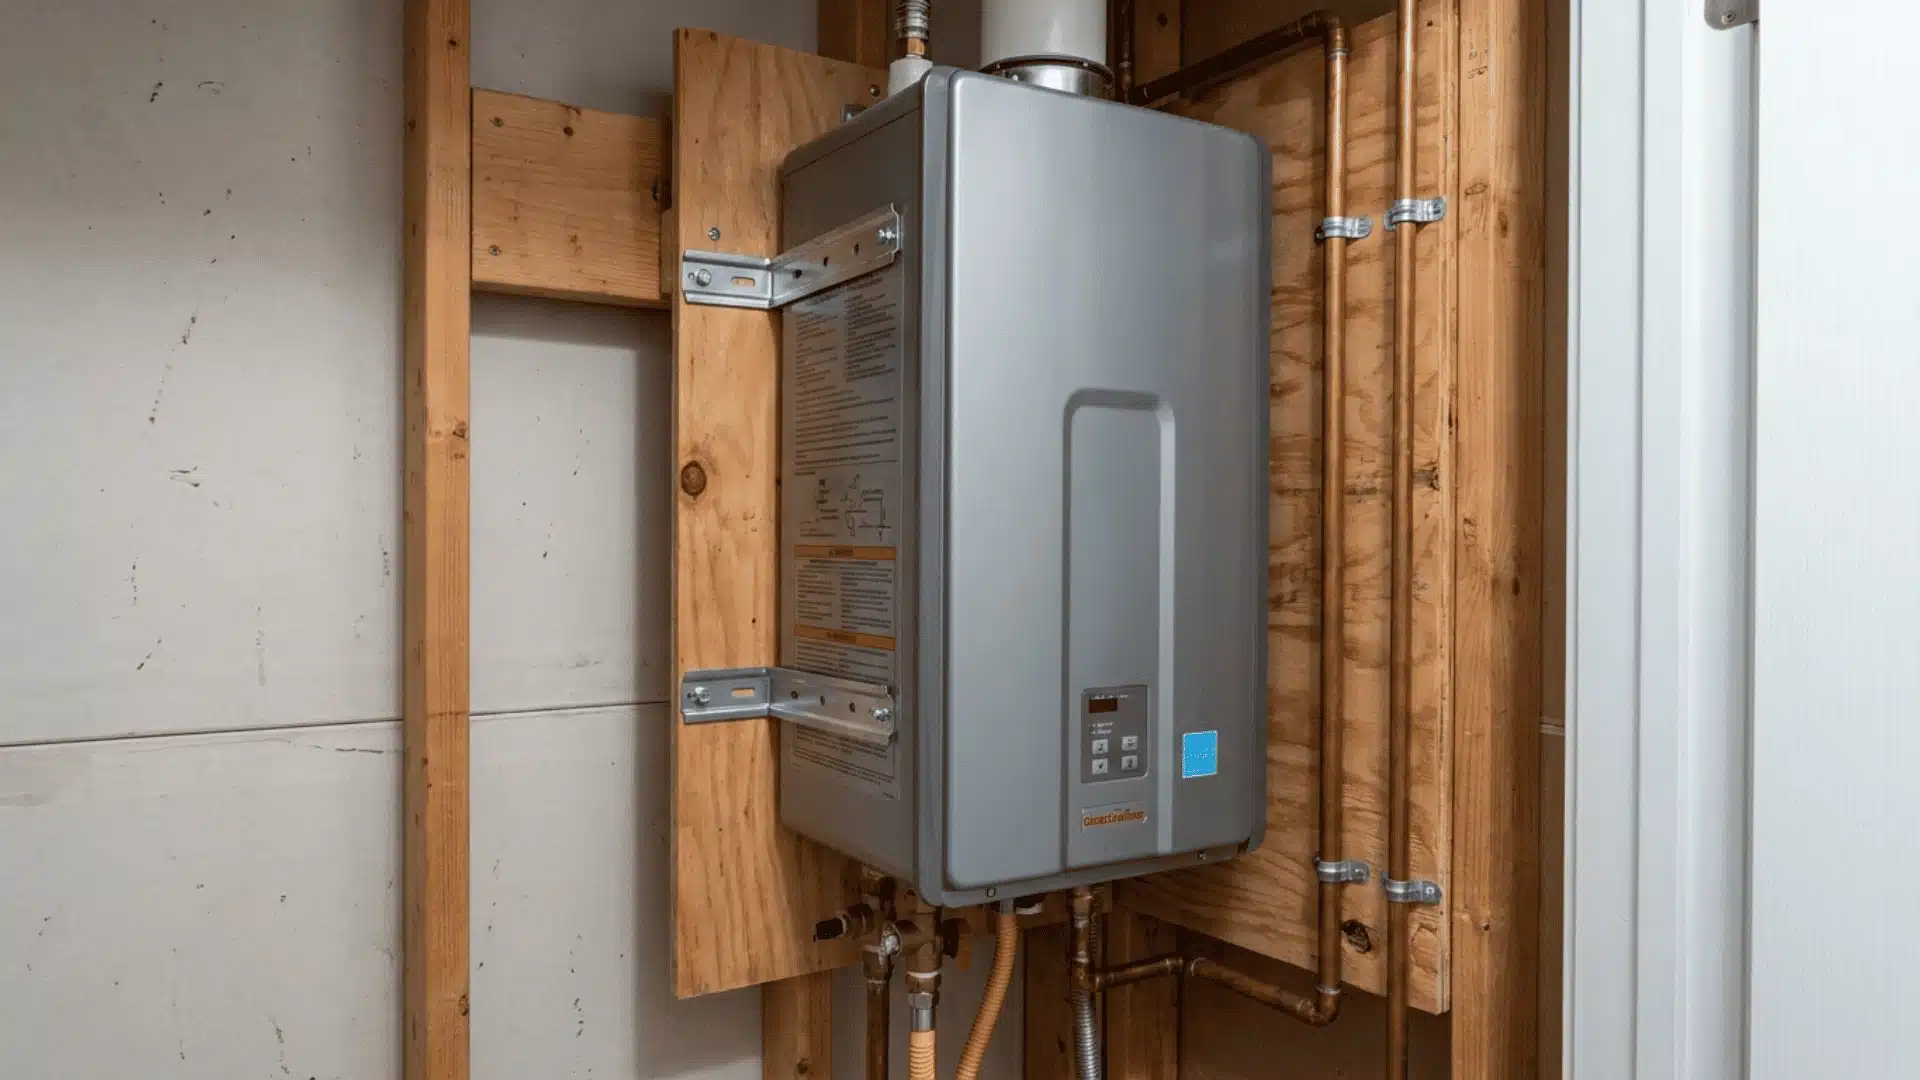
A complete installation commonly costs more than the heater alone. Many projects fall between $3,000 and $5,000, including equipment, labor, and materials, although complex conversions can cost more.
Major cost factors include:
- Heater capacity and fuel type
- Removal of the existing tank
- Gas-line or meter upgrades
- Electrical-panel and circuit work
- New venting routes
- Plumbing modifications
- Condensate drainage
- Recirculation equipment
- Permit and inspection fees
Replacing an existing tankless unit with a similar model is usually less expensive than converting from a storage heater because some connections may already meet current requirements.
How Long Does Tankless Water Heater Installation Take?
Installation time depends on how closely the new system matches the home’s existing setup.
A straightforward replacement may take only several hours when the gas or electrical supply, venting route, water connections, drain, and mounting location are already suitable.
Converting from a storage tank to a tankless unit usually takes a full day or longer because more modifications are often required.
The timeline can increase if the project needs a larger gas line, electrical-panel upgrade, long intake or exhaust runs, wall repairs, relocated plumbing, permit inspections, or recirculation piping.
Unexpected code issues or limited access can also slow progress. A qualified installer should inspect the property, review utility capacity, and confirm the required changes before giving an accurate estimate for labor, materials, and completion time for the complete installation process.
Common Tankless Water Heater Installation Mistakes
Small installation errors can reduce water flow, increase energy use, cause repeated shutdowns, and create serious safety or maintenance problems later.
- Choosing a unit that cannot meet peak household hot-water demand
- Reusing a gas line that cannot supply the required BTU load
- Installing an electric model without checking panel capacity
- Using unapproved or incorrectly sized vent materials
- Omitting isolation valves and flushing ports
- Routing condensate without proper slope or drainage
- Blocking access to filters, valves, and internal components
- Connecting hot and cold water lines incorrectly
- Skipping gas, water, or electrical safety tests
- Ignoring manufacturer instructions, permits, and local building codes
Careful sizing, approved materials, accessible connections, and final safety testing help the heater operate reliably while reducing repair costs and code-related problems.
Should You Hire a Professional Installer?
Professional installation is usually the safest choice for a whole-house tankless water heater.
A qualified contractor can calculate hot-water demand, confirm gas or electrical capacity, size venting correctly, obtain permits, and complete pressure, leak, and load testing before startup.
Before hiring an installer, verify current licensing, insurance, experience with the selected brand, warranty support, and responsibility for permits and inspections.
Request a detailed written estimate that includes labor, venting, plumbing changes, utility upgrades, disposal of the old heater, and final system testing. Also ask for gas-load or electrical-load calculations and startup documentation.
Avoid choosing solely by price, because a low quote may exclude essential materials, code upgrades, permit fees, or removal costs that appear later.
Maintenance After Installation
Tankless heaters still require routine care. Mineral deposits can reduce heat-transfer efficiency and restrict water flow, particularly in hard-water areas.
Recommended maintenance may include:
- Flushing the heat exchanger
- Cleaning the cold-water inlet filter
- Inspecting vent openings
- Checking the condensate line
- Examining valves and fittings for leaks
- Cleaning air-intake screens
- Reviewing stored error codes
Service frequency depends on water quality, operating conditions, and manufacturer instructions. Installing accessible flush ports makes this work faster.
Final Thoughts
A tankless system works well only when the heater, utilities, venting, plumbing, and installation location are planned as one complete setup.
I recommend checking peak hot-water demand and available gas or electrical capacity before you purchase a unit.
Proper tankless water heater installation also depends on secure mounting, approved connections, safe condensate drainage, final leak testing, and enough access for future maintenance. These details help you avoid weak performance, code problems, unexpected upgrade costs, and difficult repairs later.
You can also decide more confidently whether the project suits your experience or requires licensed professionals.
Review your home’s requirements, compare detailed installer estimates, and check out related water-heating guides before choosing your new system.
Frequently Asked Questions
What is required to install a tankless water heater?
Installation typically requires adequate utility capacity, suitable plumbing, secure wall mounting, isolation valves, drainage, and code-compliant connections. Indoor gas models also need approved intake and exhaust venting.
Can a tankless heater replace a regular water heater?
Yes, but the conversion may require larger gas piping, new electrical circuits, different venting, relocated plumbing, or a condensate drain.
Does a tankless water heater need special venting?
Indoor gas models do. The required material and configuration depend on whether the heater is condensing or non-condensing. Electric models do not produce combustion gases.
Does an electric tankless heater need a new panel?
Not always. A small point-of-use model may fit the existing system, while a whole-house unit may require several breakers and additional service capacity.
Does a gas tankless heater need a larger gas line?
It may. Tankless units can have a much higher operating BTU demand than storage heaters, so the line must be sized according to pressure, length, and total appliance load.
Where should a tankless water heater be installed?
Choose a location with safe utility access, proper clearances, drainage, freeze protection, and enough space for maintenance. Gas units also need a compliant vent termination route.
Are isolation valves necessary?
They are strongly recommended and may be required by the manufacturer or local code. They allow the unit to be shut off, drained, and descaled without affecting the entire plumbing system.