

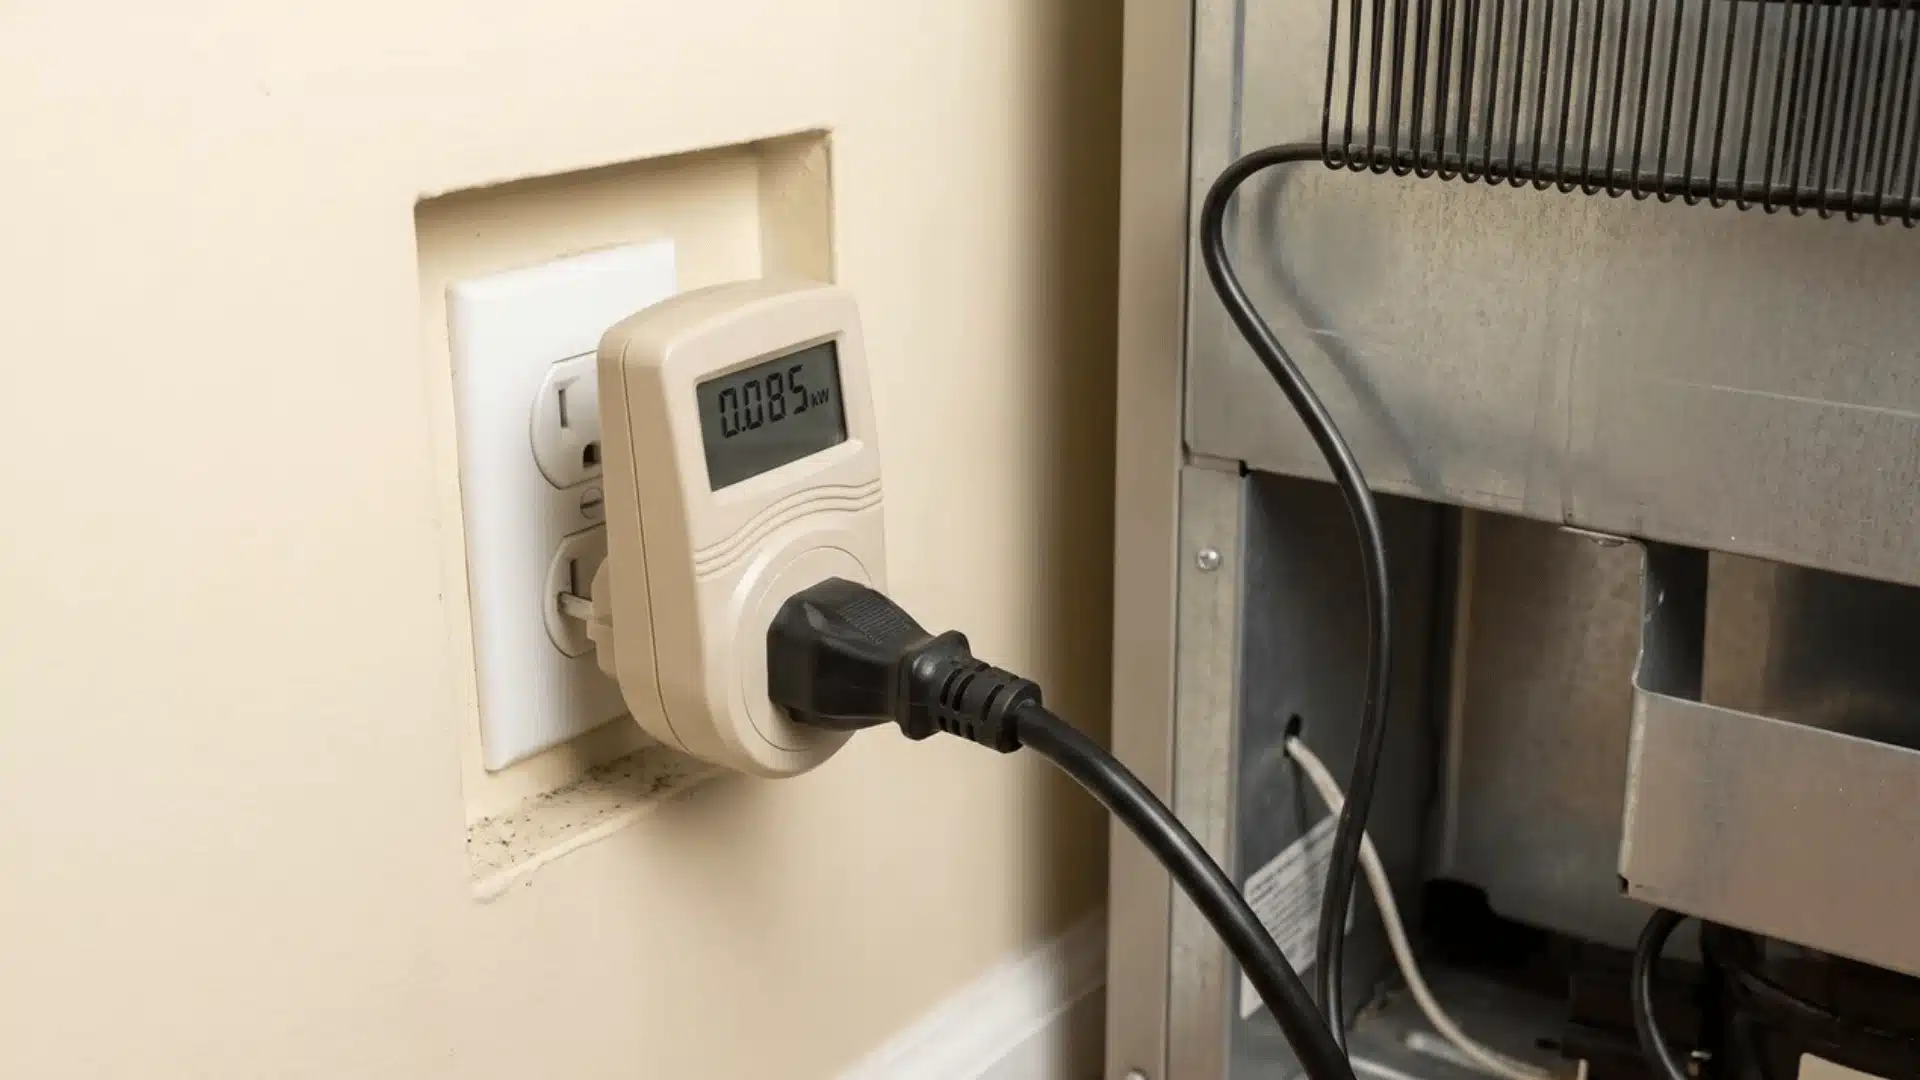
Installing solar panels on your roof is a real DIY project. But the sequence is everything. Skip a step or do them out of order, and you’ll be dismounting hardware, redrilling holes, or waiting weeks for a re-inspection.
Get the order right, and you end up with a grid-connected system built to last 25 years or more.
Here, I’ll walk you through installing solar panels on your roof, from sizing and permits through final activation, in the exact order that keeps things moving forward.
How to Install Solar Panels on Your Roof: The Five-Step Process
Each step below builds directly on the one before it. Skipping ahead forces rework, and rework is expensive.
Step 1: Size Your System, Assess Your Roof, and Pull Permits
The urge to skip straight to putting panels up is real. Don’t give in to it. Everything depends on getting this one right.
Calculate How Many Panels You Need
Your electricity bill is where this starts. Find your average monthly usage in kilowatt-hours. That number drives everything else.
Three figures worth knowing before you go any further:
- A typical US home uses around 900 kWh per month, according to the U.S. Energy Information Administration.
- Most standard panels produce 300 to 400 watts each
- That puts most homes in the 20 to 25 panel range
Your local sun hours and panel efficiency will move that count up or down. But your bill is always the anchor. Start there every time.
Check Your Roof’s Condition and Load Capacity
A full residential solar system adds 2 to 4 pounds per square foot to your roof. Your roof carries that load for 25 years or more, so it needs to be in good shape before anything goes up.
Walk it and look for soft spots, sagging, or damaged shingles. If it’s more than 15 years old, get a structural inspection first.
I’ve seen homeowners skip this step and pay for it badly. Taking down a full solar system to replace a failing roof costs far more than fixing the roof before you start.
Know Your Roof Type Before You Proceed
Your roof material changes every single mounting decision you’ll make. Here’s what each type actually means when you’re on the roof:
- Asphalt shingles: the standard case. Brackets bolt into rafters, and flashing slides under shingles at each hole.
- Tile roofs: need careful drilling with a diamond hole saw. Rush it and you crack tiles.
- Standing seam metal roofs: the easiest of the three. Non-penetrating clamps lock onto the seams. No holes at all.
If you have tile or metal, make sure your mounting hardware is made for that specific roof type before you order anything. Wrong hardware on a tile roof means cracked tiles.
Confirm Orientation, Check Shading, and Pull Your Permit
South-facing roofs get the most sun in the US. Southeast and southwest-facing slopes work well too. North-facing is the one to avoid.
Check for shade between 9 am and 4 pm. Trees, chimneys, vents, nearby buildings… all of it counts. Even partial shade on one panel cuts output across the whole string, not just that one panel.
Once the roof checks out, apply for your building and electrical permits through your local AHJ. That’s your Authority Having Jurisdiction, usually your city or county building department. Permits must be approved before you install anything.
Starting without them can permanently block your utility from connecting your system to the grid. Not a risk worth running.
Step 2: Install the Mounting System
This is the step that holds your panels to the roof for the next 25 years. It’s also where most DIY installs go wrong, not because it’s hard, but because a couple of shortcuts here cause real problems at inspection or the first time a big storm rolls through.
Locate Rafters and Mark Bracket Positions
Every bracket has to go into a rafter. Roof decking alone can’t hold the weight and wind load of a full solar system over the long haul.
Three things to do before you drill a single hole:
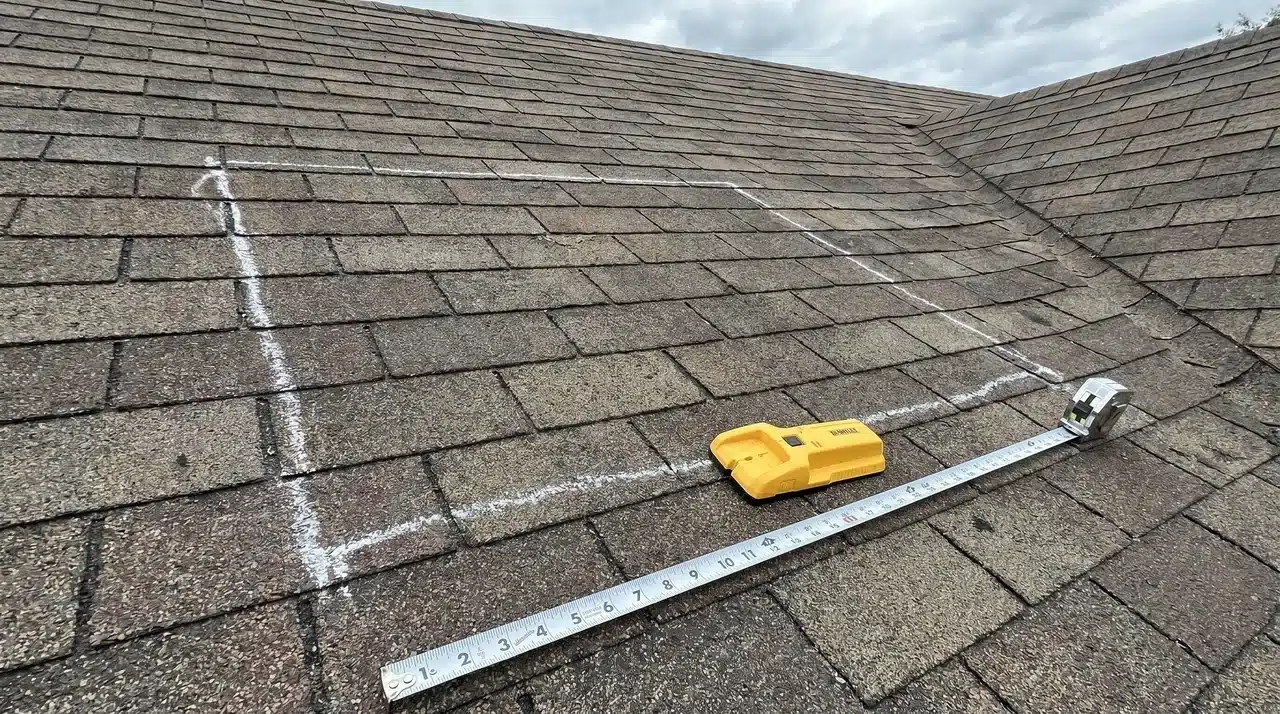
- Use a stud finder from inside the attic where you can, it’s the most reliable way to find rafters
- Most rafters sit 16 to 24 inches apart
- Snap a chalk line across the roof to mark each bracket row precisely
If you get the rafter location wrong, brackets end up in the decking. Inspectors catch it. You’ll pull the brackets and redrill. Getting this right the first time saves hours.
Attach Brackets and Install Flashing
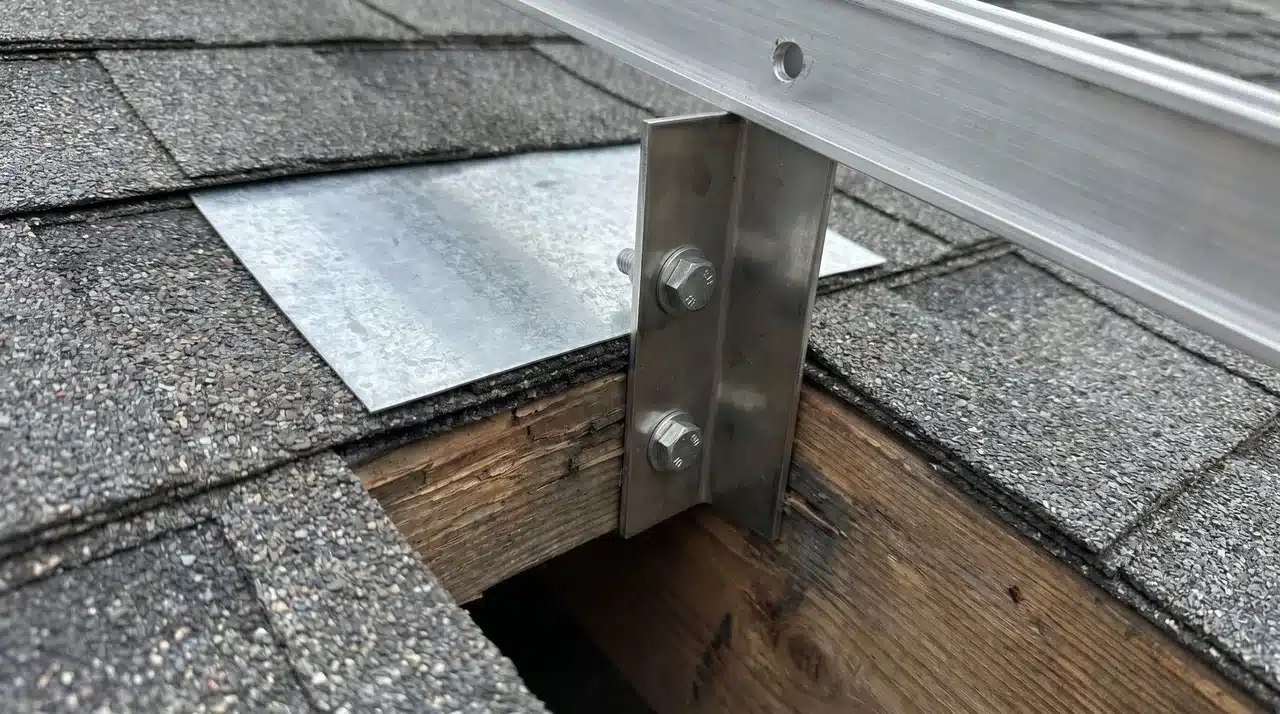
Drill pilot holes at each marked spot and bolt brackets straight into the rafters using stainless steel hardware. Then put in the flashing, and this is the part I see most DIYers skip and later wish they hadn’t.
Every hole you drill into the roof is a place water can get in. Flashing is a thin metal sheet that slides under the shingles around each bracket. It redirects water away from the hole instead of letting it sit there.
Three things that matter here:
- Sealant by itself isn’t enough; AHJ inspectors flag missing flashing every single time
- Skip the flashing and you’ll have a leaking roof within a few years
- Heavy-duty roofing sealant goes on in addition to flashing, not instead of it
If there’s one thing to get exactly right on this step, it’s the flashing. Everything else can be corrected. A leak that develops slowly under a sealed bracket is a much harder fix.
Lay and Level the Rails
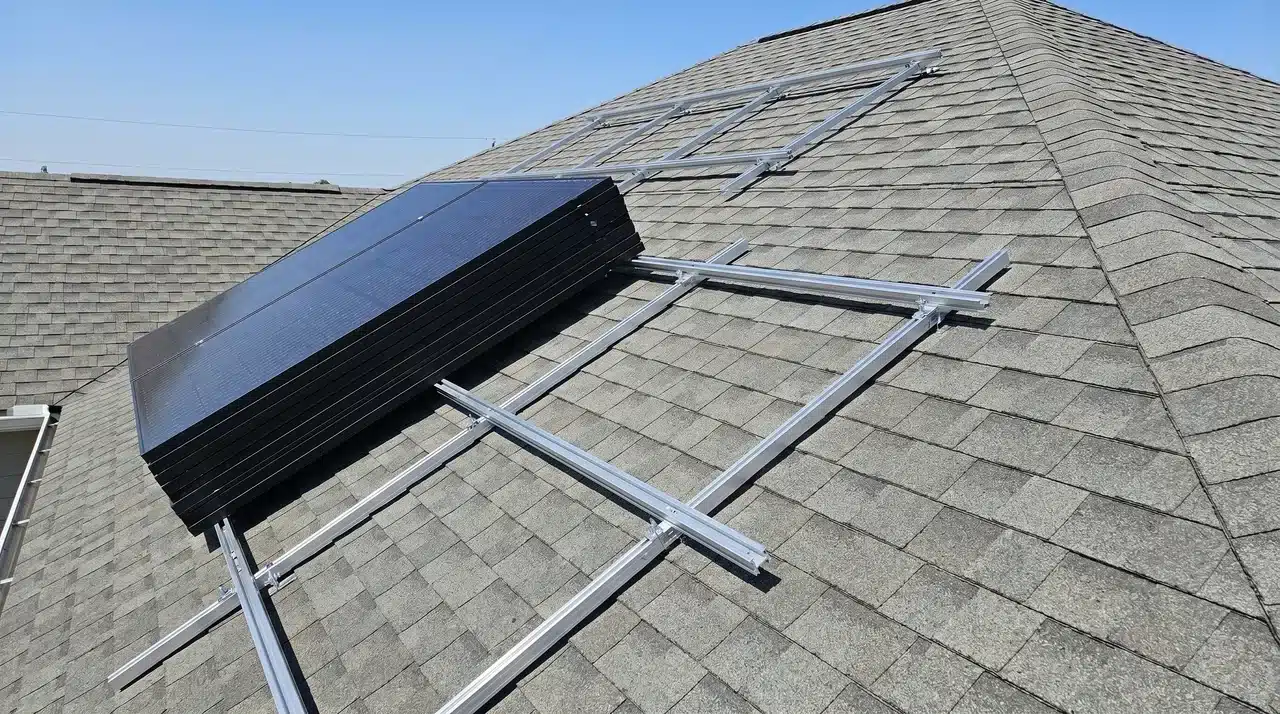
With all brackets bolted in, attach the aluminum rails, the horizontal bars your panels will rest on. Run a level across the full length of every rail before you move on.
If the rails aren’t straight, panels won’t sit flat and clamps won’t hold right. For longer runs, use splice connectors to join sections. They also maintain electrical bonding across the whole racking system, which is something inspectors check.
Step 3: Mount the Panels and Connect the Inverters
Before you carry a single panel up to the roof, there’s one decision you need to make first. Get it wrong and you’ll be taking panels back off to reach hardware you should have installed underneath them.
Choose Your Inverter Type First
Your inverter type decides what needs to be on the rails before any panel goes down. This is the sequencing call that catches people off guard more than anything else in this step:
- String inverter: one central unit on your wall near the main panel. The rails stay empty until panels go up.
- Micro-inverters: mount underneath each panel, directly on the rails. They go on before panels are lifted. Once a panel is down and clamped, the micro-inverter underneath is completely out of reach.
- Power optimizers: same rule as micro-inverters. Rail-mounted first, before any panel goes down.
Lock in your inverter type before you go back on the roof. If you’re using micro-inverters or power optimizers, do not skip this; it means lifting every panel off again if you forget.
Route DC Cables Before Seating the Panels
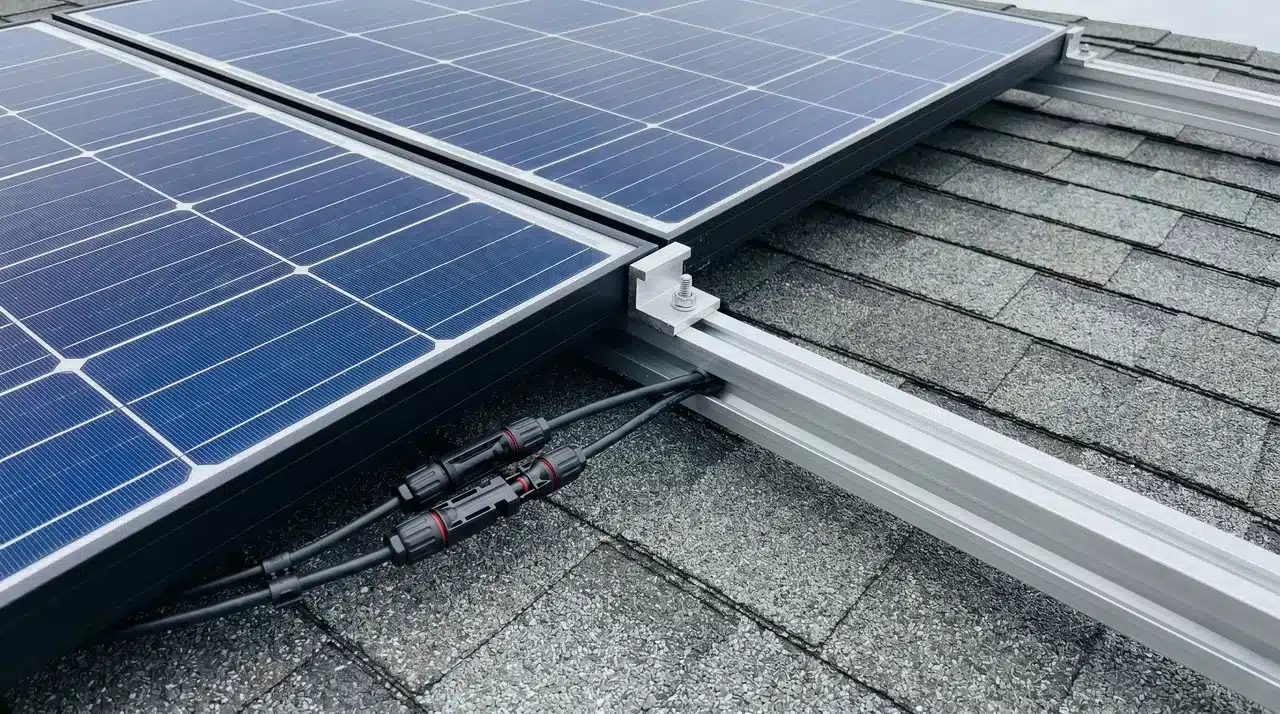
Once micro-inverters or optimizers are on the rails, clip DC cables into the management clips and run them toward the roof edge. Panels connect with MC4 connectors, male and female ends that click together with an audible snap when they’re fully seated.
Get all cable routing done before any panel goes down. After a panel is clamped, those cables underneath are almost impossible to reach without lifting the whole panel off again.
Set the Panels and Secure the Clamps
Work from one end of the row straight to the other. Don’t jump around. Connect each panel’s MC4 cable to the micro-inverter underneath before moving on to the next one.
Mid-clamps go between panels. End-clamps go on the outer edges. Torque everything to the spec in your mounting hardware instructions.
Under-torqued clamps let panels shift in high winds. Over-torqued ones crack the frame. Hand-tight is never good enough; use a torque wrench.
Leave the Required Fire Code Clearances
You need at least 36 inches of open roof space along the ridge and edges in most jurisdictions. That space is for firefighter access and ventilation. If your panels cover more than 33% of the total roof area, there may be extra clearance rules on top of that.
Check with your local AHJ before you finalize the layout. Getting this wrong means moving panels at inspection and re-torquing every clamp, probably the most frustrating rework in the whole process.
Step 4: Complete the Electrical Integration
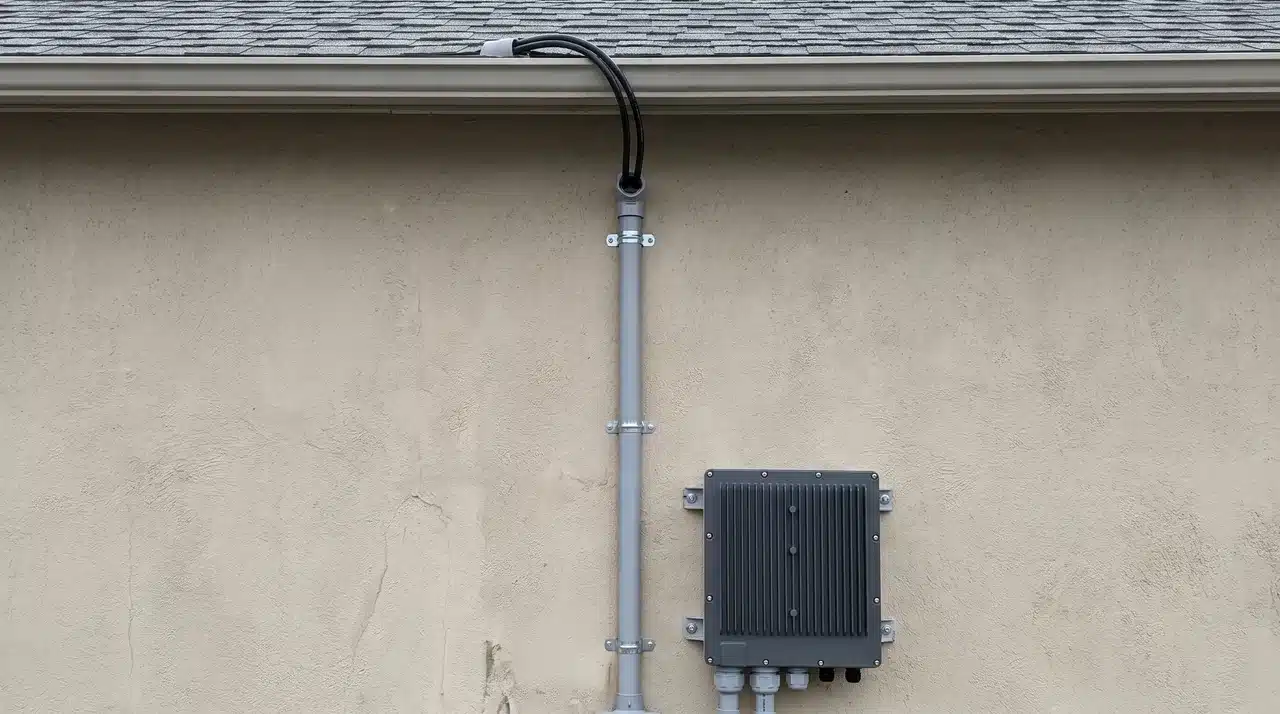
Everything is bolted down. Now you connect it to your home and to the grid. This is the most technically demanding part of the job, and in most US states, some of it legally requires a licensed electrician.
Run the Cables From the Roof to the Inverter
DC cables travel down through conduit, a protective tube that keeps wires safe from weather and UV. If wiring is exposed anywhere, it fails inspection. No exceptions.
Do this:
- Route DC cables from the roof array down to the conduit entry point at the roofline
- Feed cables into the conduit and run them along the exterior wall to the inverter location
- Mount the inverter on an exterior wall, as close to the main electrical panel as possible
- For string inverters, DC cables connect directly into the unit and get converted from DC to AC there
Keep the conduit runs straight and short. Every extra bend makes the install more complex and makes any future troubleshooting harder.
Connect the Inverter to Your Main Electrical Panel
You’ll need a licensed electrician for this in most states. The work involves running the inverter’s AC output into the main panel through a dedicated solar breaker.
Before that connection goes in, your electrician needs to verify the 120% rule, a National Electrical Code requirement. Here’s what it’s actually protecting against: if too much current from multiple sources hits a busbar that isn’t rated for it, the busbar overheats. That’s a fire risk. The rule caps the combined load to prevent it.
In practice: your solar breaker size plus your main breaker size can’t exceed 120% of your panel’s busbar rating. On a 200-amp busbar, the combined total can’t go above 240 amps. Go over that and a panel upgrade is required before the system can connect legally.
Wire the Grounding System
Grounding is the part of this step that gets the least attention in DIY guides. It gets the most attention from inspectors.
Here’s why it matters: if a wiring fault develops anywhere in your system, like a damaged cable, a loose connection, or a lightning strike, that fault current needs a safe path to earth.
Without grounding, it travels through the racking and into your home’s structure instead. Grounding lugs on the racking and panel frames give that current a direct, intentional path to earth before it can cause damage.
Three things to get exactly right:
- Attach grounding lugs to the racking system and to each panel frame
- Bond the grounding conductors back to your main electrical panel’s grounding system
- Use the correct gauge wire per your equipment documentation; undersized wire can’t carry fault current safely and is one of the most common inspection failures
If the wire gauge is too small, it can arc or melt before the fault clears. Inspectors measure it. Don’t guess on this one.
Adding Battery Storage
DC-coupled batteries connect between your panels and the inverter, before power gets converted. AC-coupled batteries connect after the inverter, on the AC side near the main panel.
Which type fits your setup depends on your inverter and system design.
Either way, battery storage means separate permits, a dedicated breaker, and its own configuration. Treat it as its own sub-project inside the install, not something you bolt on at the end.
Apply for Net Metering
Submit your net metering application before installation starts. It won’t speed up the utility’s review, but it removes one bottleneck at the end when you’re ready to flip the switch.
- Submit your application to your utility; most have an online portal for this
- The utility reviews your system specs and signs off on the interconnection agreement
- After the AHJ inspection passes, the utility schedules a visit to swap in the bidirectional meter
- You can’t do this swap yourself; the utility owns the meter entirely
The bidirectional meter is what lets the grid credit you for power you send back. Your system can’t legally go live until it’s installed.
Step 5: Pass the Final Inspection and Activate the System
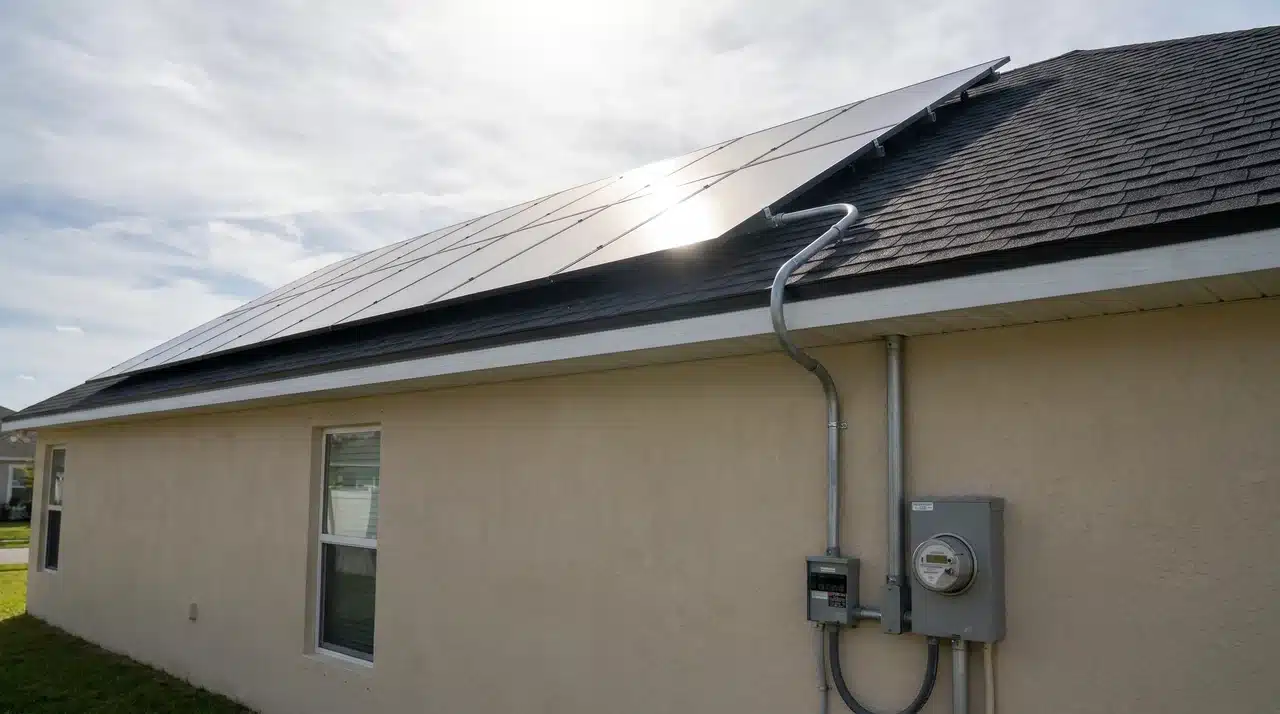
Panels are up. Wiring is done. But the system still can’t turn on legally. Two separate approvals have to come through from two different organizations, on two different timelines.
If you’re not expecting two separate visits, the wait after Step 4 will feel confusing. It isn’t a problem. It’s just how the process works.
The AHJ Inspection
Your AHJ inspector comes out to verify the install before anything gets powered up. They look at three things:
- Mounting integrity: brackets in rafters, flashing at every penetration, rails level, clamps torqued
- Electrical safety: wiring in conduit, MC4 connections seated, 120% rule met, grounding complete
- Code compliance: 36-inch clearances in place, layout matches your permitted drawings
The most common failures: missing flashing, exposed wiring, missing grounding lugs, and clearances that are a few inches short.
Note: Do not turn the system on before the inspector signs off, not even to test it. Doing so can void your permits, kill your utility interconnection approval, and create problems with your homeowner’s insurance.
The Utility Visit
Once the AHJ passes you, the utility schedules its own visit to put in the bidirectional net meter. Here’s what the wait typically looks like:
- Fast utilities — 1 to 2 weeks
- Average utilities — 3 to 4 weeks
- Slower or backlogged utilities — 6 to 8 weeks
You have no control over this timeline. The utility owns the meter and does the swap on their schedule.
Permission to Operate and System Activation
When the bidirectional meter is in, you receive PTO (Permission to Operate). That’s your green light. Here’s what activation looks like:
- Power on the inverter following the manufacturer’s startup procedure
- Check output on the unit’s display or monitoring app
- Confirm the utility meter is showing bidirectional flow
- Register with the manufacturer’s monitoring platform: Enphase Enlighten, SolarEdge, or equivalent
From first permit application to PTO, most homeowners are looking at two to four months total. Apply for everything as early as you can.
Common Mistakes that Fail Inspections and Cause Rework
These aren’t vague warnings; they’re the specific things that cause permit rejections, failed inspections, and expensive do-overs. I’ve put them in the order I see them bite people most often.
- Skipping the roof inspection. Panels on a weak or aging roof mean a full removal and reinstall later. Check structural integrity and fix any damage before a single bracket goes up.
- Missing flashing. Sealant alone won’t stop water at bracket penetrations. Without flashing under the shingles at every mount point, the roof will leak.
- Mounting on decking instead of rafters. Every bracket has to anchor into a rafter. Decking can’t carry the weight and wind load of a solar system long-term.
- Wrong inverter sequence. Micro-inverters and power optimizers go on the rails before panels do. Put panels down first and you’re dismounting them entirely just to get underneath.
- Skipping the grounding system. Missing grounding lugs on racking and panel frames is one of the top inspection failures. It also leaves the system exposed to lightning strikes and electrical faults.
- Turning the system on before PTO. Testing before Permission to Operate can void your permits and kill your utility interconnection approval.
Run through this list before you call the inspector. Most first-time failures come down to items 2 and 5. Both are completely preventable.
Wrapping Up
The hardest part of installing solar panels on your roof isn’t the physical work. It’s knowing which steps can’t be rushed and why the sequence is fixed. Permits before drilling. Flashing on every bracket. Grounding done right before the inspector shows up. Nothing powered on before PTO.
Two things stall installs more than anything else: permit gaps at the start and wiring mistakes at the main panel connection at the end. Both are avoidable when you know to watch for them.
Work through the five steps in order. Check the mistakes list before each inspection visit. Do that and you’ll have a system that runs cleanly for decades.
Frequently Asked Questions
How long do solar panels actually last on a roof?
Most residential panels come with a 25 to 30-year performance warranty. Output drops by roughly 0.5% per year, so a system installed today still produces most of its rated power well into its third decade. Many systems keep running past their warranty with only small efficiency losses.
Do solar panels work during a power outage?
Standard grid-tied systems shut off automatically when the grid goes down. That’s a safety requirement, it stops your system from sending power into lines that utility workers are trying to repair. Only systems paired with battery storage can keep your home running during an outage.
How much does a residential solar installation cost?
A typical home system runs between $15,000 and $30,000 before incentives. The federal solar tax credit currently covers 30% of total installation costs. Doing the physical work yourself cuts labor costs significantly, but connecting the inverter to the main panel requires a licensed electrician in most states.
Do I need a licensed electrician to install solar panels myself?
You can handle most of the install yourself; roof work, racking, and panel placement. The inverter-to-panel connection is another matter. Most US states require a licensed electrician for that part. Some jurisdictions also require one to pull the permit. Check your local AHJ requirements before you start.