

Wiring solar panels can feel confusing at first, especially when voltage and current start changing with every connection.
A lot of beginners try to pick a wiring method before understanding how the system actually works. Small wiring errors can reduce output or compromise safety, while the right setup keeps everything stable.
In simple terms, how to wire solar panels decides how much usable power your system can deliver.
Once solar panel wiring becomes clear, choosing between series, parallel, or a mix feels much easier. Here’s a clear explanation so the process feels practical and easier to apply in real installations.
How Does Solar Panel Wiring Actually Work?
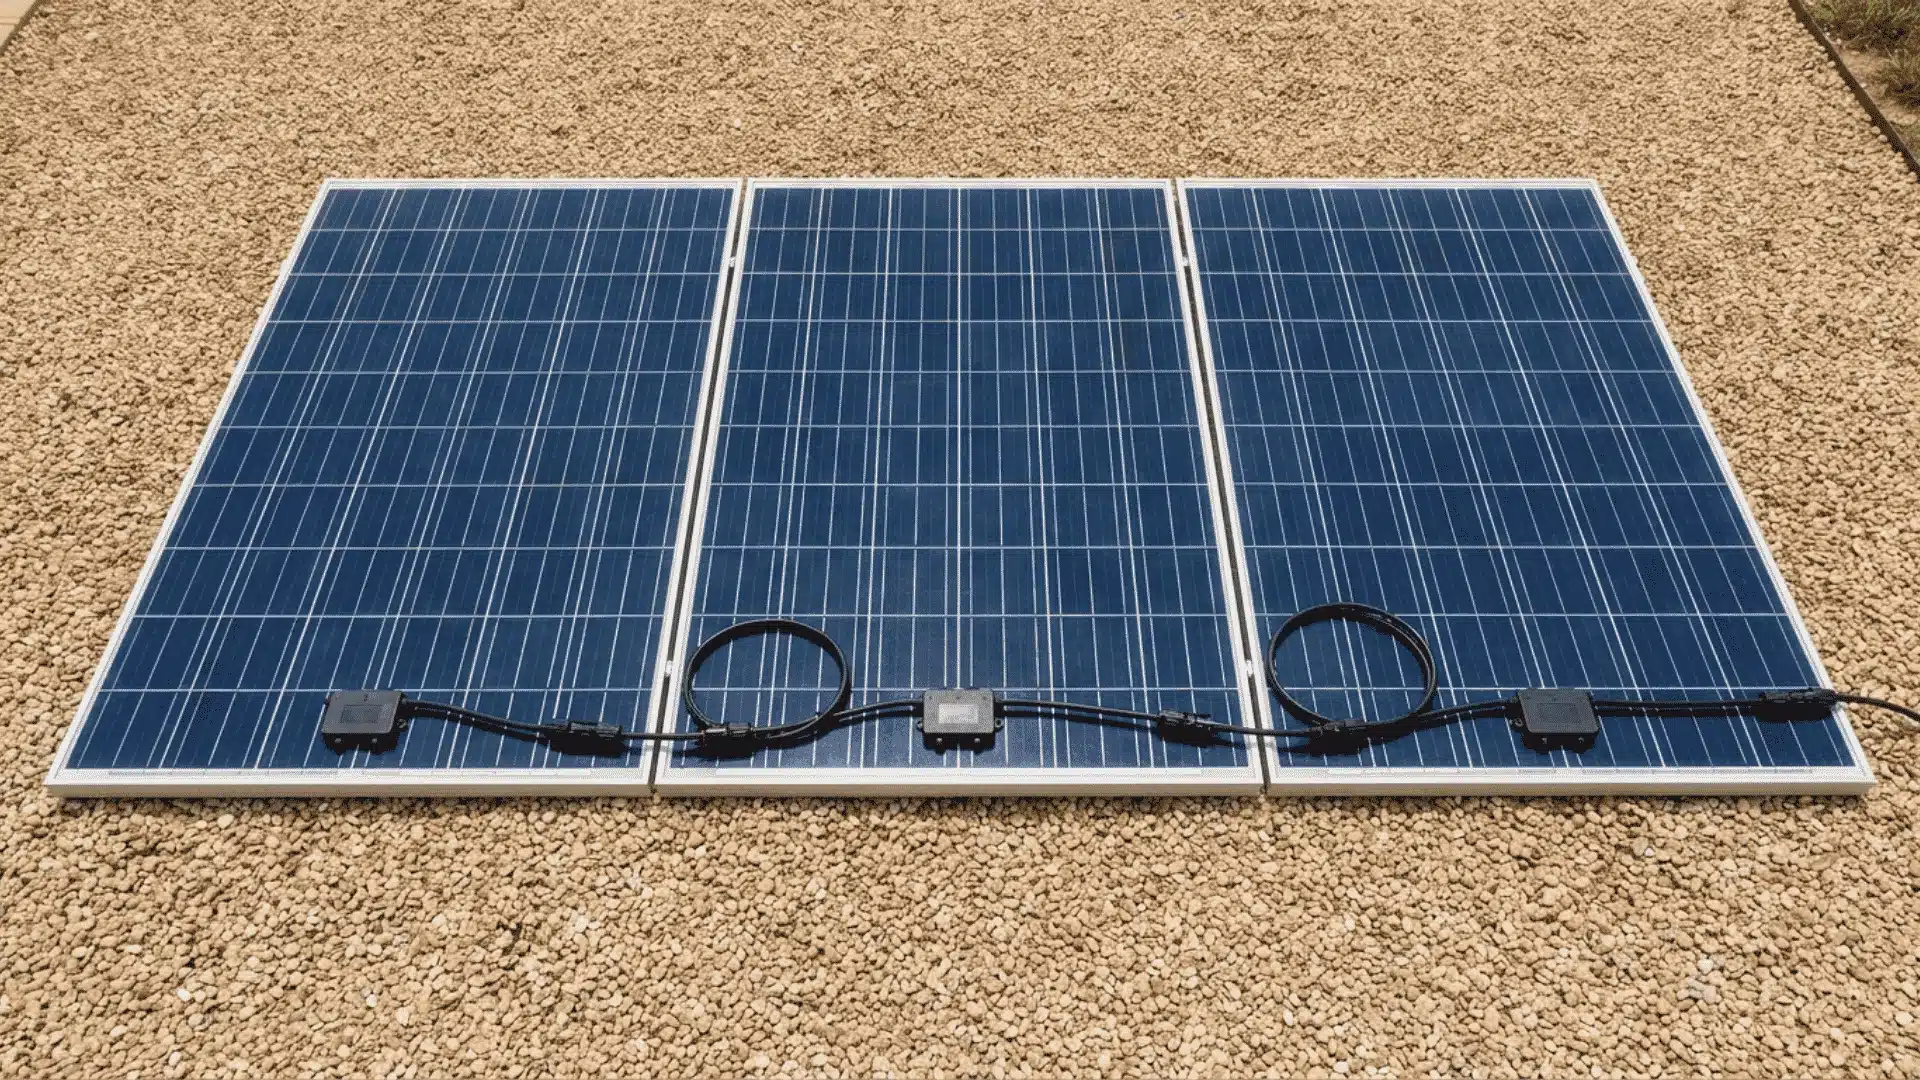
When you wire solar panels together, you’re building an array, a group of panels that acts as a single power source for the rest of your system.
The goal isn’t just to connect panels. It’s to deliver electricity at the right voltage and amperage for whatever sits downstream, usually a charge controller or an inverter.
Those two components have input specs they need you to hit. Too low and the system underperforms; too high and you risk damaging the controller. Wiring is how you dial in those numbers.
What actually moves through the circuit is voltage and current. Every wiring decision you make either adds voltage, adds current, or trades one for the other.
Your panels don’t determine how you wire them; your charge controller or inverter does. Once you know what voltage range your controller accepts, the configuration choices start to narrow on their own.
Wiring in Series: When Higher Voltage Is the Goal
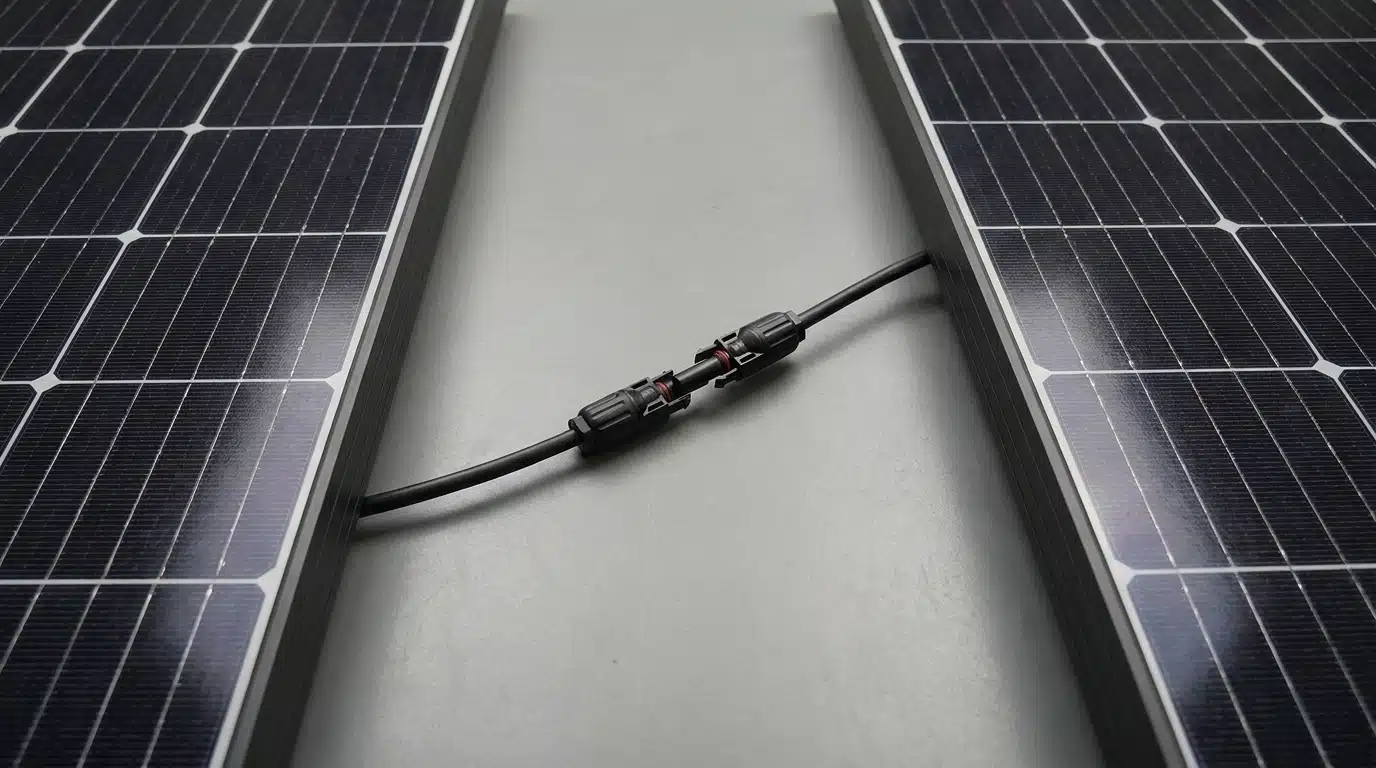
In a series connection, the positive terminal of one panel connects to the negative of the next, forming a chain. Voltage adds up while current stays the same.
Two 12V, 10A panels in series produce 24V and 10A, not 24V and 20A. This setup is commonly used with MPPT charge controllers in 24V and 48V systems.
Before finalising string length, ensure total Voc stays below your controller’s maximum PV input rating, and account for cold temperatures, which can raise voltage above rated values.
MPPT controllers accept a wide voltage range and convert excess voltage down to battery level, allowing higher-voltage series strings, unlike PWM controllers that operate closer to battery voltage.
Series wiring is efficient for long cable runs because higher voltage reduces current and power loss.
However, shading can reduce output across the whole string, so panel placement matters.
Wiring in Parallel: When Higher Amperage Is the Goal
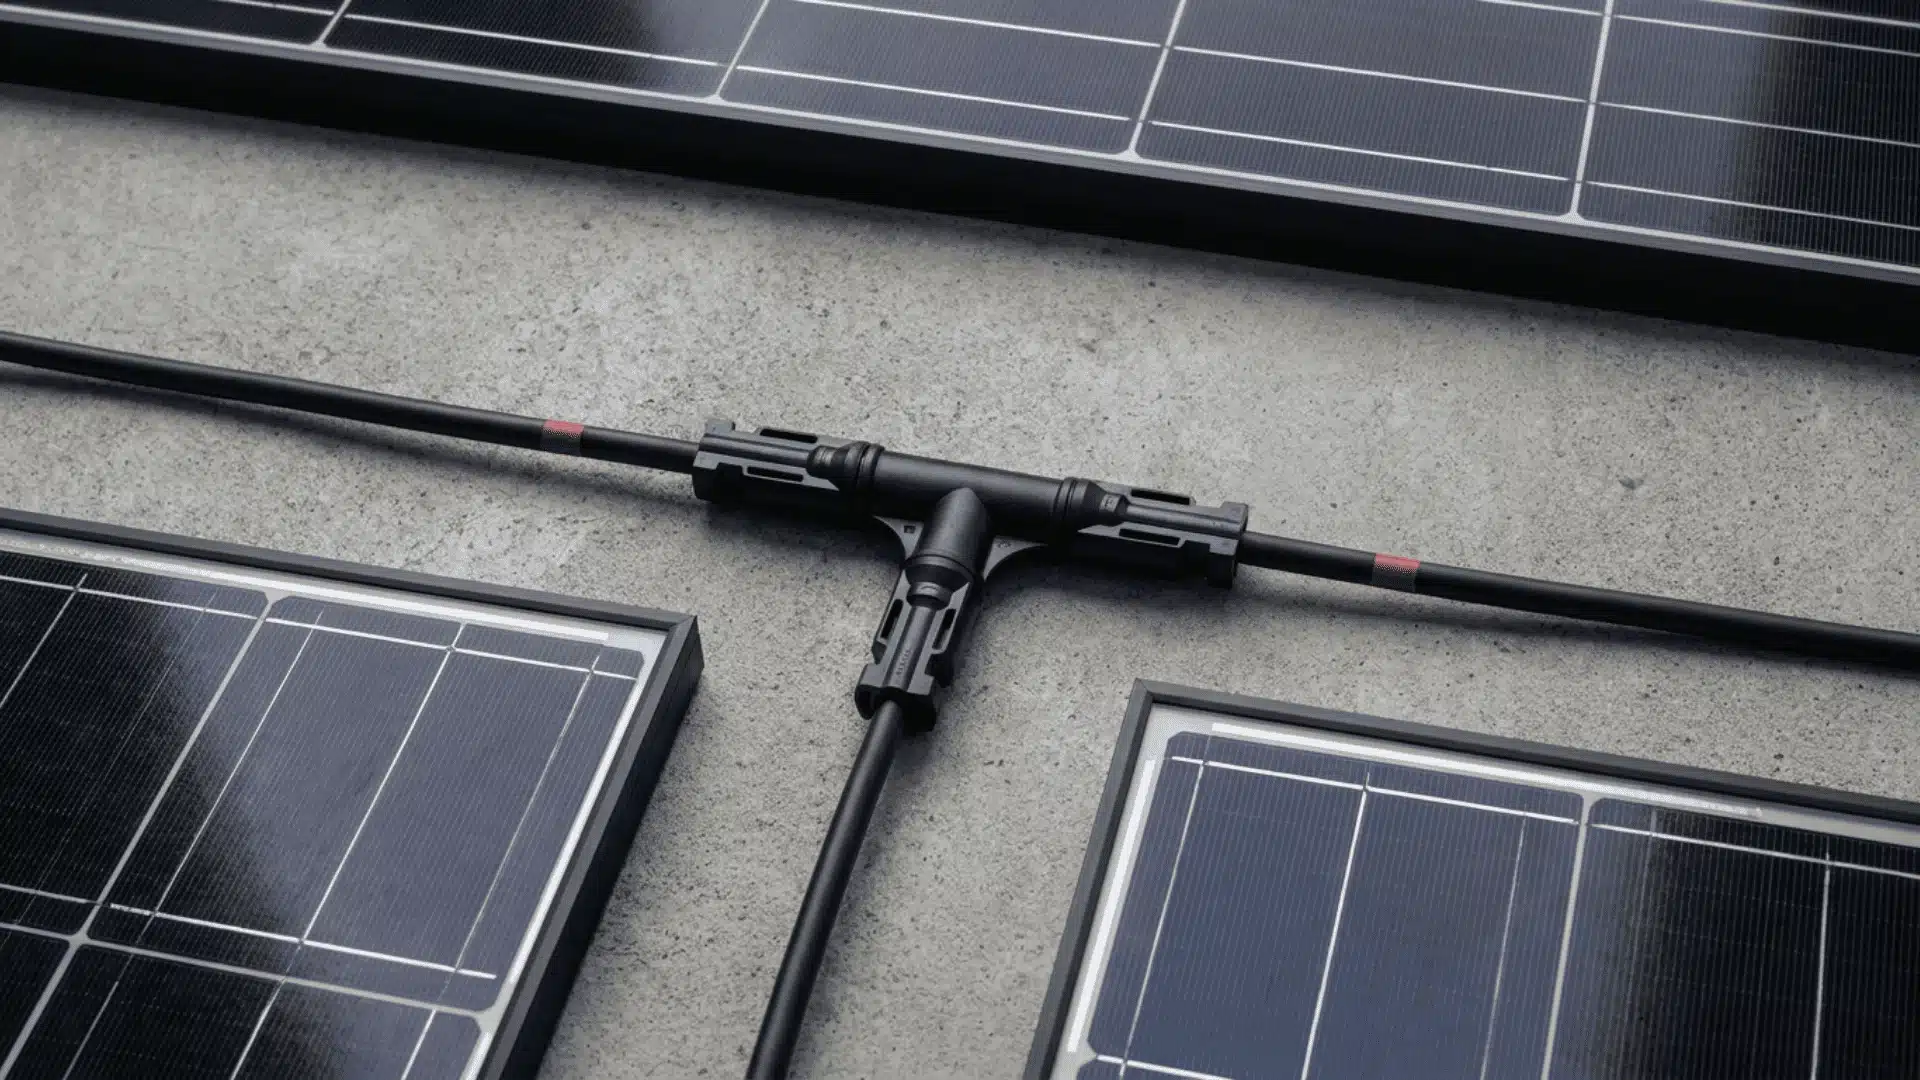
In a parallel connection, all positive terminals are joined together and all negatives are joined together. Each panel operates at the same voltage while their currents add up into a single output.
Two 12V, 10A panels in parallel produce 12V and 20A, not 24V.
This setup is commonly used in 12V battery systems and works well with PWM charge controllers, where panel voltage is typically kept close to battery voltage.
Wire sizing becomes more important as current increases. Higher current causes more heat and voltage drop if the cable is undersized, so wire size should always be chosen based on current and cable length.
In multi-string systems, fuses or a combiner box may be required depending on system size and local electrical code.
Without proper protection, a fault in one string can allow reverse current from other strings, potentially overloading the damaged circuit.
Series-Parallel: Combining Both Configurations
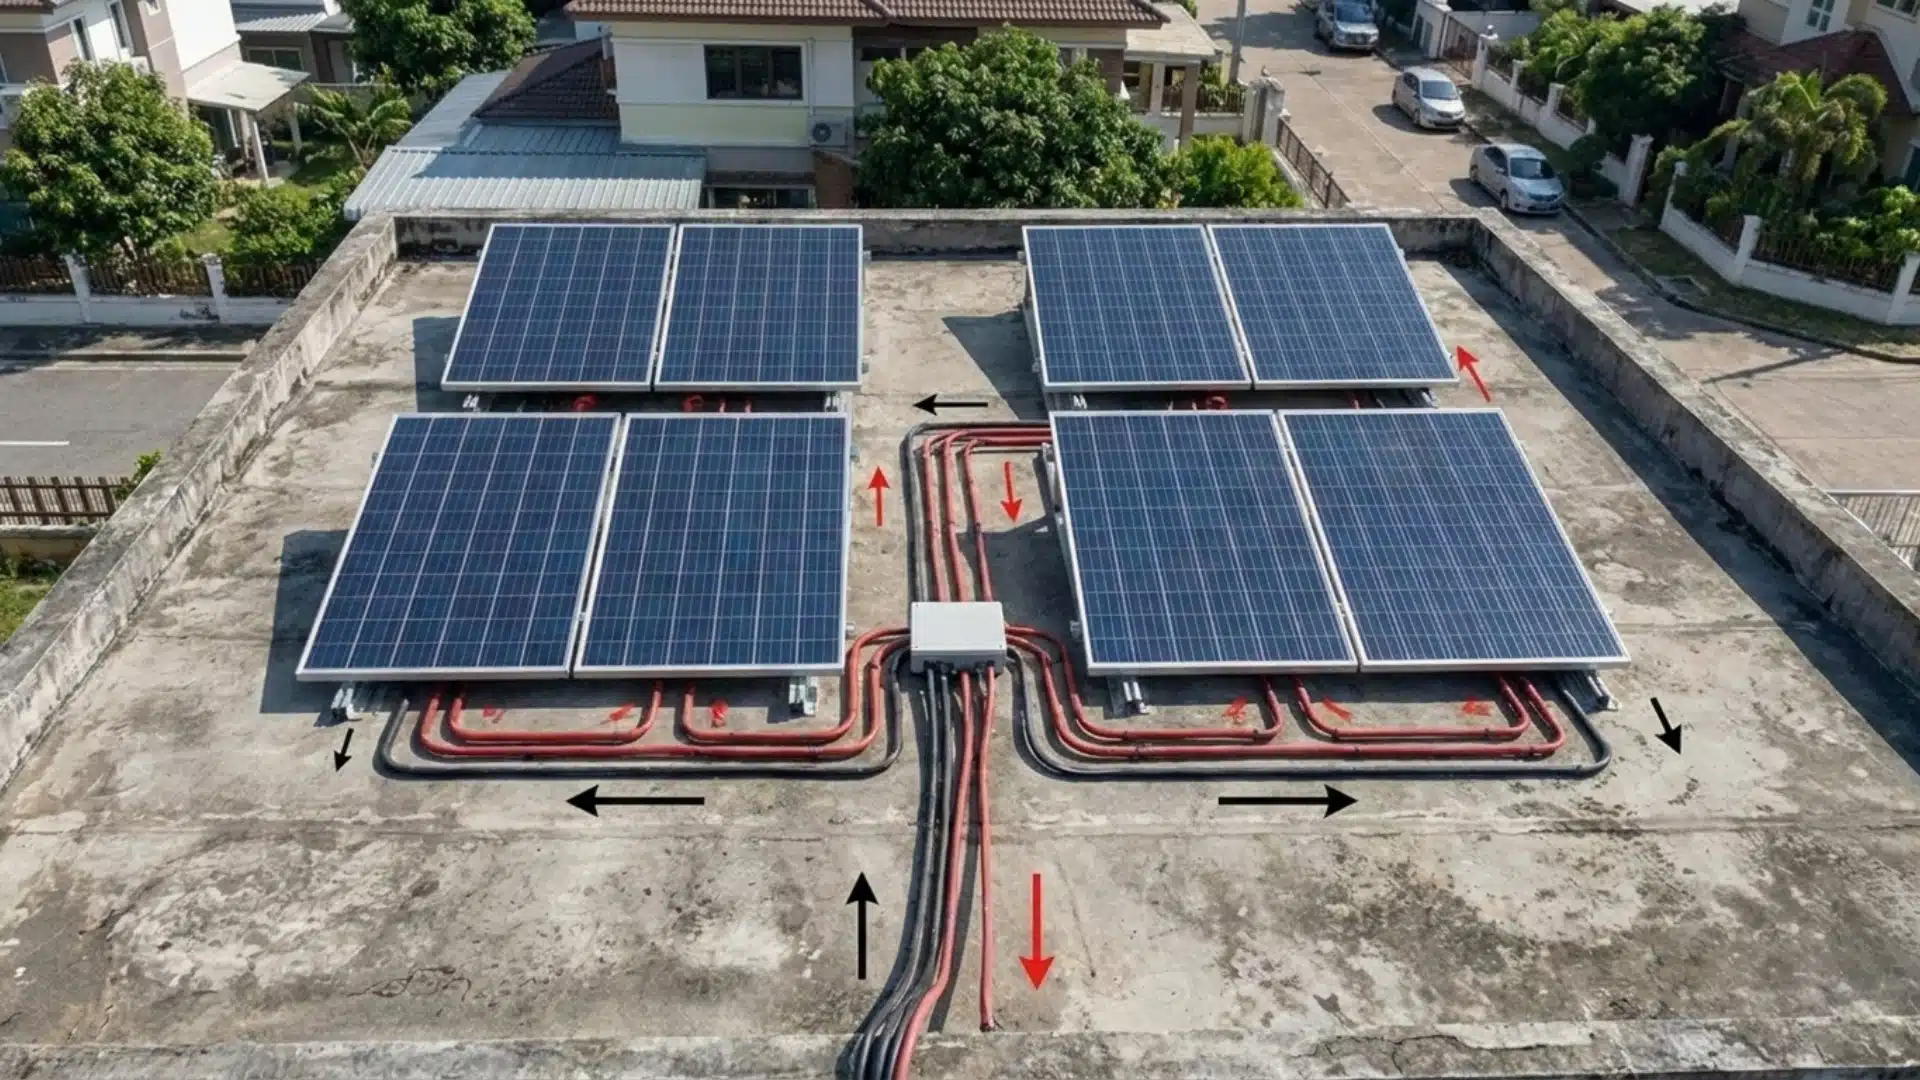
For larger systems, series and parallel are not an either/or choice. Combining both is often necessary to meet voltage and current requirements.
You first connect panels in series strings to reach the required system voltage, then connect those strings in parallel to increase total current and system capacity.
| Configuration | Voltage per string | Parallel strings | Combined output |
|---|---|---|---|
| 2 panels in series | ~2 × Vmp (≈ 36–40V total for two “12V” panels) | 1 string | ~36–40V / Imp |
| 2 strings of 2 panels in series | ~2 × Vmp | 2 strings | same voltage / 2 × Imp |
| 3 strings of 2 panels in series | ~2 × Vmp | 3 strings | same voltage / 3 × Imp |
Plan series string length by ensuring total Voc (open-circuit voltage) stays below the controller’s maximum PV input rating, including cold-weather voltage rise (use the panel’s temperature coefficient to calculate this).
Then determine how many parallel strings are needed for required current.
All panels in a single series string should ideally be identical. If parallel strings have different voltages, higher-voltage strings can push current into lower-voltage ones, causing reverse current flow, imbalance, and efficiency loss.
For safety, when using 3 or more parallel strings, you must install a fuse or circuit breaker on each positive string in a combiner box.
When a single string is no longer sufficient, a series-parallel setup becomes necessary rather than optional.
How to Wire Your Solar Panels: Step-By-Step
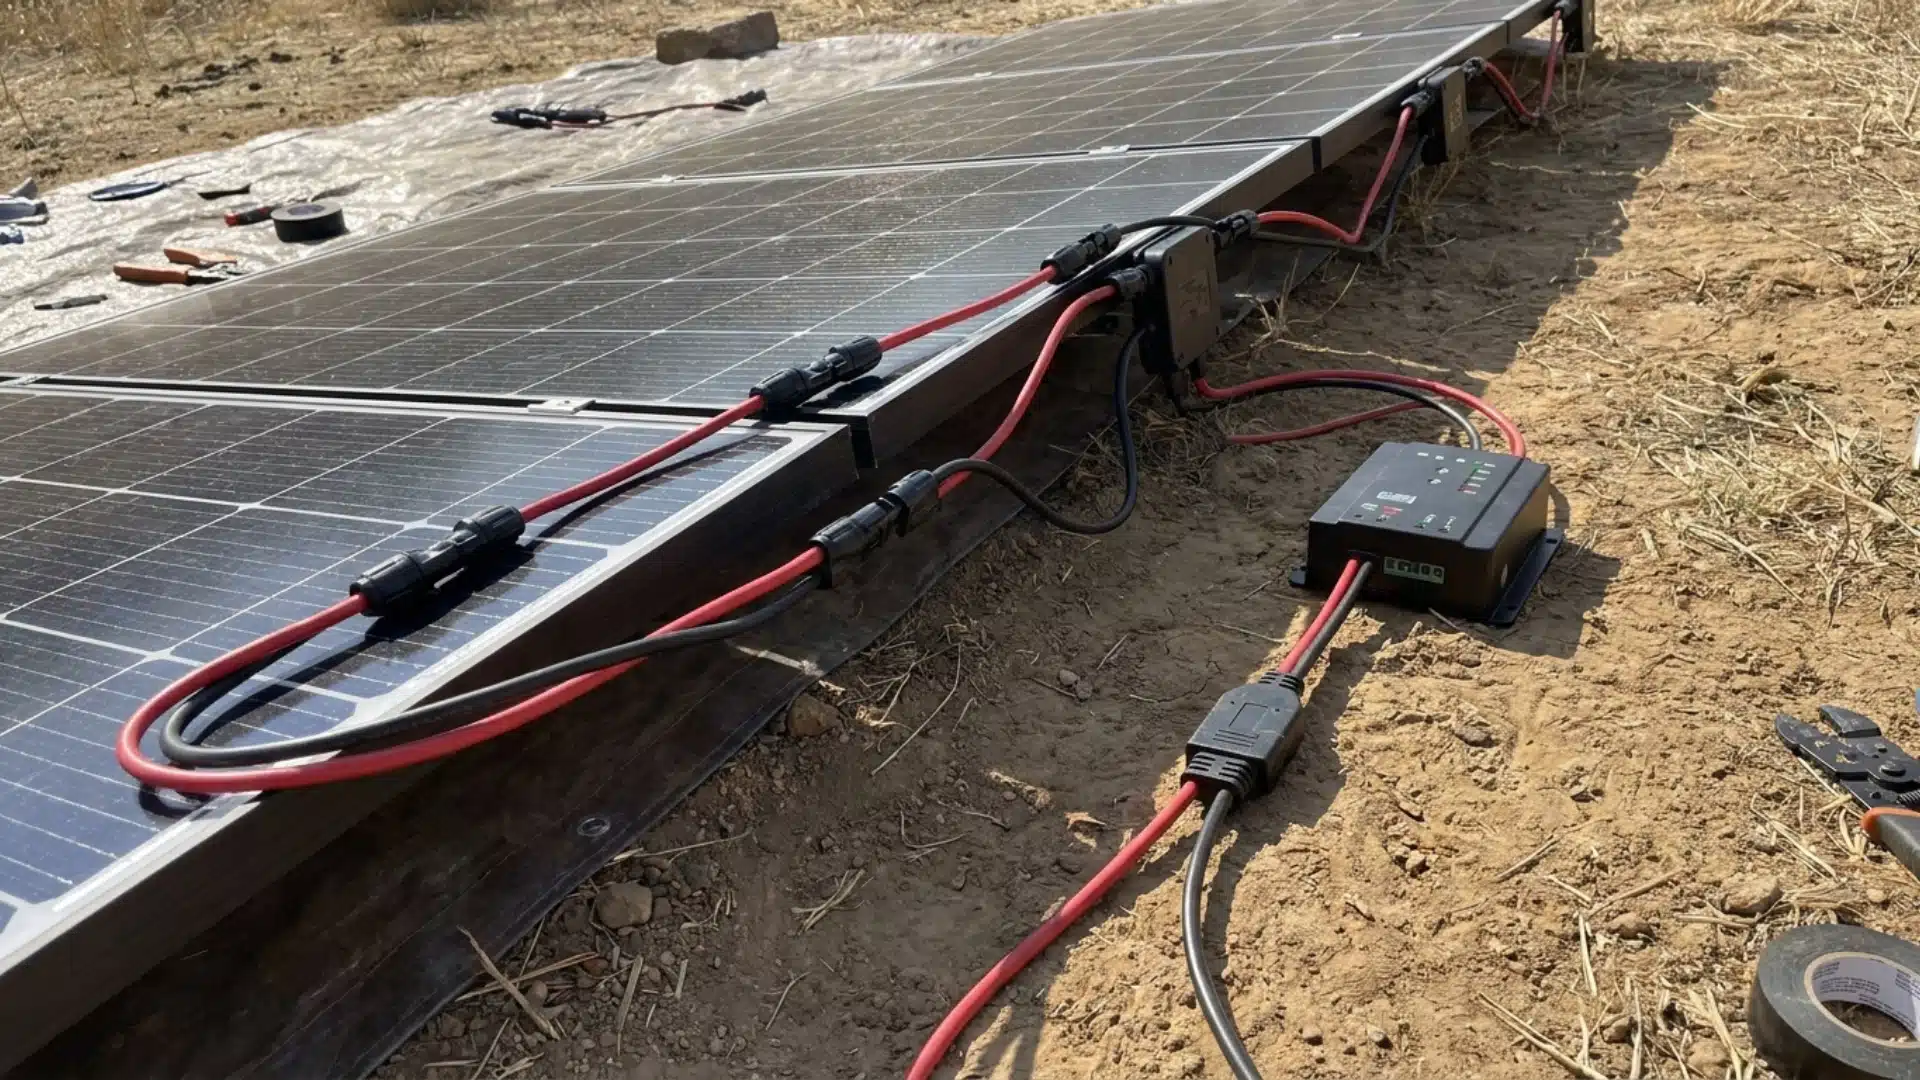
Whether you’re wiring in series or parallel, the process follows the same sequence. Get your specs confirmed first, then make the connections in order.
Step 1: Read Your Panel Spec Plate
Flip each panel over and find the spec plate on the back. You’re looking for two numbers, the open circuit voltage (Voc) and the short circuit current (Isc).
Write them down before you do anything else. Every decision from here checks against these two numbers.
Step 2: Check Your Controller’s Input Limits
Find the solar input specs on your charge controller or power station. You need the acceptable voltage range and the maximum current it can handle.
On some units these are printed directly on the back, on others, check the manual. These limits are what your panel configuration must stay within.
Step 3: Check Your Connectors and Cables
Solar panels use MC4 connectors as standard. If your controller or power station uses a different plug, you’ll need a conversion cable to bridge the two.
Check this before you start, it’s an easy thing to miss and a genuinely frustrating thing to be short on mid-setup.
Step 4: Make Your Array Connection
For series: plug the positive lead of panel one into the negative lead of panel two. Your two remaining free ends become the output leads.
For parallel: use branch connectors to join all positives into one line and all negatives into another. The two outputs from the branch connector become your output leads.
Step 5: Check Your Numbers Before Connecting
Add up your total Voc for a series setup, or your total Isc for parallel. Both must fall within your controller’s input limits before you connect anything.
Exceeding voltage shuts the input down completely. Exceeding current gets throttled, you won’t damage anything, but you’ll lose output you’re paying for.
Step 6: Connect to Your Controller and Place the Panels
Plug your output leads into the conversion cable and connect to your controller first, before the panels see any sun.
The controller needs to be connected to the battery first to establish a reference voltage before receiving input from the panels, otherwise it may misread system voltage during startup.
Then position your panels, point them toward the sun, and set the tilt angle. The system starts pulling in solar power immediately once everything is connected and aimed correctly.
For a complete walkthrough of the whole process, watch the complete video tutorial below:
Choosing the Right Wire Size
Getting the configuration right is only half the job. The wire carrying that power needs to match the load it’s handling, get this wrong and you’re creating a fire risk, not just losing efficiency.
- Size by Isc, not wattage. Your short circuit current is the highest load your wire will ever carry. That’s the number you size to, not the panel’s watt rating.
- Under 20A, use 4mm² (12 AWG). This handles the load comfortably for most small arrays. Going smaller generates resistive heat that degrades insulation over time.
- At 20A or above, step up to 6mm² (10 AWG). This isn’t a conservative recommendation, it’s the point where undersized wire starts becoming a real fire risk.
- Roof-exposed runs need UV-rated PV cable. Standard residential wire breaks down within months of sun exposure. Check it’s specifically rated for PV before you run it.
- Wiring inside a structure needs metal conduit. Any run through a wall, ceiling, or attic must be enclosed, it’s a code requirement in most countries.
When in doubt, size up. A slightly heavier cable costs almost nothing extra; fixing a wiring fault after the system is installed costs significantly more.
Wrapping Up
Getting how to wire solar panels right makes a real difference in safety and performance.
Series wiring works better for higher voltage needs, while parallel wiring increases current for larger loads.
Bigger systems often use a mix of both. Solar panel wiring also depends on matching panel specs, checking controller limits, and using the correct wire size to avoid losses or damage.
I hope this makes the process easier to understand and apply in real setups. If you still have doubts or want help with your setup, drop a comment below with your question about solar panel wiring.
Frequently Asked Questions
How do I know if my solar panels are wired in series or parallel?
The configuration is determined by the connectors. In a series setup, you connect the positive of one panel to the negative of the next. In parallel, all positives connect to one output and all negatives to another.
Is it better to wire solar panels in series or parallel?
The best option depends on your system. Series is efficient for long wire runs and MPPT controllers. Parallel is more shade-tolerant and often used with PWM controllers. The choice is dictated by your inverter’s specifications.
Can you wire different-wattage solar panels together?
You can, but it is not recommended. In series, the current is limited by the lowest-performing panel, and in parallel, the voltage is dragged down, leading to significant power loss and system inefficiency.