

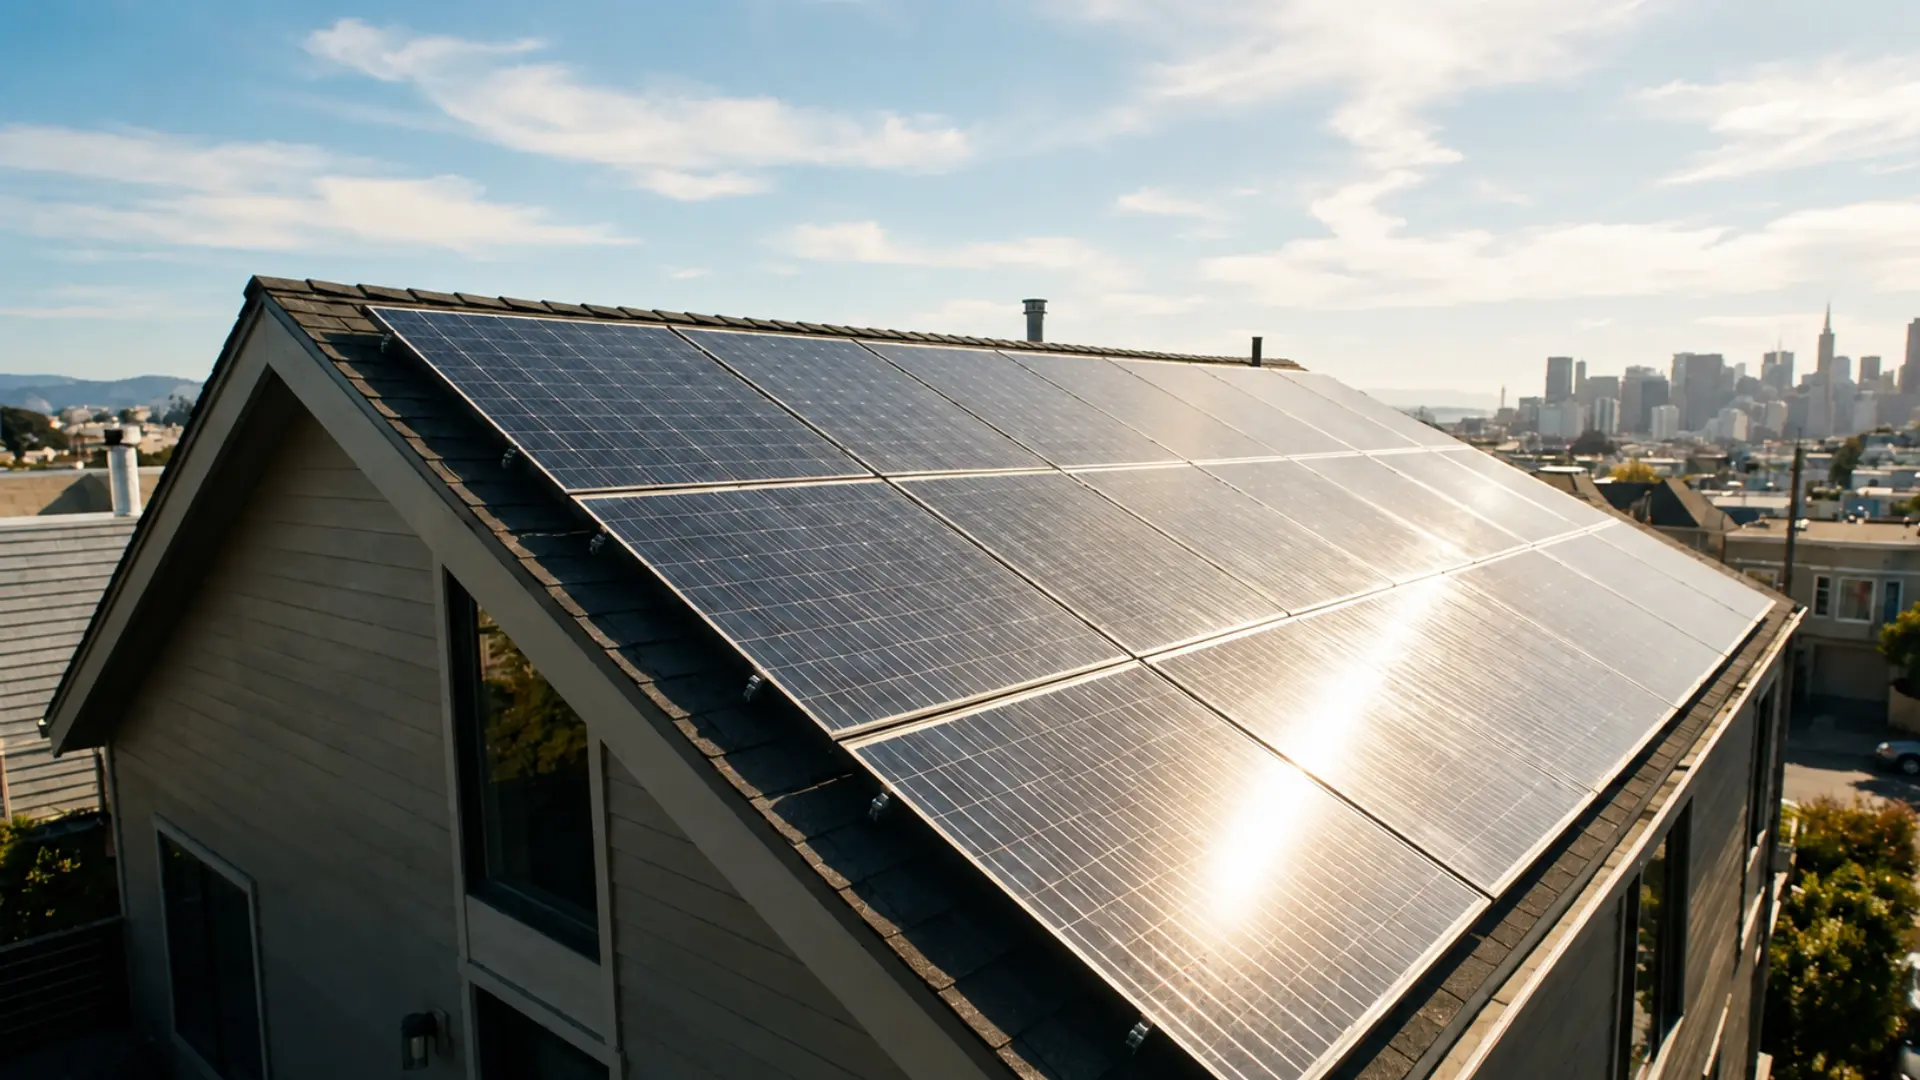
A solar roof sounds simple, but the installation process involves much more than placing energy-producing shingles on your home. Many homeowners are unsure about roof preparation, wiring, costs, and finding the right installer before starting a project.
I created this guide to help you understand how solar shingle installation works from start to finish.
You’ll learn how the roof is prepared, how shingles are installed and connected, what affects project timelines, and why certified contractors matter.
With the right information, you can make better decisions, avoid common mistakes, and understand what to expect before investing in a solar roofing system.
Understanding Solar Shingles
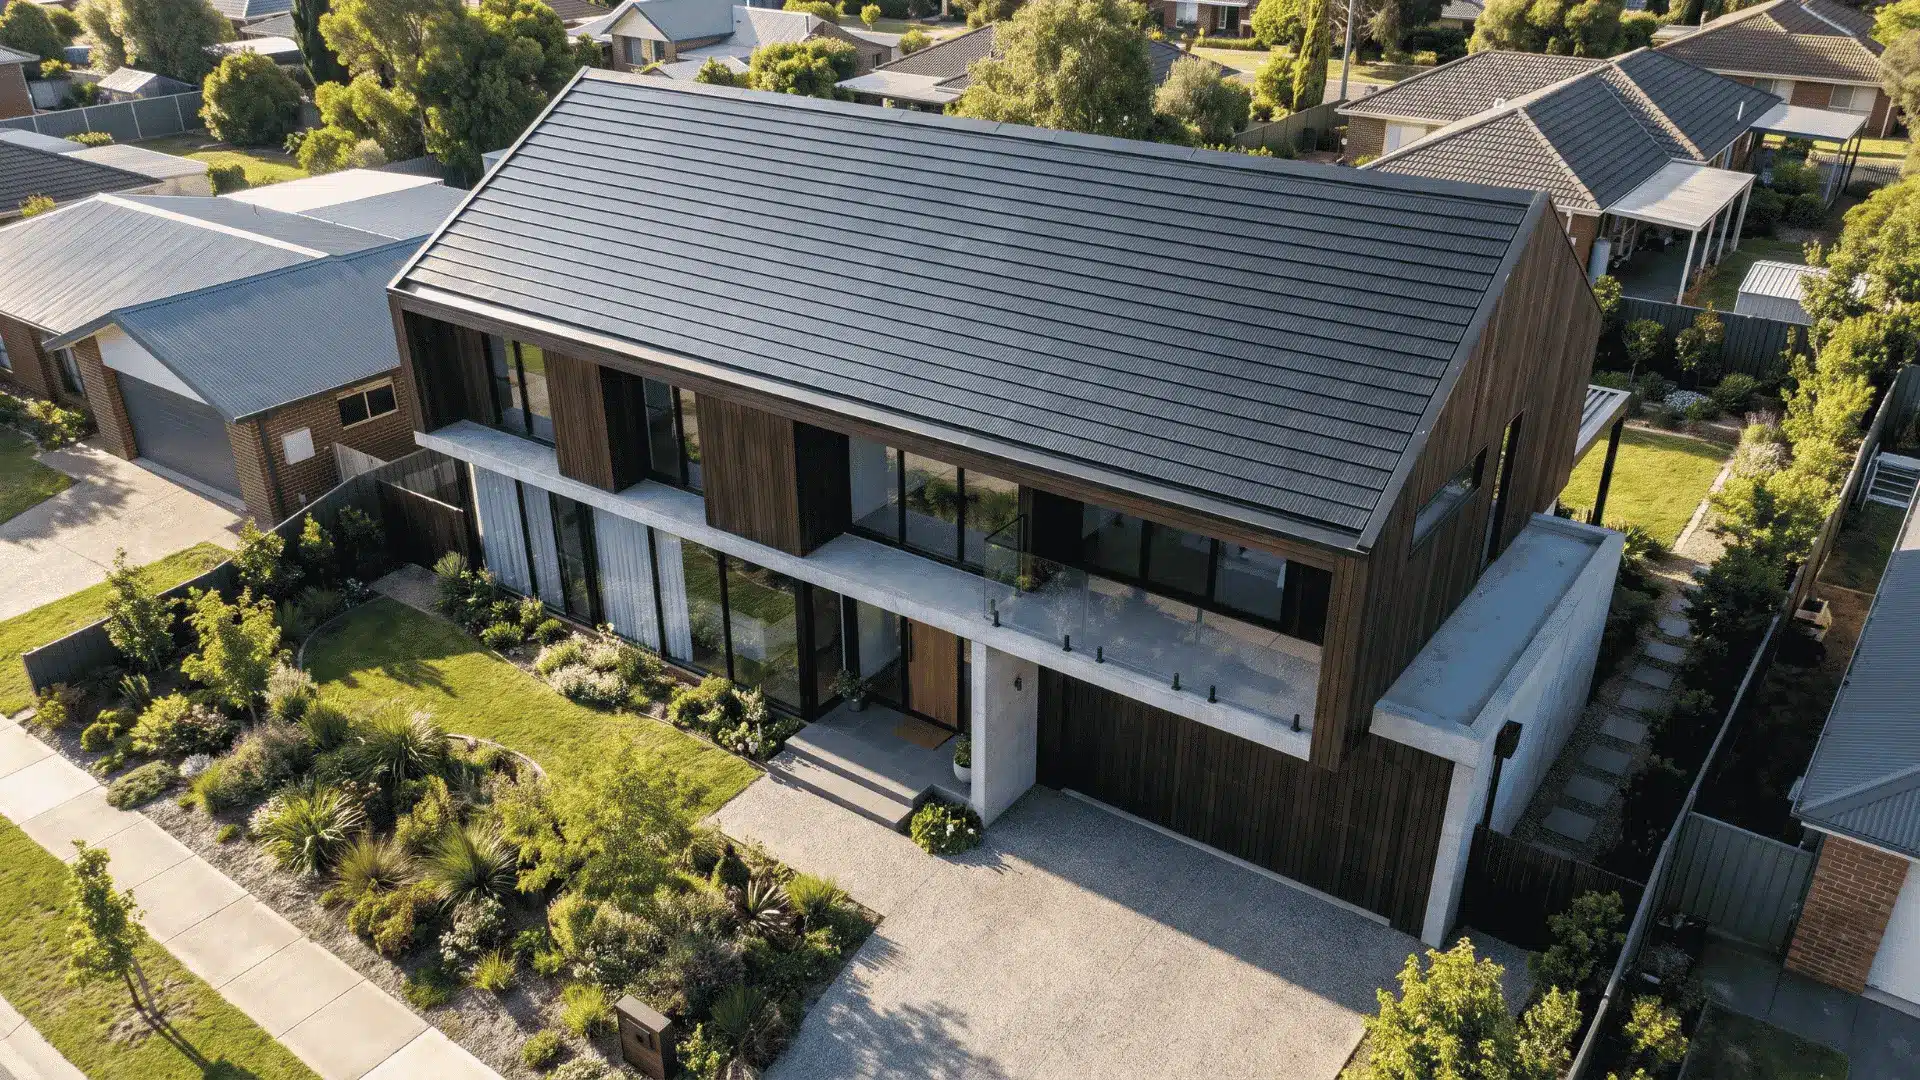
Solar shingles are photovoltaic roofing materials designed to replace traditional roof shingles while producing solar power. Each shingle contains solar cells that convert sunlight into electricity, which is then sent through the home’s electrical system.
Unlike traditional solar panels installed on mounting racks, solar shingles create a more integrated roof design because the energy-producing materials become part of the roofing surface.
They are commonly installed during:
- New home construction
- Complete roof replacement projects
- Major roof renovations
Solar shingles are most suitable for homeowners who need a new roof and want renewable energy without adding large panels above the roofline.
Popular Solar Shingle Products and Systems
Several manufacturers offer solar roofing systems with different designs, materials, warranties, and installation methods. The right choice depends on roof type, energy needs, budget, and contractor availability.
| Solar Shingle System | Key Features | Best For |
|---|---|---|
| Tesla Solar Roof | Glass solar tiles, integrated roof design, durable construction, compatible with energy storage systems | Homeowners wanting a complete solar roof replacement |
| GAF Timberline Solar | Nailable solar shingles, asphalt-style appearance, easier roof integration | Homes replacing traditional asphalt roofs |
| CertainTeed Apollo Solar Roofing | Low-profile design, flexible installation options, works with roofing systems | Residential solar roofing projects |
| Luma Solar | Customizable solar modules, replaceable components, high-performance design | Custom home and architectural projects |
These systems vary in cost, appearance, efficiency, and installation requirements, so homeowners should compare products based on their roof condition and energy goals.
Roof Requirements Before Solar Shingle Installation
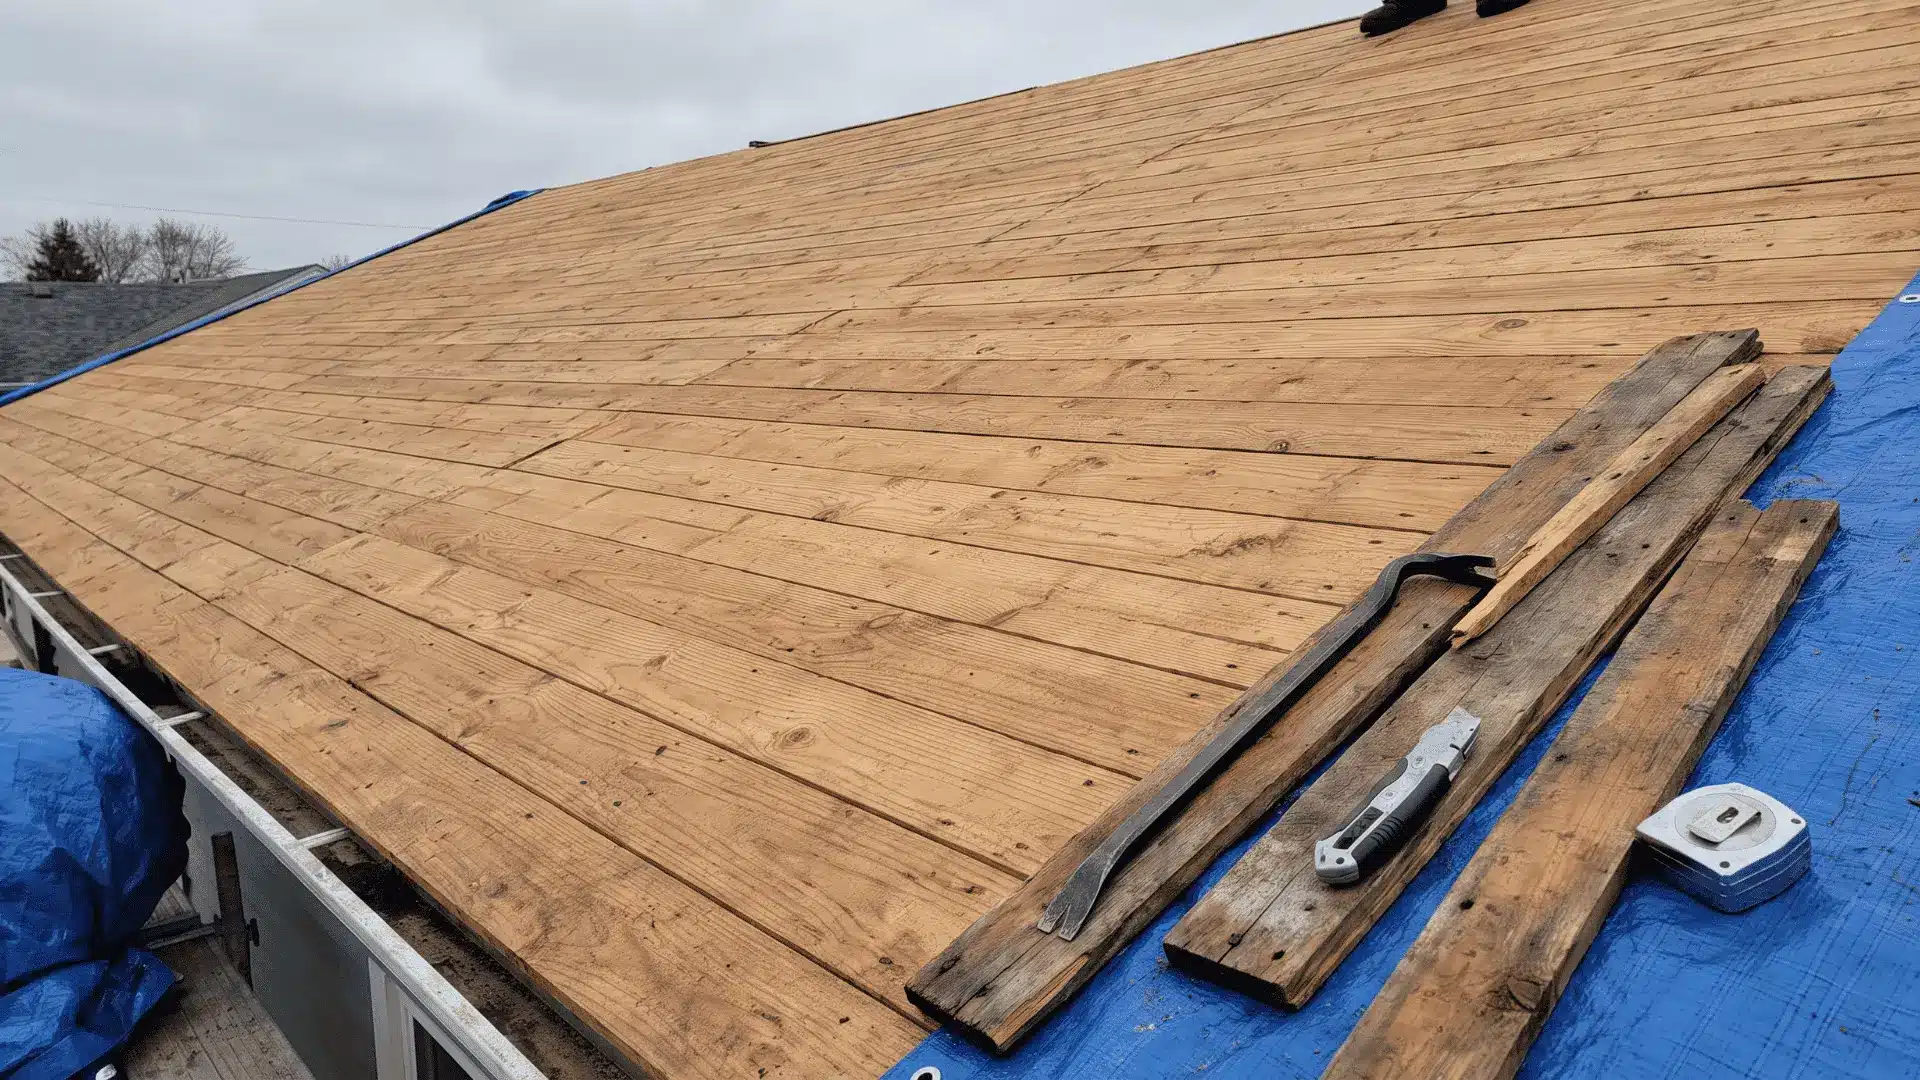
Before installing solar shingles, contractors inspect the roof to ensure it can support the system and provide long-term performance.
- Roof Age: A newer or recently replaced roof is ideal to avoid future removal and reinstallation costs.
- Roof Condition: The roof must be free from leaks, rot, structural damage, and damaged decking.
- Roof Pitch: Proper roof angles help improve sunlight exposure and make installation easier.
- Sun Exposure: Areas with minimal shade from trees or buildings provide better energy production.
- Roof Design: Complex layouts, multiple angles, or limited roof space may affect installation planning.
- Structural Strength: The roof structure should support the additional weight of solar roofing materials.
- Electrical Compatibility: Contractors check the electrical panel and wiring to ensure the home can handle the solar system.
Solar Shingle Installation Process Step by Step
Learn how solar shingles are prepared, connected, secured, and installed to create a weatherproof roofing system that generates electricity for your home.
Step 1. Prepare the Roof and Install the First Shingle
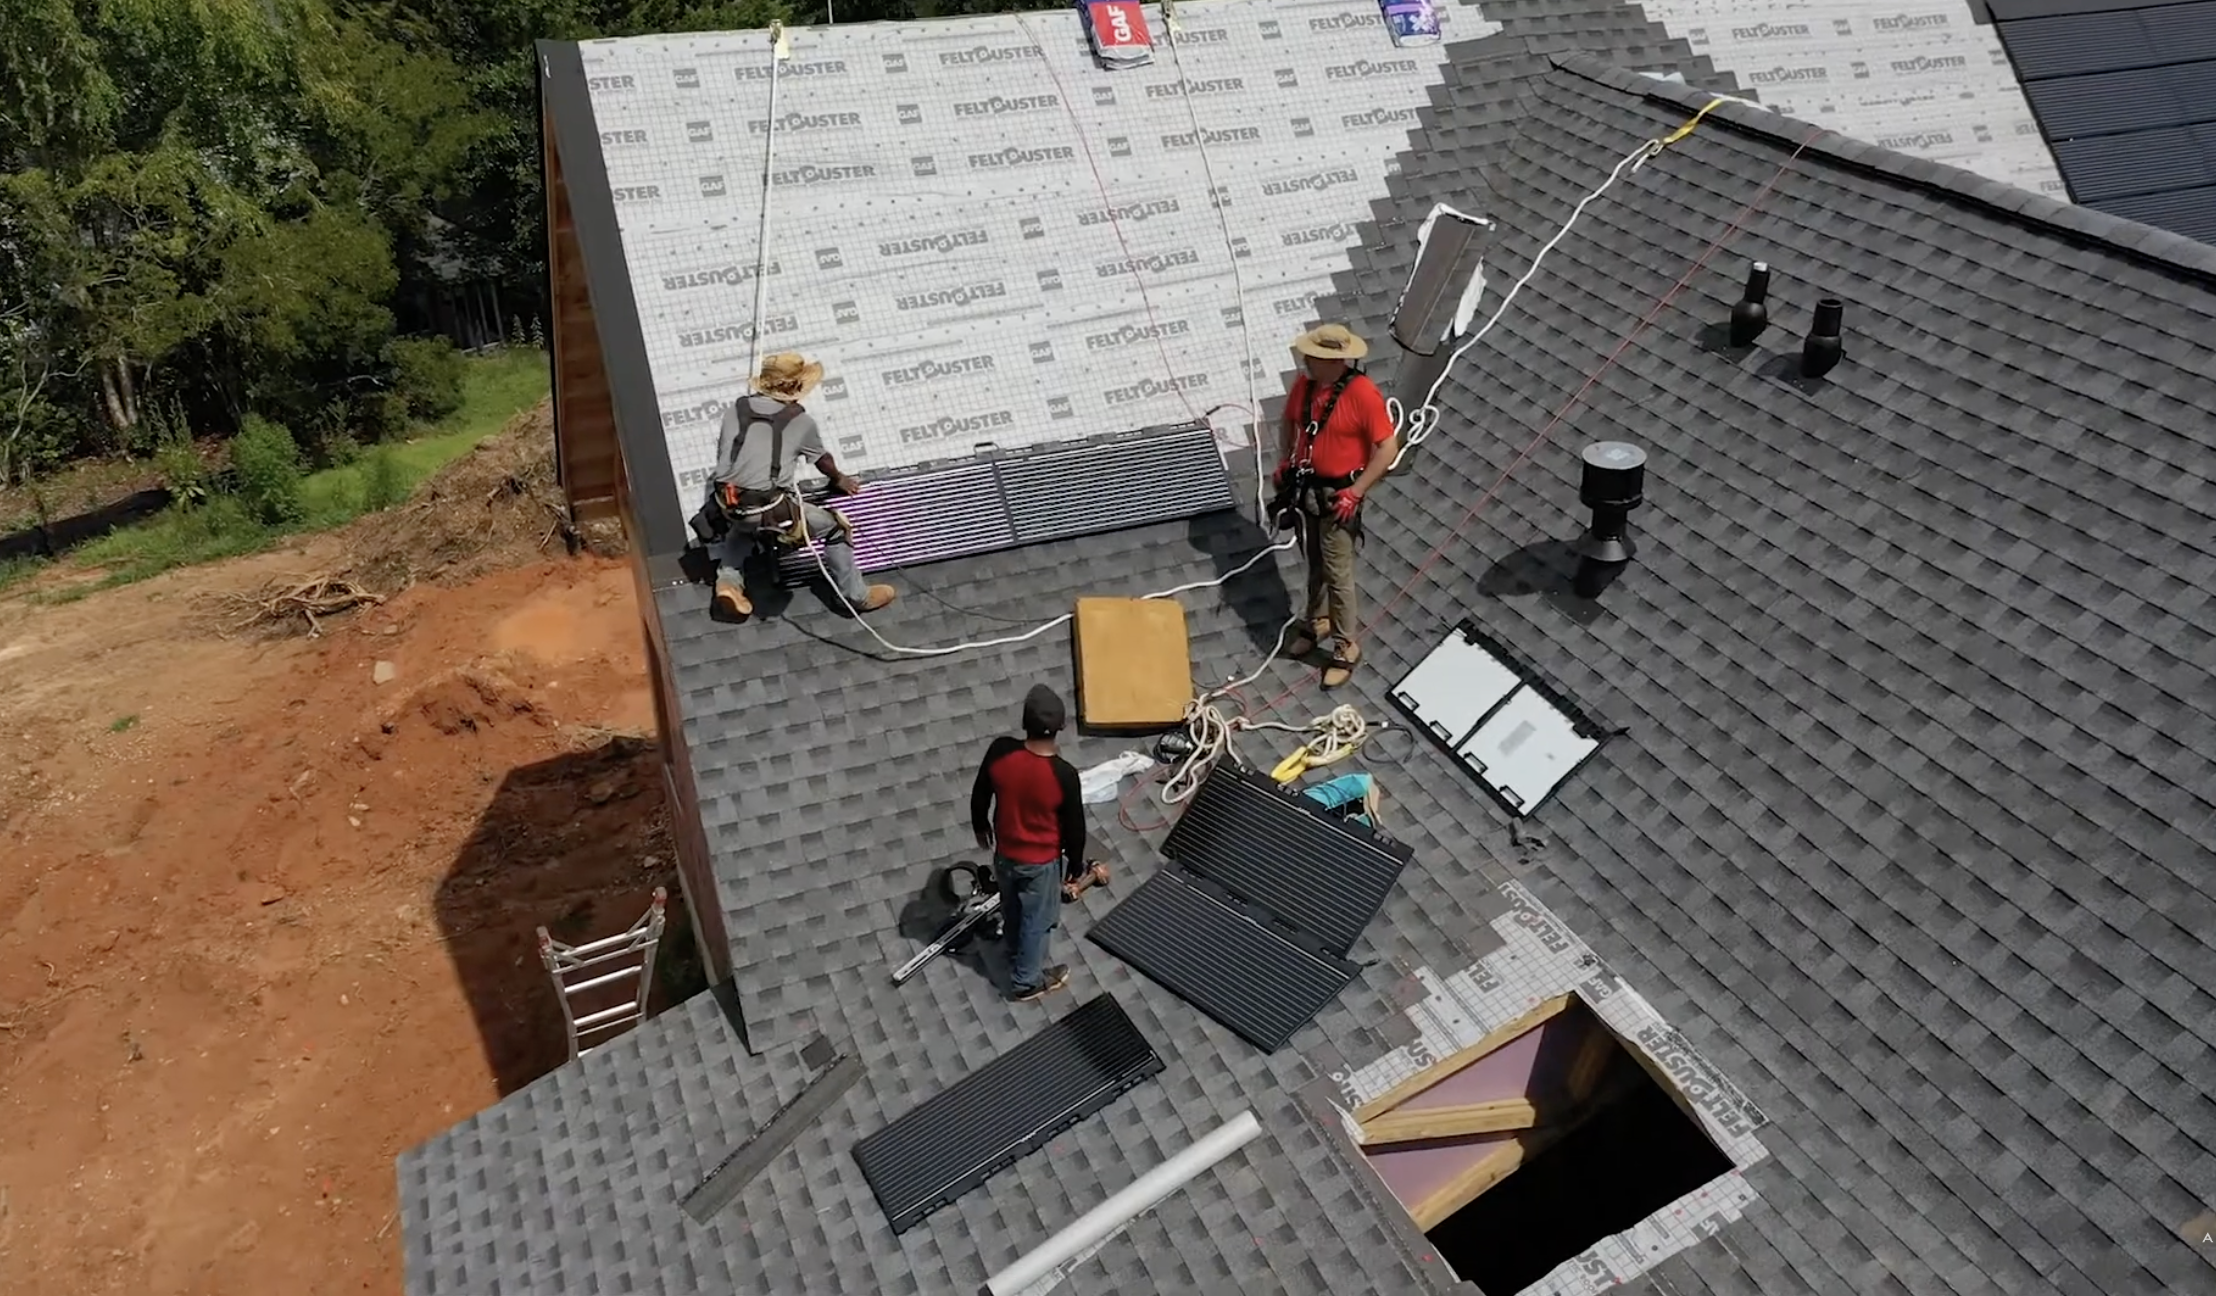
Cover the solar installation area with a continuous ice-and-water shield beneath the roofing felt. Install the surrounding roof shingles and lap the felt correctly over the lower course.
Secure the starter strip along the bottom edge of the planned array, then hook the first solar shingle into it. Begin at the bottom-right corner and confirm that the shingle locks firmly into place.
Step 2. Connect the Solar Shingles Across the Roof

Install the remaining solar shingles across each row, moving from right to left. Join each shingle using its built-in electrical connector before locking it into the course below.
At the end of each row, connect the cable to the opposite side of the next row. This creates a continuous zigzag pattern that links the entire array into one direct-current electrical circuit.
Step 3. Complete the Wiring and Roof Penetration
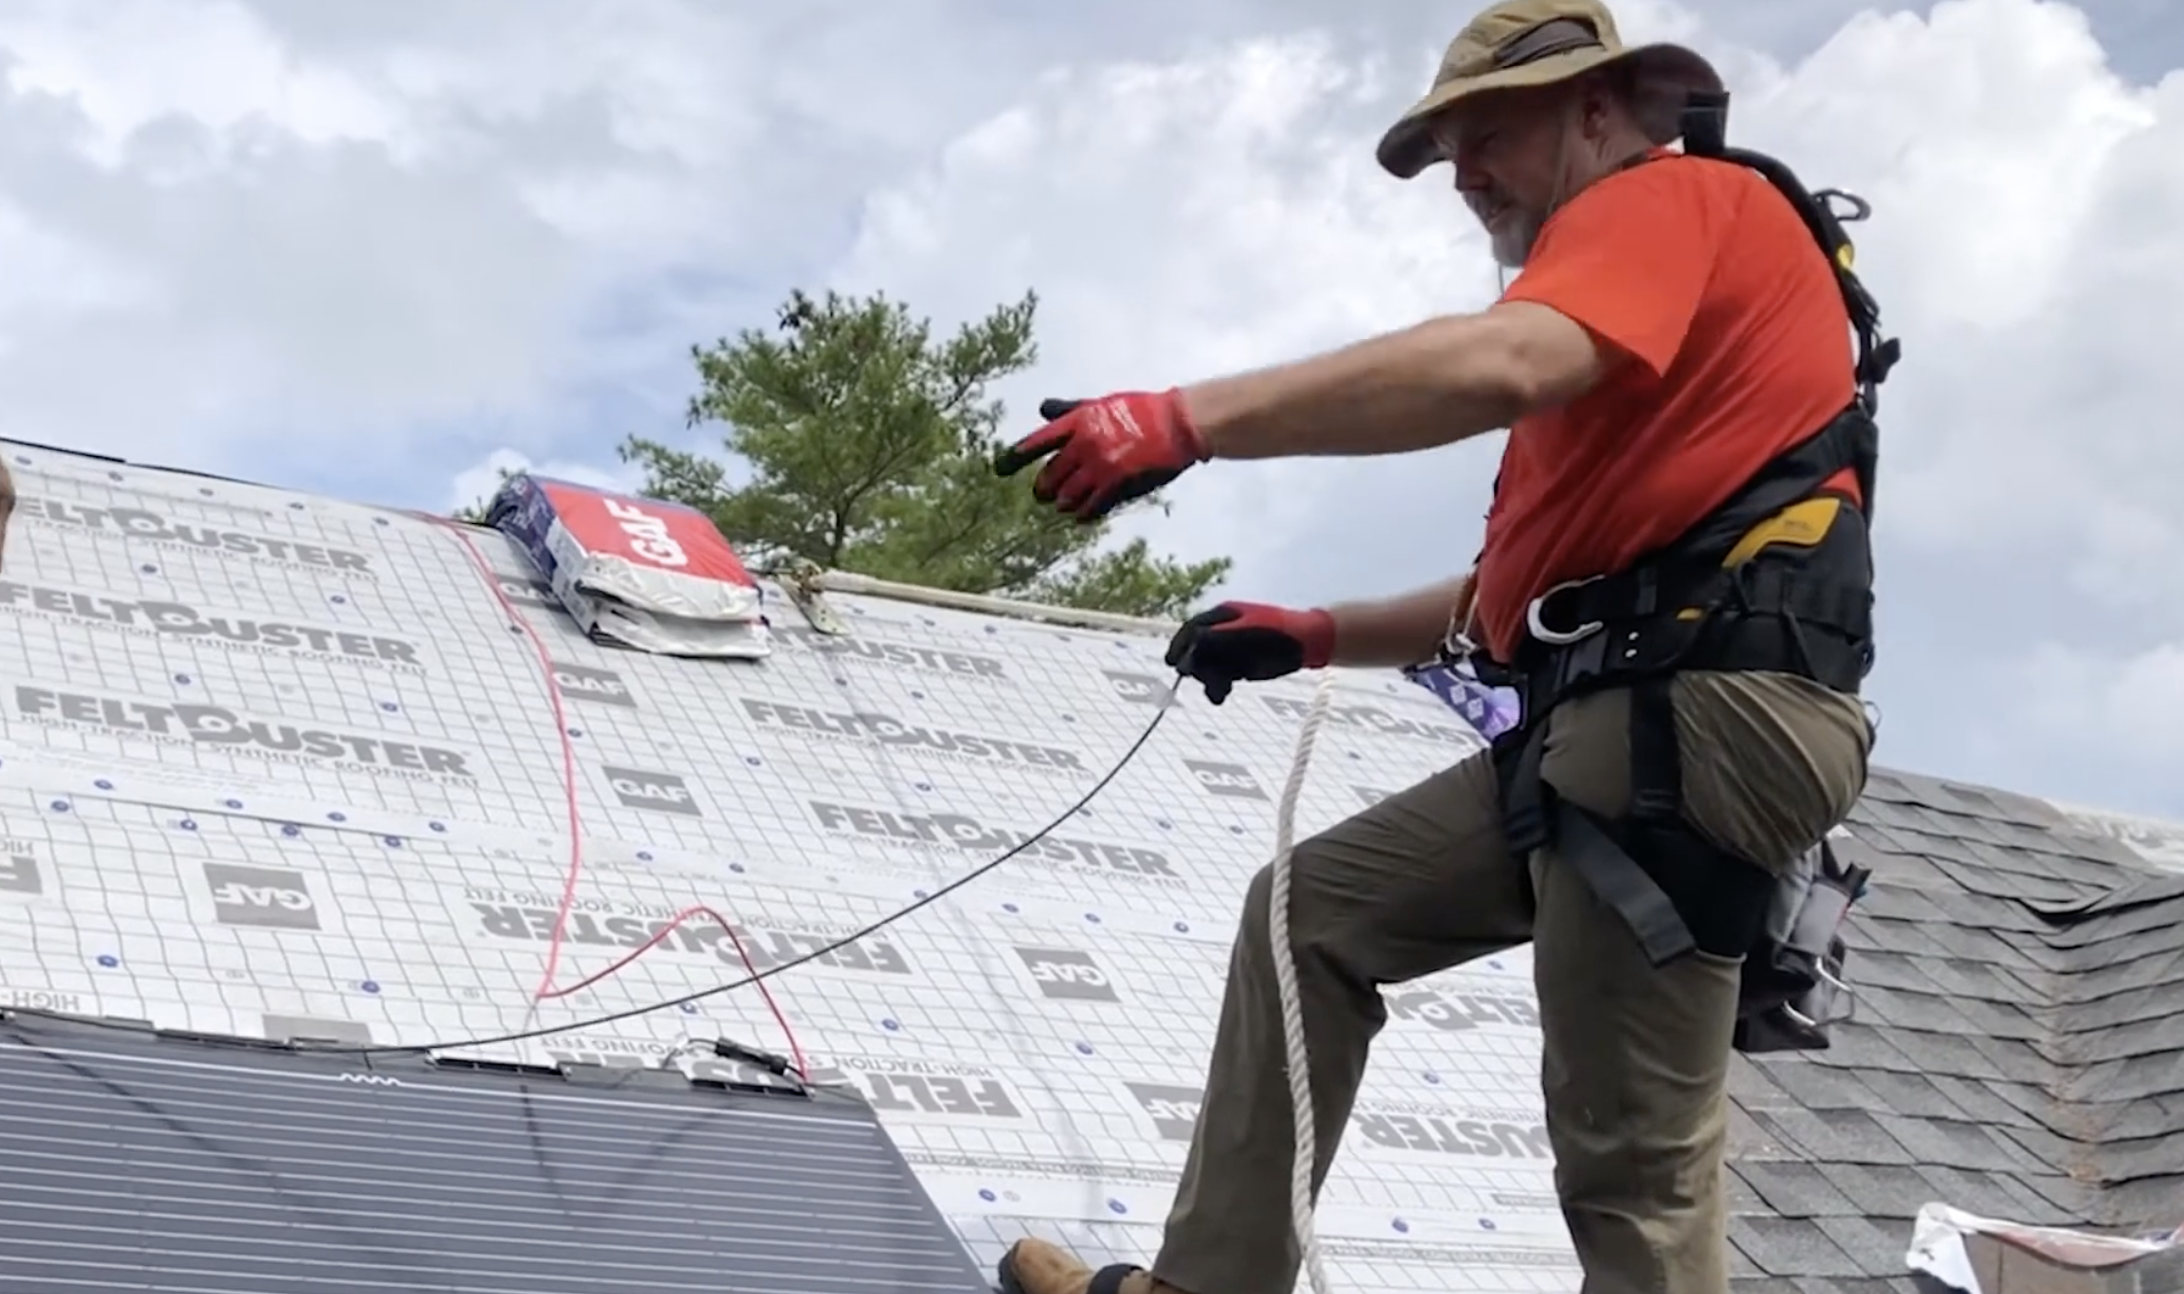
Connect all shingles in series until the final row is complete. The positive cable should extend from the first shingle, while the negative cable exits from the last.
Position both leads near the planned roof penetration, pass them carefully through the opening, and route them toward the inverter. Seal and flash the penetration thoroughly to prevent rainwater from entering the roof structure.
Step 4. Add Ventilation, Membrane Protection, and Flashing
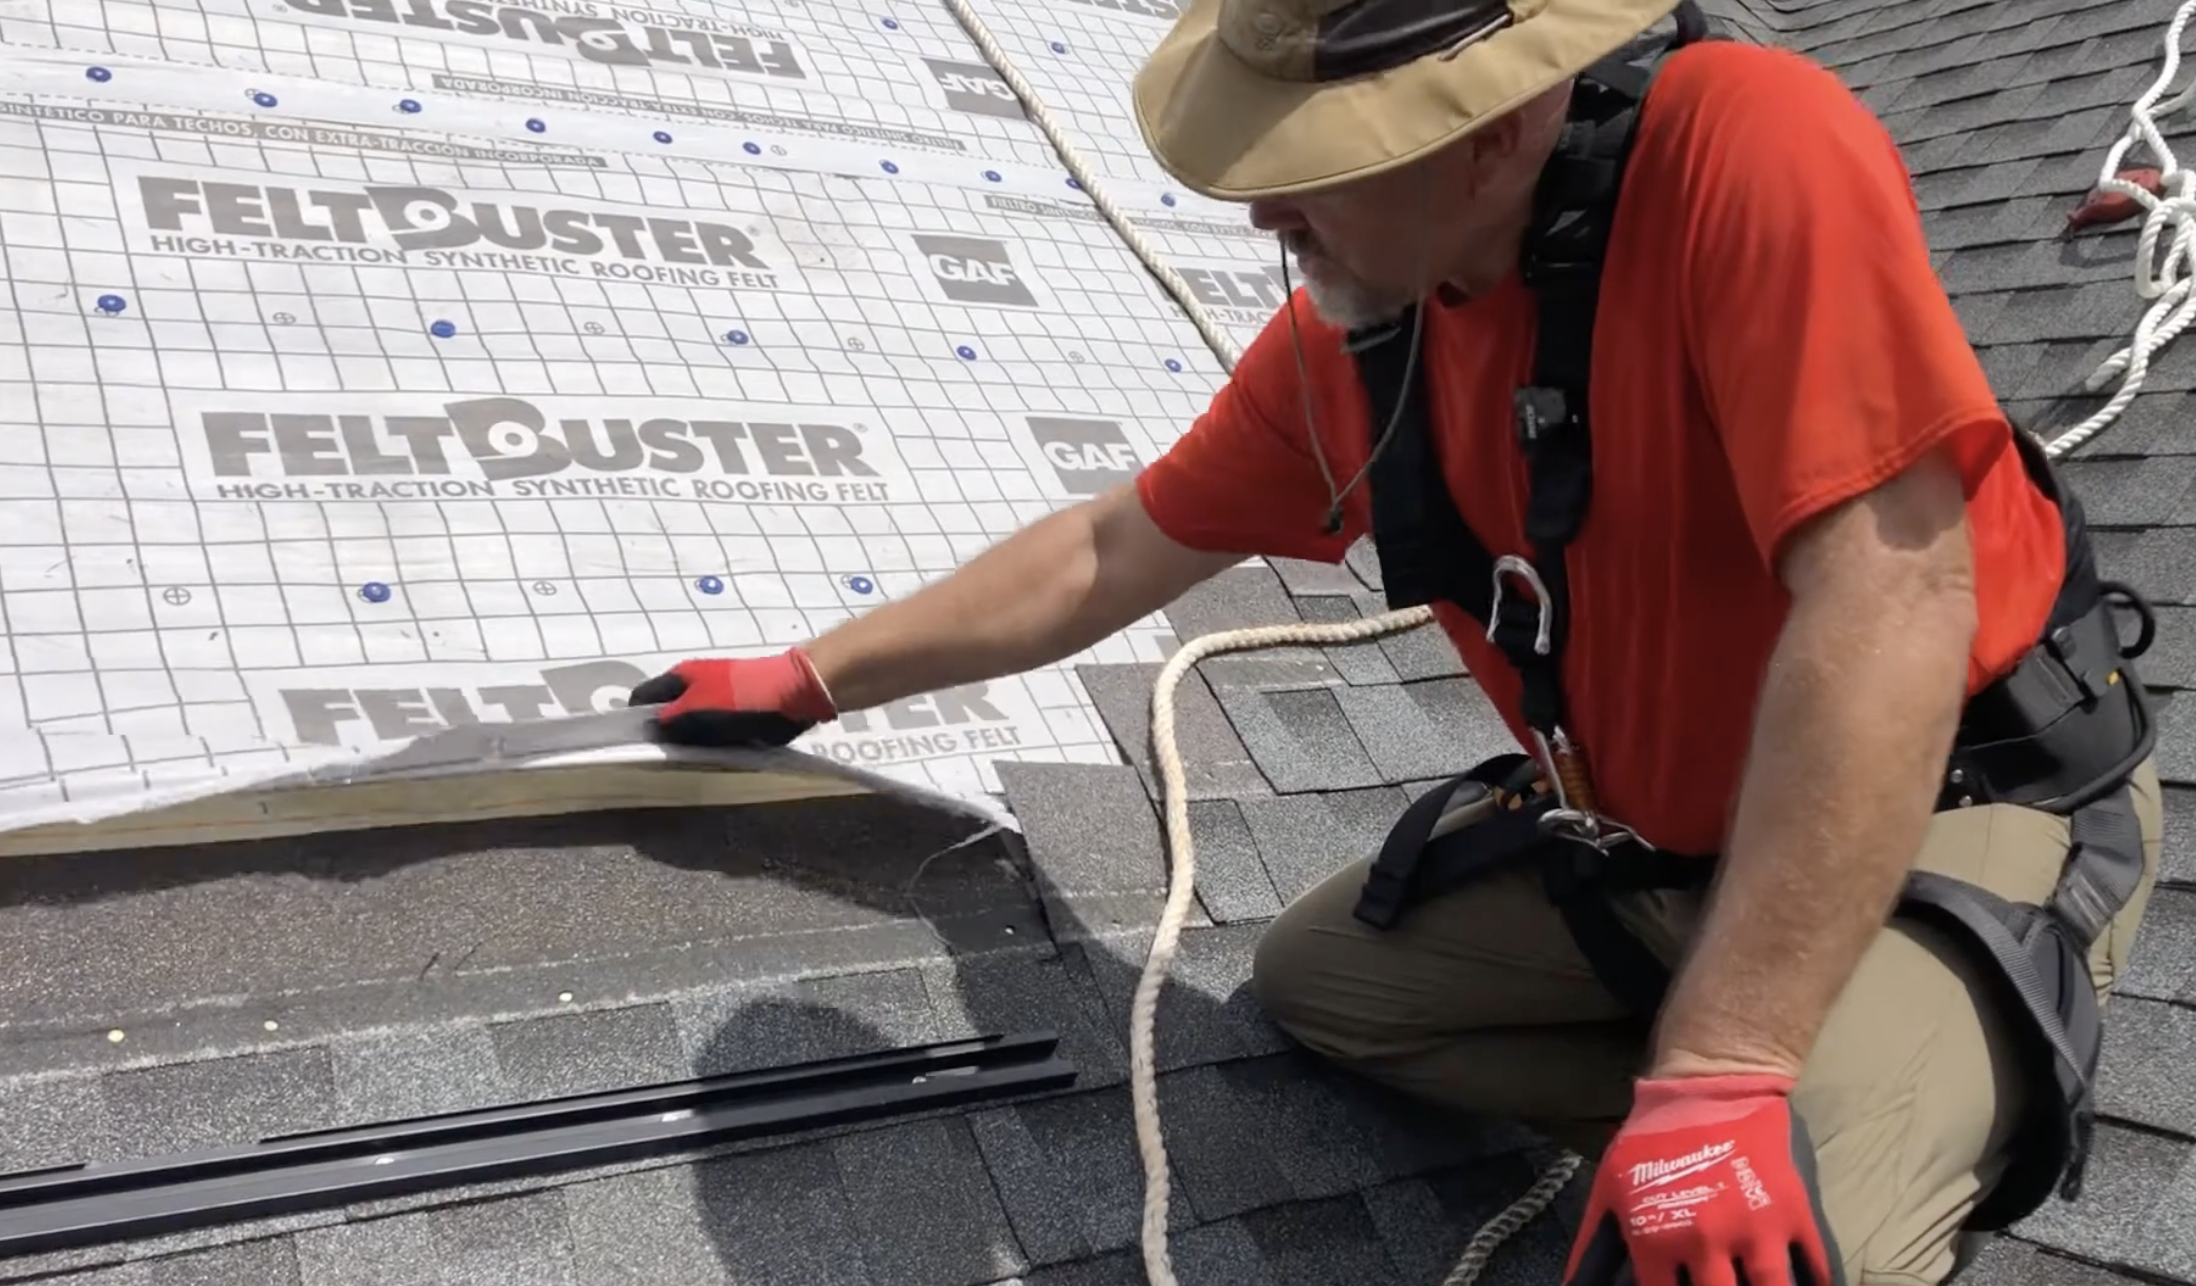
Preserve the built-in airflow channels beneath the solar shingles so cooler air can enter below and heated air can escape above. Install the specified filter fabric near the top ventilation outlet, followed by the final top flashing.
The waterproof membrane beneath the array protects against wind-driven rain, while proper ventilation reduces heat buildup and helps the solar cells maintain more efficient electricity production.
Step 5. Connect the Solar Array to the Inverter
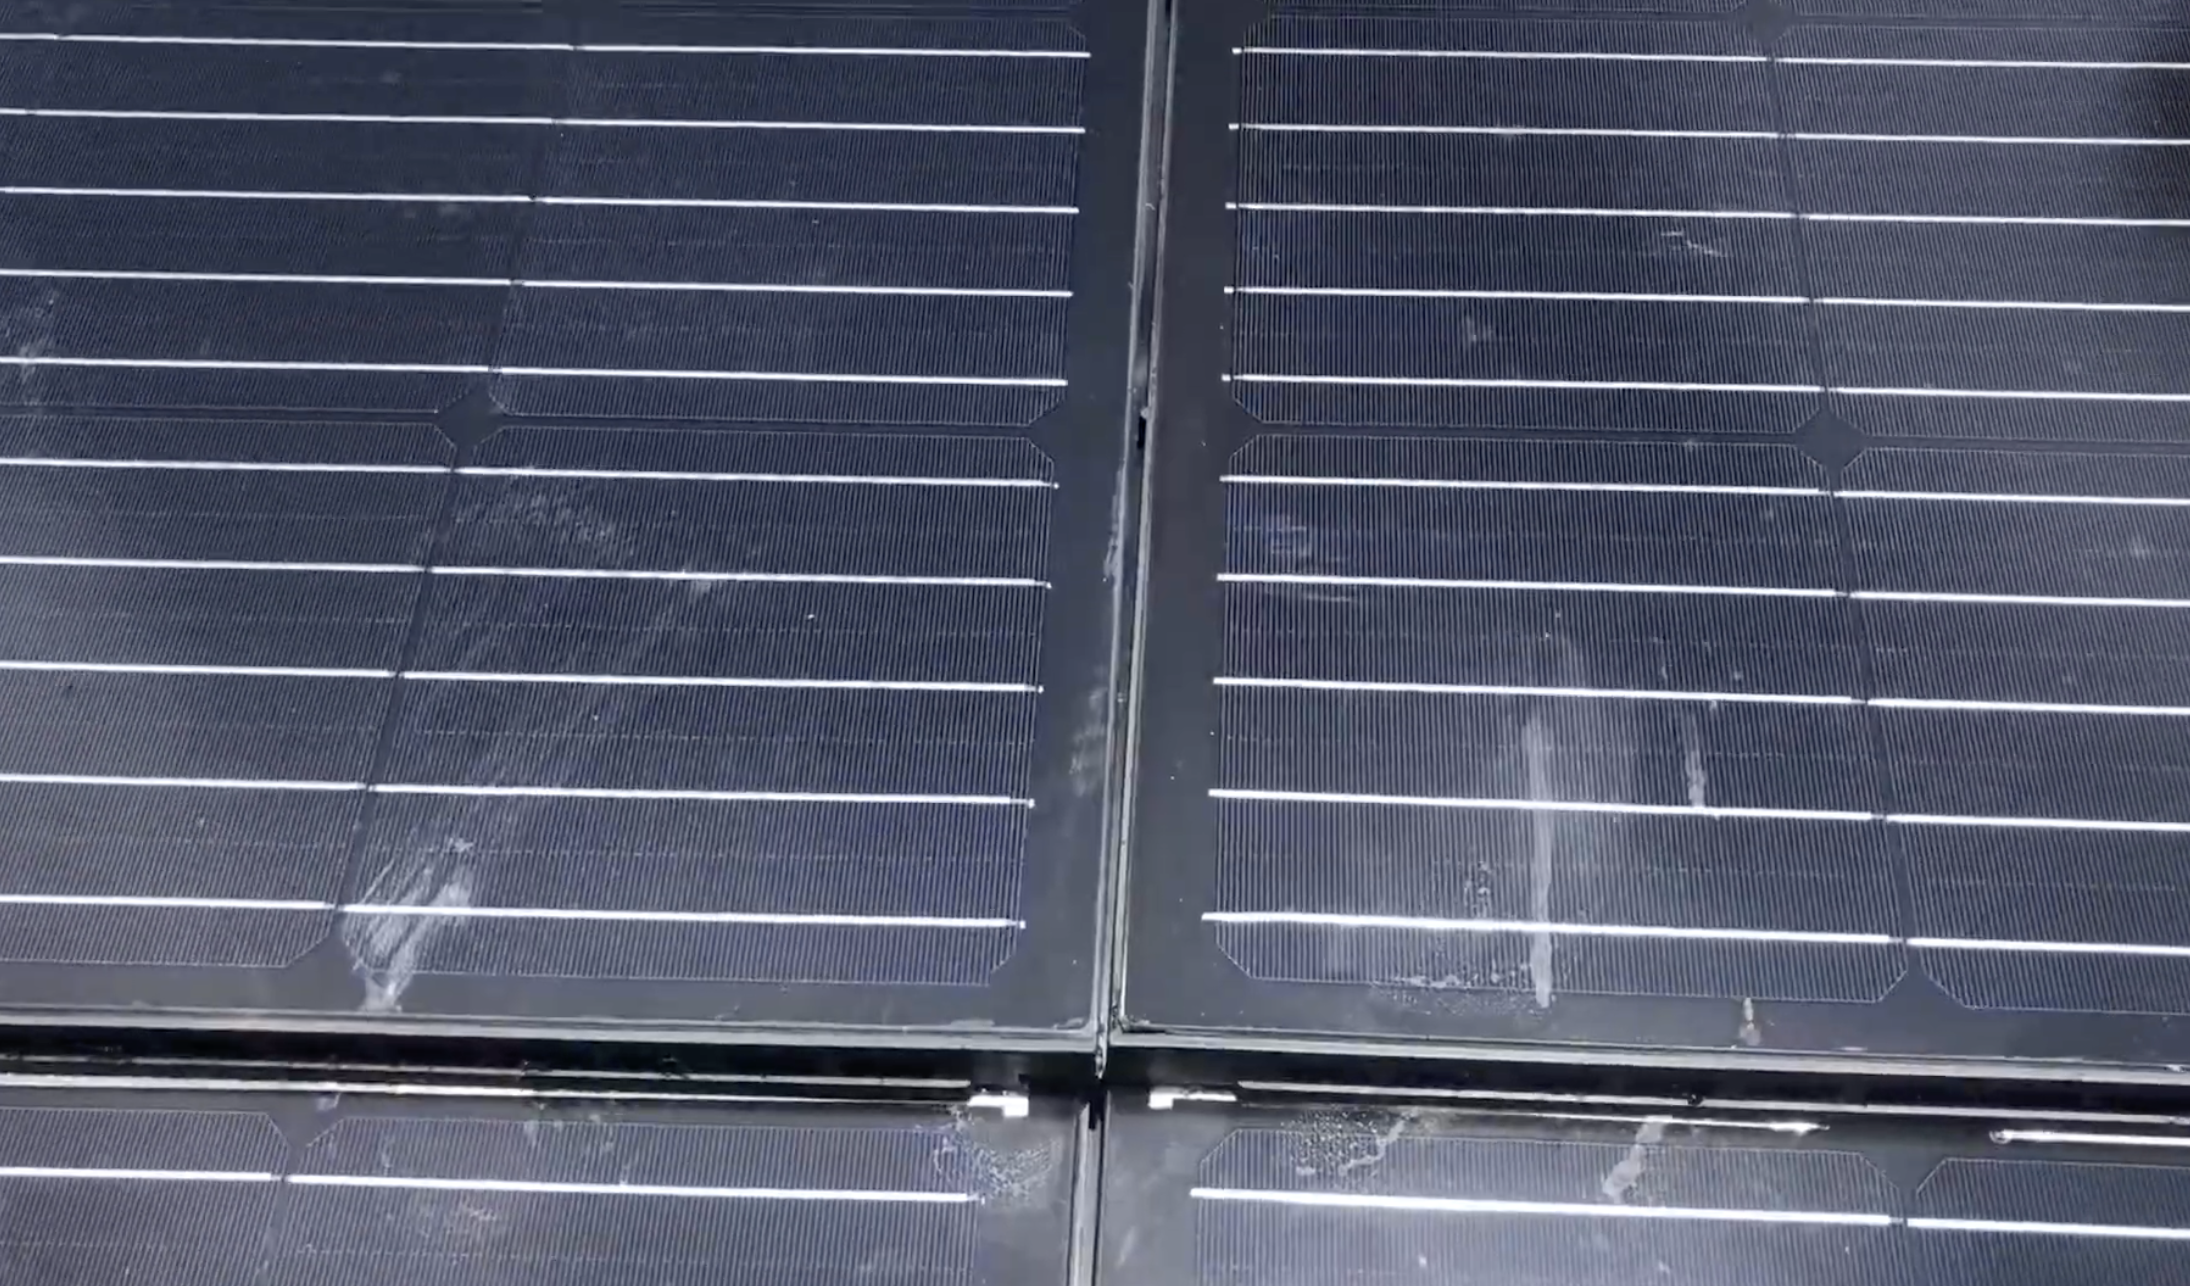
Run the direct-current wiring from the roof array to the solar inverter according to manufacturer instructions and local electrical codes. The inverter converts direct-current electricity from the shingles into alternating current for household appliances.
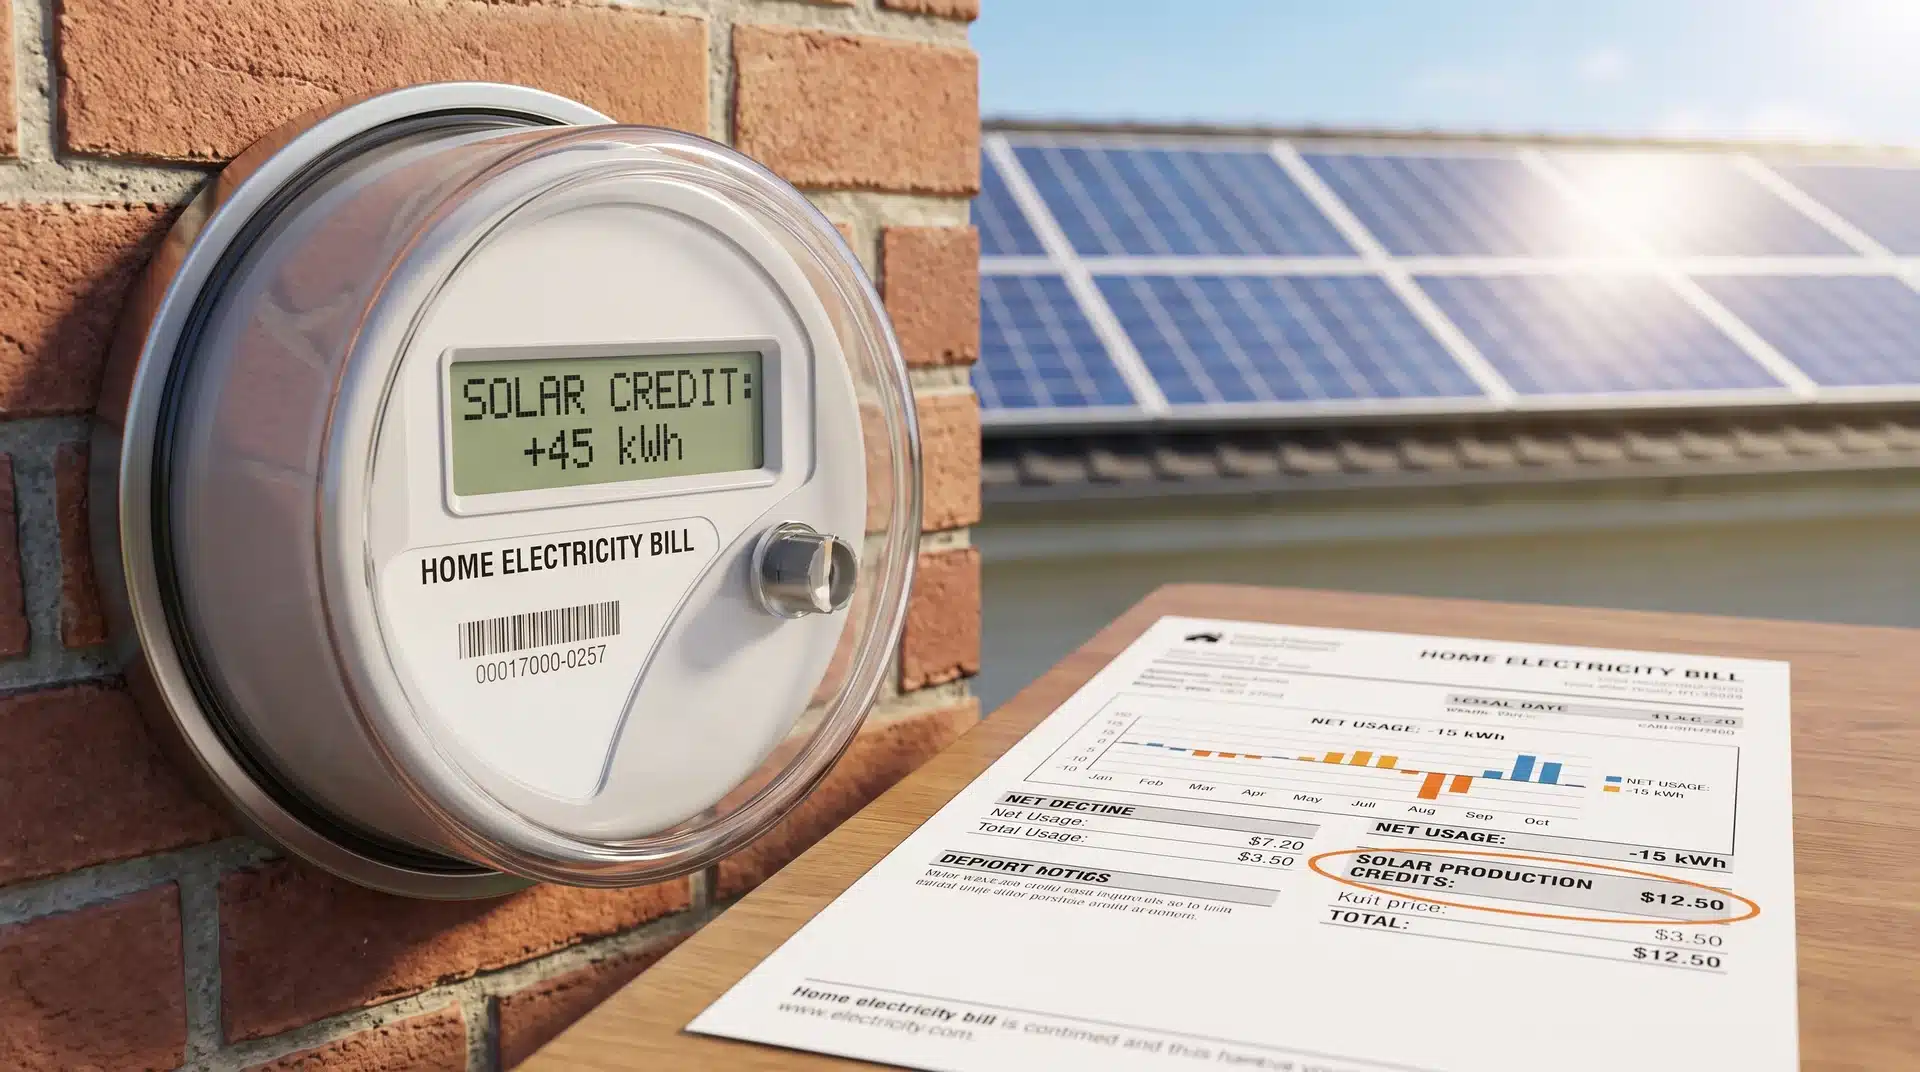
Surplus power may be returned to the utility grid where permitted. Finish by checking polarity, electrical connections, waterproofing, system safety, and the expected power output of the complete installation.
Watch solar shingles being installed step by step on a roof:
Solar Shingle Installation Cost Breakdown
The total cost of solar shingle installation depends on several factors, including roof size, shingle type, labor complexity, electrical requirements, and whether your roof needs replacement before installation begins. Understanding these cost factors helps you estimate the overall investment more accurately.
| Cost Factor | What Affects Price |
|---|---|
| Solar shingles | Brand, efficiency, power output, and roof coverage area |
| Roofing work | Existing roof condition, removal of old materials, and repairs |
| Labour | Installation complexity, roof design, and installer expertise |
| Electrical upgrades | Panel capacity, wiring changes, and system connections |
| Inverter | System size, inverter type, and technology used |
| Permits and inspections | Local regulations, approval fees, and inspection requirements |
The final price depends on your home’s roof size, location, energy needs, and the specific solar shingle system selected. Getting multiple quotes from certified installers is the best way to understand the actual cost for your property.
How Long Does Solar Shingle Installation Take?
The time required for solar shingle installation depends on your roof size, design complexity, weather conditions, and whether any repairs are needed before work begins.
A typical installation can take around three to seven days once the crew starts working. Simple roofs with fewer sections are usually completed faster, while larger homes with multiple roof angles, dormers, or structural repairs may take longer.
The process also includes removing old roofing, preparing the deck, installing shingles, completing electrical connections, and passing inspections.
Keep in mind that permits, utility approvals, and scheduling can add extra time before the actual installation begins. Planning ahead helps avoid delays and keeps the project moving smoothly
Choosing the Right Solar Shingle Contractor
Selecting an experienced solar shingle installer helps ensure safe installation, reliable performance, and long-term system protection.
- Manufacturer certification
- Solar installation experience
- Roofing credentials
- Proper insurance coverage
- Local permit knowledge
- Warranty support
- Previous solar roof installation projects
Ask contractors about:
- Solar shingle brands they install
- Manufacturer certifications
- Roofing and electrical responsibilities
- Warranty coverage details
- Expected installation timeline
A qualified contractor reduces risks like roof leaks, wiring issues, installation errors, and poor solar system performance.
Common Solar Shingle Installation Mistakes
Avoiding common installation errors helps improve system performance, prevent roof damage, and protect your solar investment.
| Mistake | Why It Causes Problems |
|---|---|
| Installing on an unsuitable roof | Damaged or aging roofs may create future repair issues |
| Choosing an inexperienced installer | Poor installation can affect roofing and electrical performance |
| Ignoring shade problems | Limited sunlight reduces energy production |
| Skipping roof preparation | Poor waterproofing can cause leaks and structural damage |
| Not checking warranty coverage | Missing warranty details can lead to unexpected costs |
Proper planning, roof inspection, and selecting a qualified installer help prevent installation issues and ensure long-term solar shingle performance.
Solar Shingle Maintenance After Installation
Regular maintenance helps solar shingles maintain energy output, protect the roof structure, and identify potential issues early.
- Monitor energy production through the system tracking app
- Remove leaves, dirt, and heavy debris from the roof surface
- Check roof drainage areas to prevent water buildup
- Inspect electrical connections for proper system performance
- Schedule professional inspections for long-term reliability
Proper maintenance improves solar shingle performance, while damaged shingles may require manufacturer-approved repairs or replacements depending on the system design.
Solar Shingles vs Traditional Solar Panels for Roof Replacement
Solar shingles and traditional solar panels both generate renewable energy, but they differ in installation, appearance, cost, and suitability. Comparing these factors helps homeowners choose the right option for their roofing needs.
| Feature | Solar Shingles | Solar Panels |
|---|---|---|
| Appearance | Integrated roof design | Visible panels mounted above roof |
| Installation | Requires roofing replacement work | Installed on existing roof |
| Cost | Higher upfront investment | Lower upfront cost |
| Best For | New roofs or replacements | Suitable existing roofs |
| Expertise Needed | Roofing and solar skills | Solar installation experience |
Solar shingles are ideal for homeowners replacing their roof and wanting an integrated solar solution, while panels suit existing roofs with lower installation costs.
Are Solar Shingles Worth Installing?
Solar shingles can be a worthwhile investment for homeowners who need a roof replacement and want to add renewable energy without installing traditional solar panels. They combine roofing materials and solar technology into one integrated system, creating a cleaner roof appearance while producing electricity.
They are especially suitable for:
- New construction projects where solar roofing can be planned from the beginning
- Full roof replacements where old materials need to be removed
- Homes where maintaining a low-profile roof design is important
- Long-term homeowners looking for energy savings
Although solar shingles usually have a higher upfront cost than standard solar panels, they can provide long-term value by replacing roofing materials and reducing electricity costs when installed correctly.
Final Thoughts
Solar shingles combine roofing and renewable energy into one system, but successful results depend on proper planning and installation.
I hope this guide helped you understand the important steps involved, from roof preparation and shingle placement to wiring, inspections, and contractor selection.
A reliable solar shingle installation requires the right product, a suitable roof, and an experienced installer who follows manufacturer requirements.
Knowing these details helps you avoid costly mistakes and choose a system that fits your home’s needs. If you are considering solar roofing, take time to compare options and ask the right questions before starting your project.
Share your thoughts or check out related solar guides for more helpful tips.
Frequently Asked Questions
Can individual solar shingles be replaced if damaged?
Some systems allow a damaged solar shingle or module to be replaced without removing the entire roof. However, the repair must follow manufacturer procedures to protect electrical connections, waterproofing, and warranty coverage. Availability of matching replacement components may depend on the brand and product generation.
Do solar shingles require a battery?
Solar shingles can operate without battery storage when connected to the utility grid. A battery is optional but allows homeowners to store unused electricity for evenings or emergencies. Backup power during an outage also requires compatible equipment that can safely disconnect the home from the grid.
Do solar shingles produce electricity during a power outage?
Most grid-connected systems automatically shut down during an outage to protect utility workers. Solar shingles can continue supplying selected household circuits only when paired with compatible battery storage, backup controls, and an inverter designed to operate independently from the electrical grid.
Can solar shingles cover only part of a roof?
Yes, energy-producing shingles may be installed only on roof sections receiving sufficient sunlight. Matching non-solar roofing materials can cover shaded, north-facing, or unsuitable areas. The final arrangement depends on the manufacturer’s system, roof layout, local codes, and the home’s electricity requirements.
Can homeowners safely walk on solar shingles?
Walking directly on solar shingles should generally be avoided because pressure may damage cells, wiring, seals, or surrounding roofing materials. Roof inspections, cleaning, and repairs should be completed by trained professionals who understand approved access points and the manufacturer’s recommended safety procedures.
What happens to solar shingles at the end of their lifespan?
Old solar shingles require proper removal because they contain roofing materials, glass, wiring, and photovoltaic components. Recycling options vary by product and location. Homeowners should ask the manufacturer or installer about take-back programmes, approved disposal facilities, and replacement procedures before purchasing the system.